To photograph through glass without reflections, stop light from your side reaching the patch of glass in front of the lens. Put the lens or a rubber hood flat against the pane, switch off the flash, darken or cover everything behind you, and keep the lens square to the glass. A clean pane reflects roughly 8 percent of the light that hits it, so reflections only show where your side is brighter than the view.
This guide covers every kind of glass a traveller meets: aircraft windows, observation decks, hotel rooms, trains, buses, cars, shop fronts and display cases. Animal enclosures are covered in zoo and aquarium photography, and candid scenes behind café and shop glass in photographing through windows for street photography. This page goes further on the physics, the numbers and the situations those two leave out.
Why glass shows reflections, and the brightness rule behind every fix
Each surface of ordinary glass reflects about 4 percent of the light that strikes it head on. A single pane has two surfaces, so about 8 percent comes back toward you and about 92 percent goes through. A double-glazed window has four surfaces and returns close to 15 percent. The camera cannot tell that reflected light from the light coming through.
What you see in the picture is a contest between two brightnesses: the scene beyond the glass, and 8 percent of whatever is on your side. Eight percent is about three and a half stops darker than the original. So a reflected object shows up wherever the scene behind it is more than about three and a half stops darker than the object itself. Three situations follow:
- Bright outside, dim inside (a daytime view from a room). The view is thousands of times brighter than the room, so reflections of the room are swamped.
- Dark outside, lit inside (a city at night from a tower). The room is far brighter than the view. Every lamp, sign, screen and white shirt appears in the glass.
- Bright where you stand, dim beyond (a shop window by day). The sunlit street behind you overwhelms the display.
Angle matters too. Seen at 60 degrees away from straight on, each surface reflects about 9 percent instead of 4. At 80 degrees it reflects close to 40 percent. That is why the far end of a long shop front looks like a mirror while the part in front of you looks clear.
Sealing the lens to the glass: hoods, hands and a dark cloth
If the front of the lens touches the pane, the only glass the lens looks through is a small disc that no stray light can reach. Nothing can reflect in it. The tools below are ways of keeping that seal while you compose.
- Bare lens flat on the glass. Works perfectly as long as you shoot exactly square on. Tilt to reframe and a gap opens that lets reflections in.
- A soft rubber hood. A collapsible rubber lens hood squashes against the pane and keeps the seal while you tilt 10 to 20 degrees.
- A cupped hand. Wrap your free hand around the end of the lens and press the edge of your palm to the glass.
- A dark cloth or jacket. Drape it over your head and the camera and hold its edges against the window. This is the fix when the glass is out of reach or tilted so that no hood sits flat.
- A phone. A phone’s lens sits almost flush with its back, so laying the phone flat on the glass seals it at once.
Two cautions. A hard plastic or metal hood can slip and scratch acrylic, so press gently. And the windows of aircraft, buses and trains vibrate, so on vehicles keep something soft between lens and glass, or hold the lens a few millimetres off and shade the gap with your hand.
When you cannot touch the glass
Railings and ledges often keep you half a metre back. Then you manage what the glass can see:
- Find what is being reflected by looking at the glass, not through it. It is always something bright on your side: a lamp, a sign, your own shirt.
- Move sideways until a dark surface is reflected instead, or stand so that your own body (in dark clothing) blocks the bright object.
- Turn off whatever you control: room lights, the television, the camera’s rear screen brightness, the autofocus assist lamp.
Polarizing filters: where they work and where they make rainbows
Light reflected from glass at a slant is partly polarized, and a polarizing filter can be rotated to block it. The effect is strongest when your line of sight makes an angle of about 56 degrees with a line drawn straight out from the glass (roughly 34 degrees between your line of sight and the surface). There the reflection can be removed almost completely. Toward square on the effect fades, and looking straight through the pane it does nothing.
- Good: a shop window or display case photographed from well off to one side in daylight.
- Poor: anything shot square on, and anything at night. The filter costs between one and two stops of light, which a slow shutter speed cannot spare.
- Harmful: aircraft windows and many vehicle windows. Stretched acrylic and toughened safety glass carry internal stress, and a polarizer turns that stress into bands of rainbow colour or a grid of dark blotches across the picture.
Rotate the filter slowly, stop when the reflection is weakest, and check again whenever you move.
Aircraft windows: seat, sun side, scratches and shutter speed
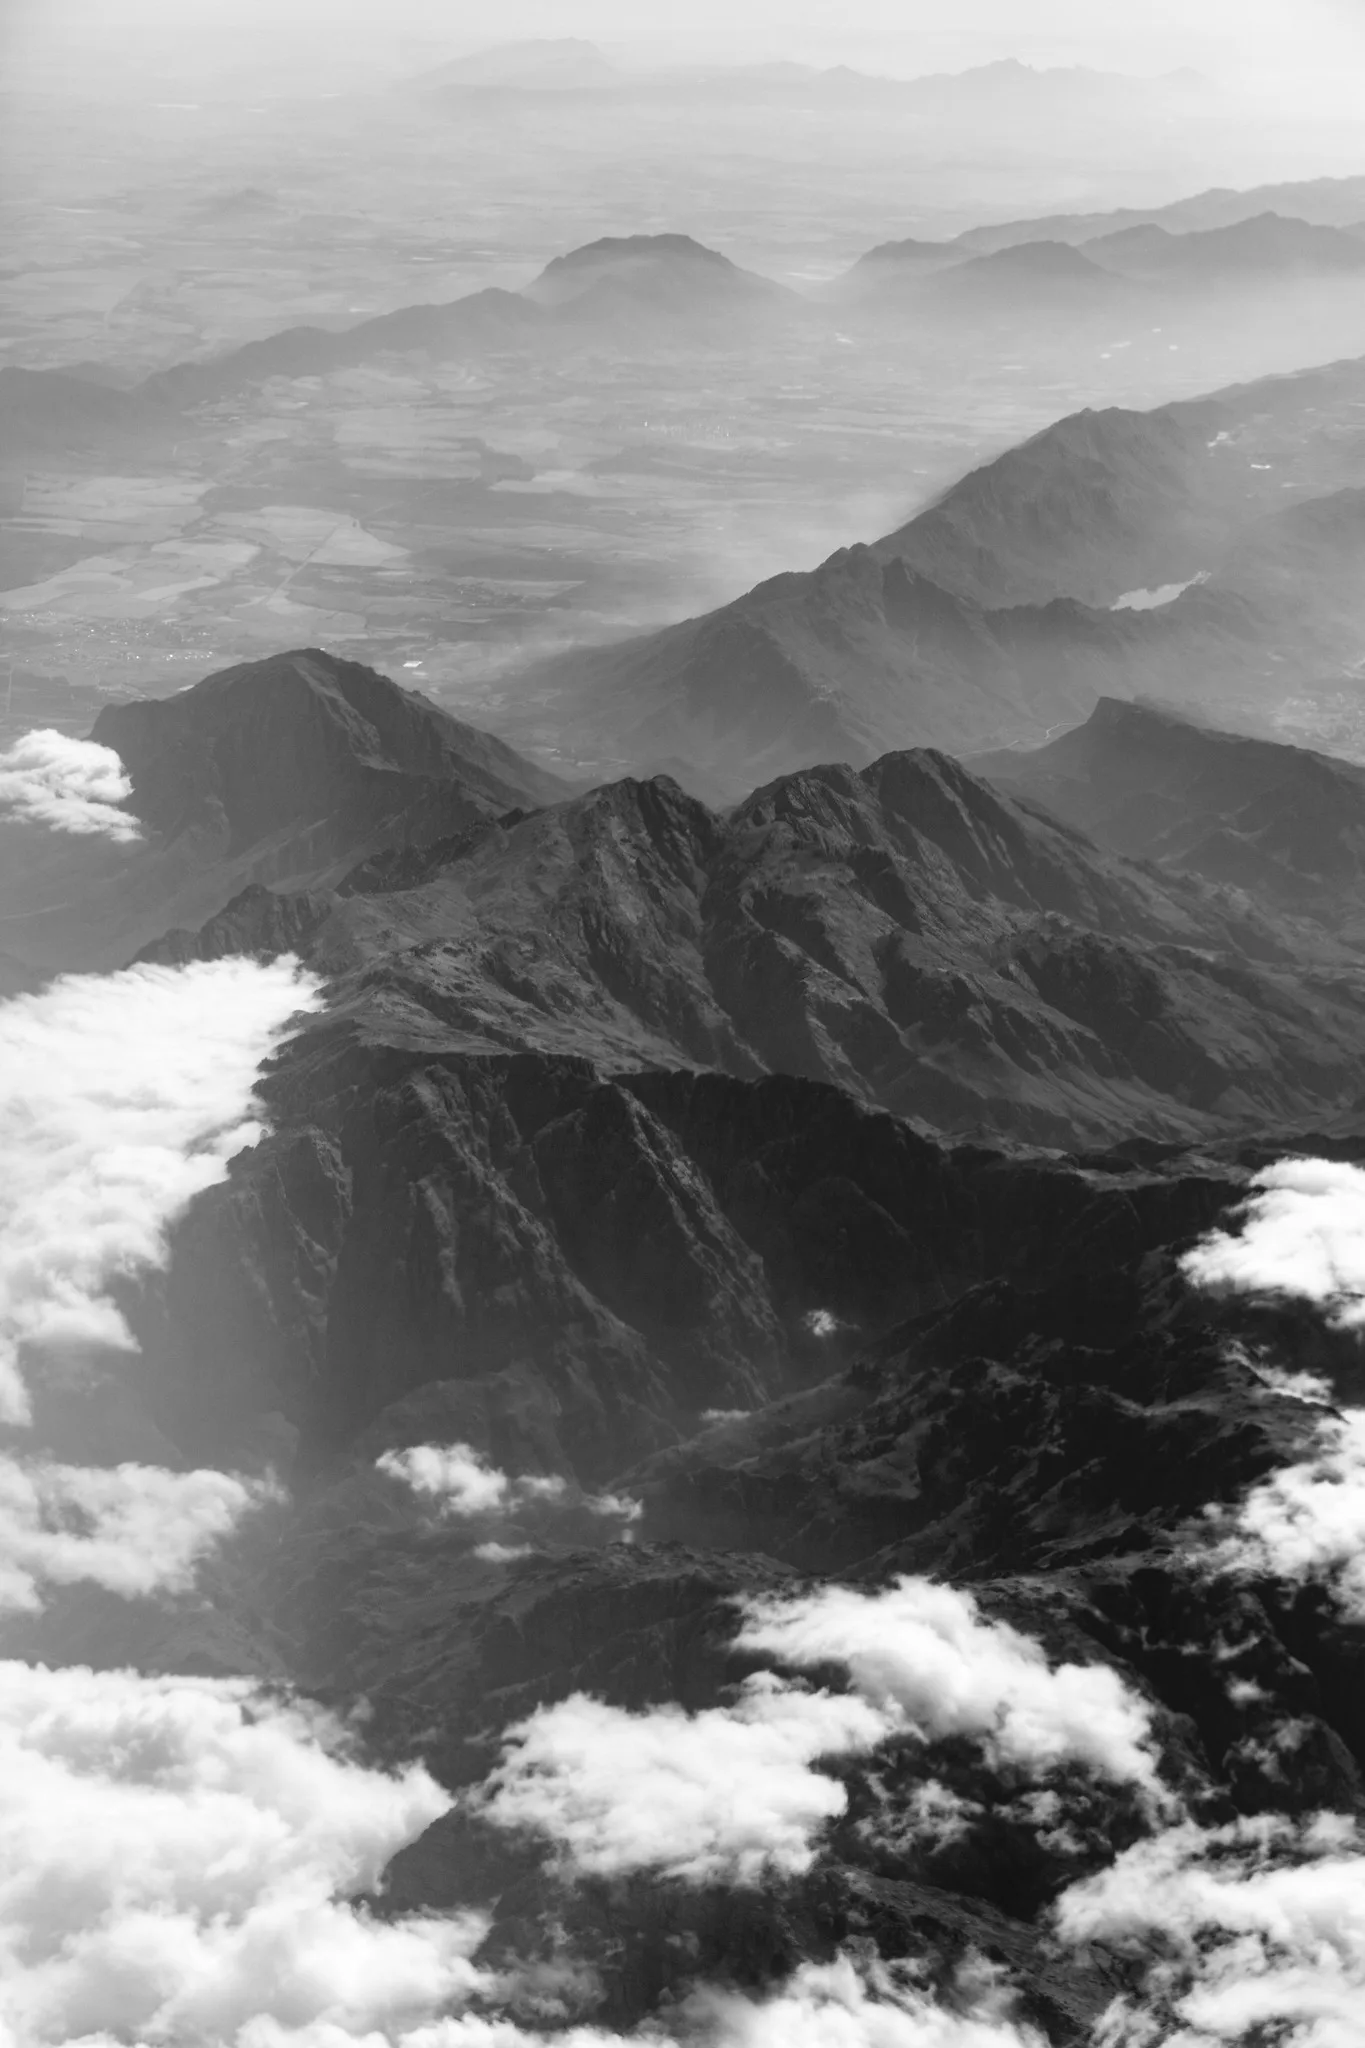
A passenger window is not one pane. It is usually a stack of acrylic layers with air gaps between them, and the inner one, the only one you can touch, collects scratches and fingerprints. Vantage points in general are covered in aerial photography without a drone; this section handles the window itself.
Choosing a seat
- Ahead of the wing if you can. The view down is clear, and you avoid the shimmering hot exhaust behind the engines, which smears detail.
- The shaded side. Work out where the sun will be from the direction and time of the flight. Direct sun lights up every scratch and fills the frame with a pale glow. From the shaded side, the ground is front lit and the window is dark.
- A clean window. Wipe the inner layer with a soft cloth before take-off. Marks between the layers are out of reach, so compose through the clearest area.
Settings in the air
- Hold the lens close to the window and square to it, with a rubber hood or your hand closing the gap.
- Set a shutter speed of 1/500 second or faster at cruising height, and 1/1000 or faster just after take-off and before landing, when the ground is close and slides past quickly.
- Use a moderately wide aperture, around f/4 to f/5.6. Scratches a few centimetres from the lens stay too blurred to see. At f/11 or f/16 they start to appear.
- Focus on the ground or the clouds with a single focus point. If the camera locks on the window, switch to manual focus and set it for the far distance.
Looking steeply down or far forward through the curved layers softens the image, so shoot roughly straight out. A view of about 50 to 100mm in full frame terms hides window defects better than a wide one.
Observation decks and hotel rooms after dark
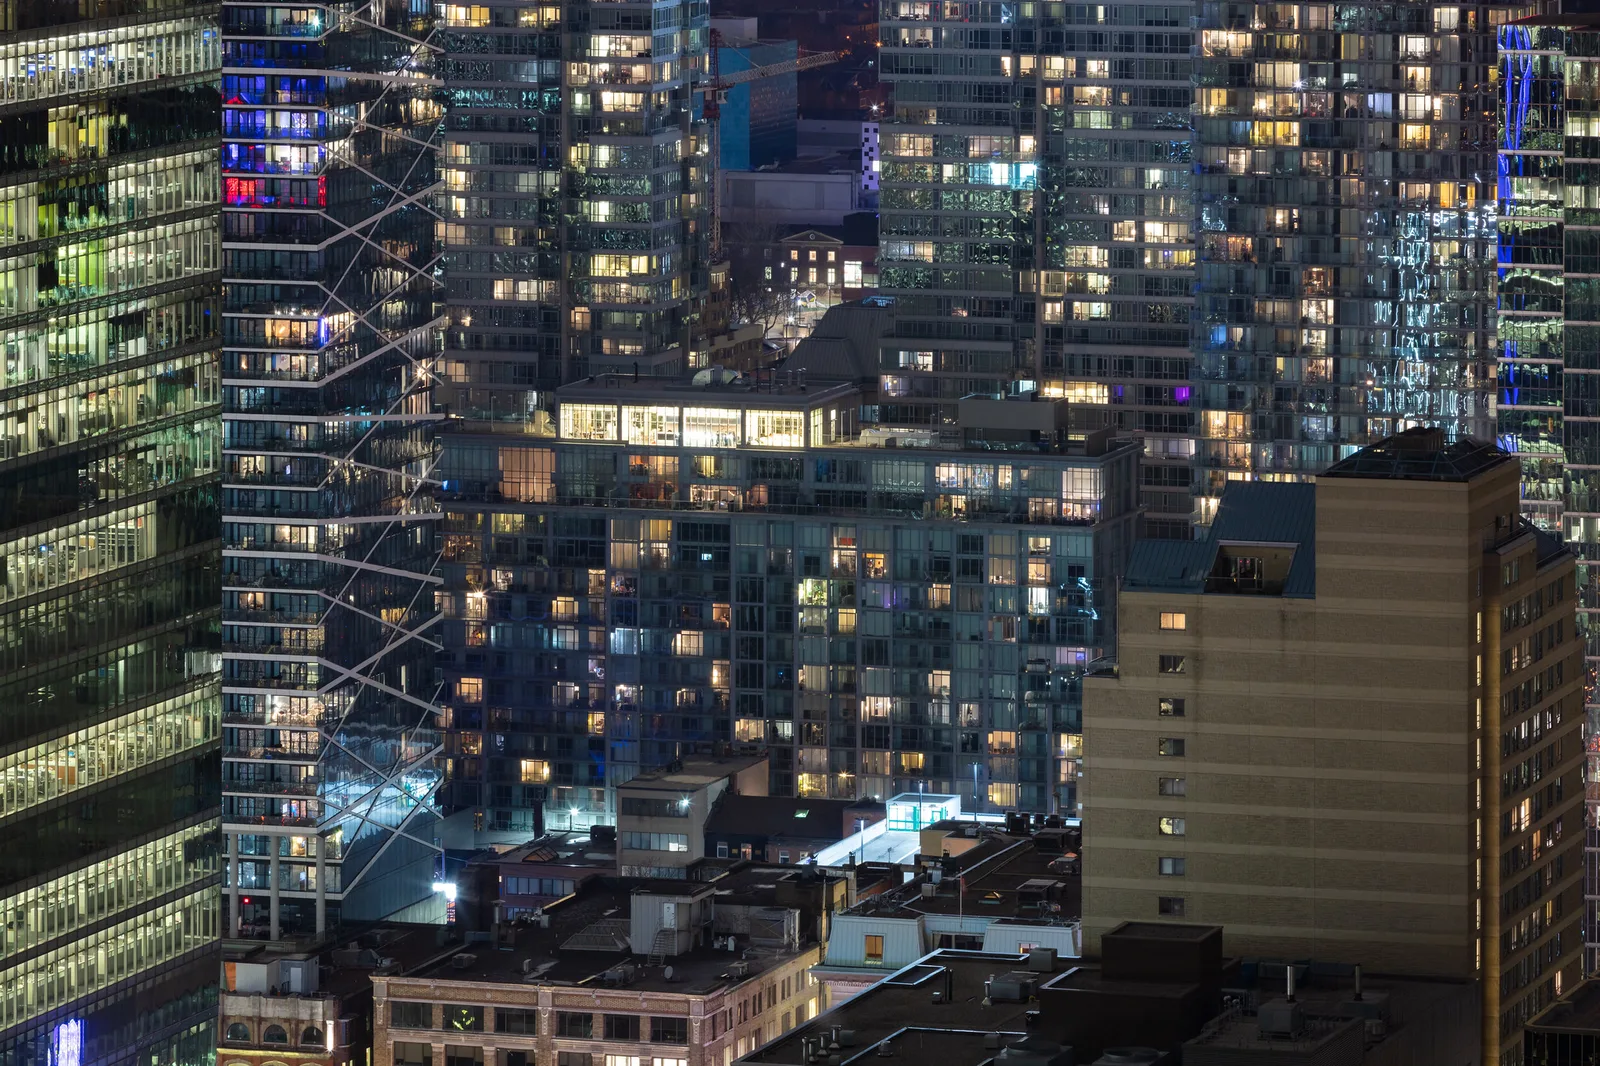
Night is the hardest case, because the brightness rule is against you: a lit room and a dark view. Arrive before sunset if you can. During dusk the sky and the city lights are close in brightness and reflections are weaker than they will be an hour later, as explained in blue hour photography.
In a hotel room
You control the light, so remove it. Turn off every lamp and screen, cover standby lights, then draw the curtains behind you and stand between them and the glass. If the window opens safely, shoot through the gap.
On a public deck
- Pick your pane. Choose a clean panel away from illuminated signs, shop counters and doorways.
- Seal with a rubber hood or a dark cloth. Where the glass is tilted outward, only the cloth will work.
- Cover your own lights. Dim the rear screen, and tape over or shield any indicator lamp on the front of the camera.
- Support the camera. Many decks restrict tripods, so check the rules before you go. Without one, press the hood against the glass, switch image stabilization on and shoot a short burst.
Where a tripod is allowed, set it close enough for the hood to touch the glass and use a two-second self-timer. Tall buildings carry vibration from lifts, footsteps and wind, so several exposures of 2 to 4 seconds are safer than one of 30. See also night photography and photographing cityscapes.
Ghost lights in double glazing
Double-glazed windows produce a fault that no seal can cure. A little of the light from each bright lamp bounces between the panes and comes through displaced, so the lamp gains a faint twin beside it. The displacement grows with the angle, so shoot square to the glass and the ghost sits almost on top of its source.
Trains, buses and cars: how fast a shutter a moving window needs
From a moving vehicle the main problem is motion. Blur depends on how far the scene slides across the frame during the exposure, and that depends on distance. At 100 km/h (about 60 mph) you travel roughly 28 metres every second, so during a 1/1000 second exposure you move about 2.8 centimetres.
| Subject distance (side-on view, normal lens) | Width of scene in the frame | Blur at 1/1000 second, 100 km/h | Result |
|---|---|---|---|
| 10 metres (trackside fence, bushes) | About 7 metres | About 1/250 of the frame width | Visibly smeared. Needs 1/4000 or faster, or leave it out |
| 100 metres (a farmhouse, a row of trees) | About 70 metres | About 1/2500 of the frame width | Sharp at normal viewing sizes |
| 1 kilometre or more (hills, a skyline) | About 700 metres | About 1/25,000 of the frame width | Sharp even at 1/250 |
- Use 1/1000 second as the default for views out of the side of a train or car, and 1/2000 or faster when anything within about 30 metres matters. Let the ISO rise to pay for it.
- Compose with the distance. Wait for gaps in the trackside clutter and frame the middle distance.
- Look forward or back, not straight out. Things ahead of or behind the vehicle slide across the frame more slowly than things directly beside it.
- Pick the shaded side and a seat away from interior lights. At night only a full seal with a cloth or rubber hood will give you a picture.
Longer lenses magnify the sliding along with the subject: double the focal length and you need a shutter speed twice as fast. Side windows are usually toughened glass, so leave the polarizer off. Photograph only as a passenger, and never lean out of a moving vehicle.
Shop windows, museum cases and tank panels
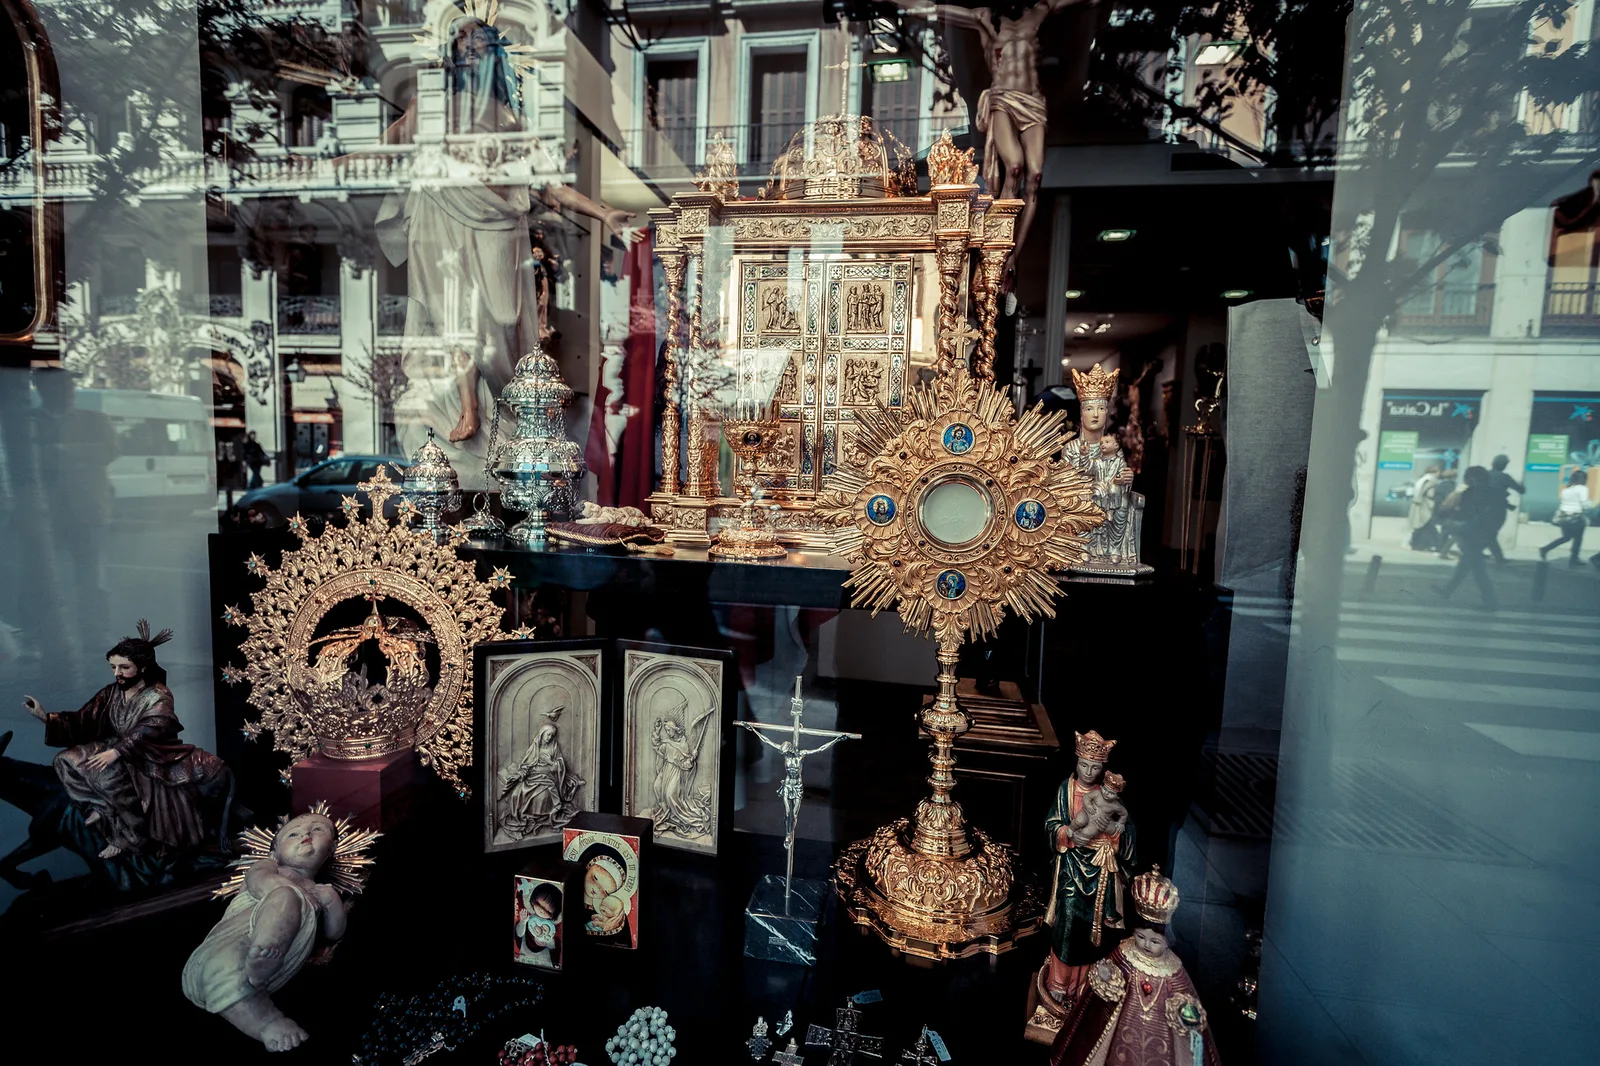
A shop window in daylight is the brightness rule at its worst: you are standing in the sun and the goods are in shade. Four options, most effective first:
- Come back at dusk. Once the street is darker than the lit display, the reflections vanish without any technique.
- Put the lens on the glass and photograph one section of the display at a time.
- Choose what is reflected. Stand where a dark doorway or a building in shadow sits behind you. Your own dark coat makes a clear patch in the glass; put the subject inside it.
- Use a polarizer from the side, at roughly 55 degrees away from straight on.
Or keep the reflection on purpose: reflection photography explains how to balance the two layers.
Museum display cases add spotlights inside the case and bright gallery windows behind you. Seal the lens to the glass where touching is permitted, otherwise shoot from slightly to one side so the reflections slide off the object, and never use flash. House rules and low light are covered in museum and church photography, and paintings under glass in photographing artwork.
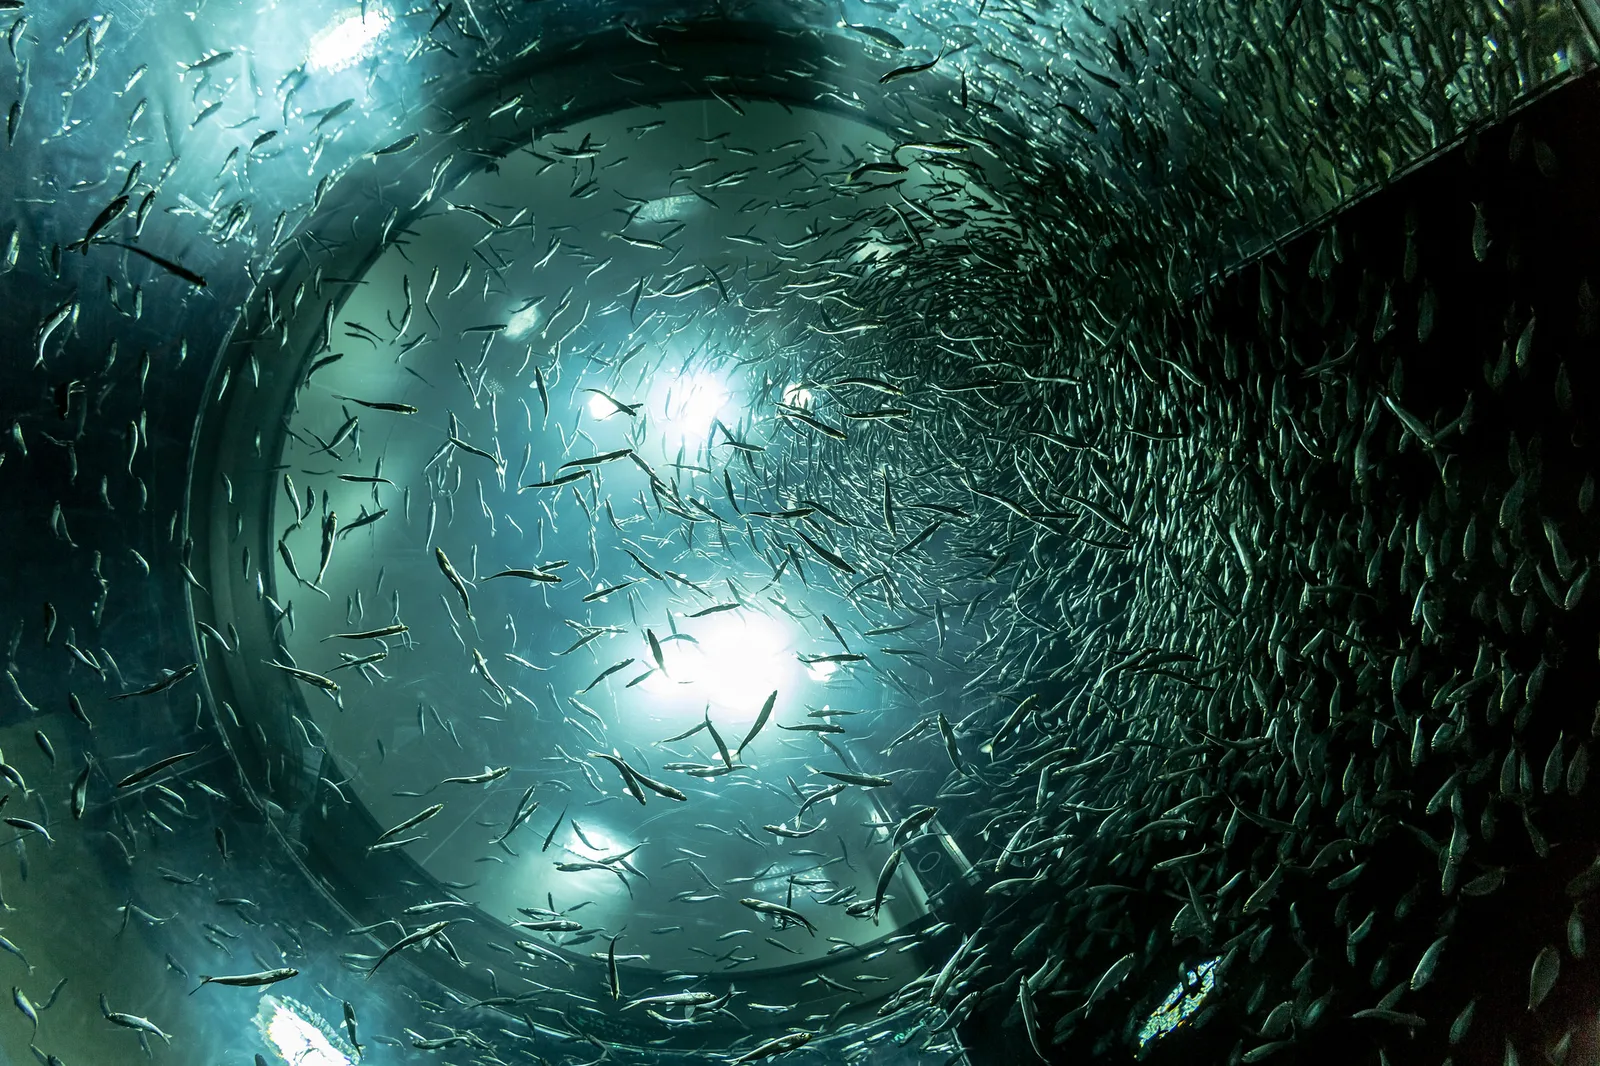
Aquarium panels are thick acrylic. Viewed at a slant, a thick panel bends light enough to soften detail and add colour fringes, so the square-on rule matters most here. The room is usually kept dark, which removes most reflections for you.
Dirt, tint and where the camera decides to focus
Dirt and scratches
Marks on the glass rarely show as marks. They are so far out of focus that each spreads into a faint veil, and together they lower contrast and put a glow around bright lights. A closer lens, a wider aperture and a longer focal length all shrink their effect. Small sensors with short lenses, including phones, have great depth of field, so raindrops and smears stay recognisable unless the lens is touching the pane.
Tint and colour cast
Building and vehicle glass is often tinted green, blue, bronze or grey. Shoot raw and correct the white balance afterwards by sampling something that should be neutral. Heavy tint also takes away a stop or more of light, so watch the shutter speed.
Focus
Autofocus looks for contrast, and dirt, raindrops, window frames and reflections all have plenty. Use one small focus point placed on the subject. If the lens has a focus limiter, set it to the far range so the camera ignores the glass. If focus still jumps, switch to manual.
A reflection is not located on the glass. Optically it lies as far behind the pane as the reflected object is in front of it. A lamp 3 metres behind you is 4 metres from a window 1 metre ahead, so its reflection is in focus at 5 metres. That has two consequences. A wide aperture focused on a distant skyline turns nearby room lights into large soft discs instead of hiding them. And if the camera locks on a reflection, the scene beyond will be out of focus even though the viewfinder showed something sharp.
What editing can and cannot fix afterwards
A reflection is added light, mixed into the picture pixel by pixel. No slider separates the two layers, so reflections have to be beaten at capture. Editing handles the side effects well.
| Problem in the file | Cause | Edit |
|---|---|---|
| Flat, milky picture with grey blacks | Veiling light from dirty or sunlit glass, plus haze | Set the black point, add contrast, then try a small amount of dehaze |
| Overall green or blue cast | Tinted glass or high-altitude haze | White balance on a neutral area; convert to black and white if colour cannot be saved |
| A small bright reflection over plain sky or water | A lamp or sign behind the camera | Spot removal, healing or clone tools |
| A reflection across fine detail such as a skyline | A room light at night | Usually not repairable to a high standard; crop it out or reshoot |
Go gently with haze removal. The dehaze control adds contrast and saturation most strongly where the picture is flattest, which exaggerates noise and colour casts. Start by setting the black and white points, since restoring a true black does most of the work. Small reflections over plain areas yield to the methods in removing distracting objects. Automated reflection removal in some editors guesses at what was behind the reflection, so check its result at full size.
Common mistakes
- Standing back from the glass. At arm’s length the lens sees a large area of pane and everything reflected in it. Fix: close the distance until the lens or hood touches, or cover the gap with a cloth.
- Leaving the flash on automatic. It fires in dim rooms and puts a white burst in the middle of the frame. Fix: switch the flash off before you raise the camera, on a phone as well.
- Shooting at a steep angle to fit everything in. Reflection strength climbs quickly with angle, and thick glass softens and doubles the image. Fix: move along the window until you are in front of the subject and shoot square on.
- Using a polarizer on an aircraft or car window. Rainbow bands or dark patches appear across the picture. Fix: take the filter off.
- Stopping down for sharpness. A small aperture brings scratches, dust and raindrops into view. Fix: stay around f/4 to f/5.6 for distant subjects.
Try this
After dark, stand in a lit room at a window that looks out on street lights or other buildings. With any camera or phone, take five pictures of the same view in about fifteen minutes. First, from one metre back with the room lights on. Second, with the lens touching the glass, square on. Third, lens touching but tilted about 20 degrees, with nothing covering the gap. Fourth, the same tilt with your hand or a dark cloth sealing the gap. Fifth, back at one metre with every light in the room switched off. The first shows the problem, the second and fourth show the seal, the third shows how little tilt it takes to break it, and the fifth shows that the brightness on your side was the cause all along.
Frequently asked questions
Does a polarizing filter remove window reflections?
Only from the side. It works best at about 56 degrees away from straight on and does nothing when you shoot square to the glass. It also costs one to two stops of light and causes rainbow patterns on aircraft windows and toughened vehicle glass.
Why do my night photos from an observation deck show the room behind me?
The room is much brighter than the city, so the few percent of room light that the glass reflects is as bright as the view. Seal the lens to the glass with a rubber hood or dark cloth so that no room light reaches the part of the window you are shooting through.
What shutter speed should I use from a moving train or car?
Start at 1/1000 second for views out of the side, and go to 1/2000 or faster if anything close to the vehicle is in the frame. Distant hills and skylines stay sharp at much slower speeds because they move across the frame slowly.
Why are my airplane window photos hazy and blue?
You are looking through several layers of scratched acrylic and many kilometres of air, both of which scatter light and lower contrast. Shoot from the shaded side with the lens close to the window, then restore the black point and correct the white balance in editing.
Related guides
- Zoo and aquarium photography: fences, tank panels, blue water and animals that will not hold still.
- Street photography through windows: exposure and composition for people behind café and shop glass.
- Aerial photography without a drone: aircraft, helicopters, balloons, rooftops and other high viewpoints.
- Reflection photography: using reflections in glass and water as the subject.
- Museum and church photography: dim interiors, exhibits and house rules.
- Night photography: exposure, focus and support after dark.