Rivers and streams bring life and movement to the landscape. A mountain stream tumbling over rocks, a lazy river curling through a valley, a creek reflecting autumn trees: each one offers a different mood and a different way to show moving water. Rivers are also wonderful teachers, because photographing them shows you exactly what shutter speed does to motion.
This guide covers finding good viewpoints, photographing rivers from above and at water level, rocks and rapids, choosing a shutter speed, light and weather, rivers through the seasons, life along the water and how to stay safe. For tumbling drops, the guide on how to photograph waterfalls goes deeper, and the guide to long exposure photography covers slow shutter speeds in detail.
Why rivers make good pictures
Rivers combine several of the strongest elements in landscape photography, which is why they appear in so many memorable pictures.
- Movement. Flowing water can be frozen into droplets or smoothed into silk, giving you creative choices that still subjects never offer.
- Lines. The course of a river is a natural leading line that guides the eye through a scene, often in elegant S-shaped curves. The guide to leading lines explains why curves are so effective.
- Texture and contrast. White water against dark rocks, smooth pools against rough banks and reflections against ripples all create visual interest.
- Life. Rivers attract birds, animals, anglers, paddlers and people walking along their banks.
- Place. Rivers shape valleys, towns and cities, so they connect a landscape with the people who live in it.
Rivers are also everywhere, from tiny creeks in city parks to wide rivers running through farmland. You rarely have to travel far to find one worth photographing.
Finding the best viewpoint
The same river can look ordinary or extraordinary depending on where you stand. Exploring the banks before setting up pays off.
- Walk the banks. A few minutes upstream or downstream can reveal a better bend, a group of rocks or a clearer view of mountains behind.
- Look for bends. A river curving toward or away from the camera leads the eye far better than one running straight across the frame.
- Use bridges. A bridge gives a view straight down a river, with its banks converging toward the distance. Stay on footpaths and away from traffic.
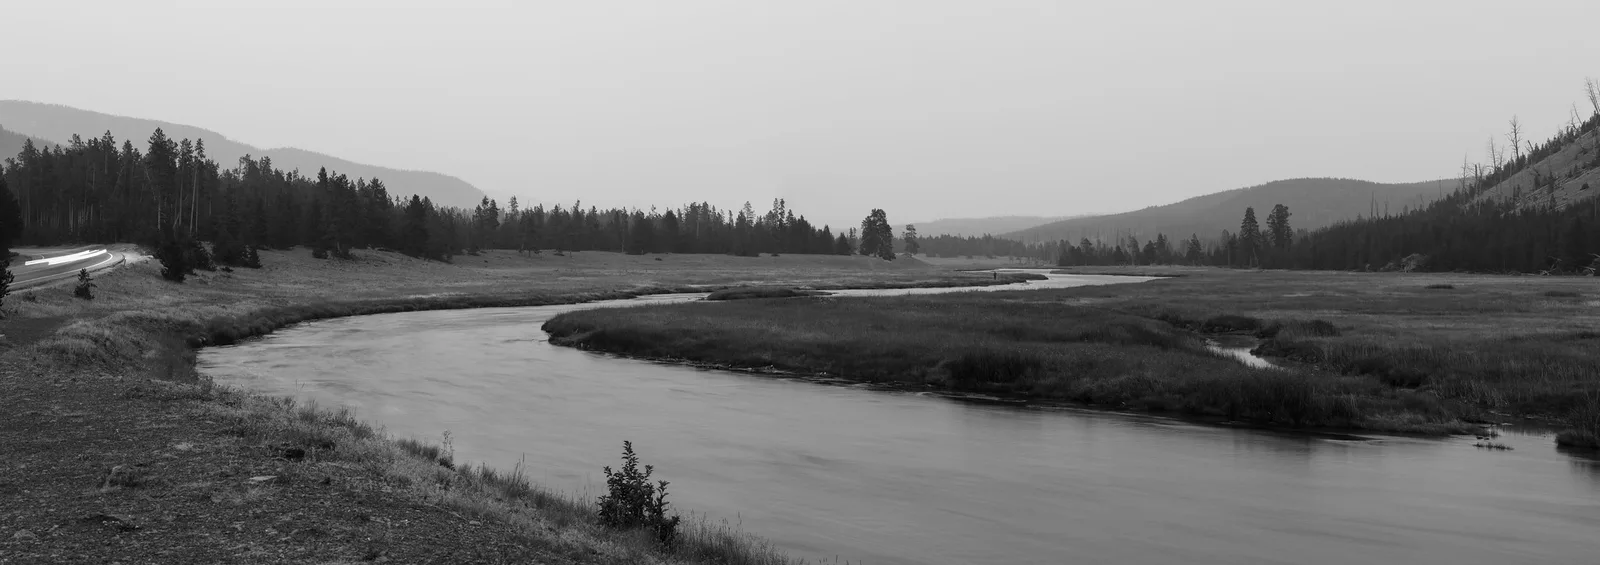
- Find a high point. A hill, cliff or overlook shows a river winding through its valley, like the meandering river in the second photo on this page.
- Get down to the water. Rocks at the edge of a stream let you photograph the flow at its own level, with water rushing toward the lens.
Look at a map or satellite view before you go to find bends, rapids, confluences and viewpoints. The guide to location scouting explains how to plan.
Sound is a good guide too. Listen for rapids and small falls as you walk; the noise of water often leads to the most interesting stretches of a stream before you can see them.
Rivers from above
From a high viewpoint, a river becomes a line drawn across the land. These pictures show the shape of a landscape in a way no other view can.
- Look for S-curves and loops. Meandering rivers on flat valley floors form graceful curves. Frame so the curve flows through the picture, entering near one corner.
- Use side light. Low morning or evening sun lights one side of the valley and casts shadows that show the shape of the land.
- Use reflections. From above, a river reflects the sky, turning into a bright ribbon through darker land.
- Try black and white. A shining river through dark fields or forest can be striking in monochrome. See the guide to black and white photography.
- Use a longer lens to isolate a single bend or a pattern of channels and sandbars.
The aerial photography guide covers views from planes and other high places in more depth.
Want to frame the river’s curves with more confidence? The guide to composition explains how lines and shapes guide the eye.
Rocks, rapids and the water’s edge
Down at the water’s edge, rivers are full of texture and drama.
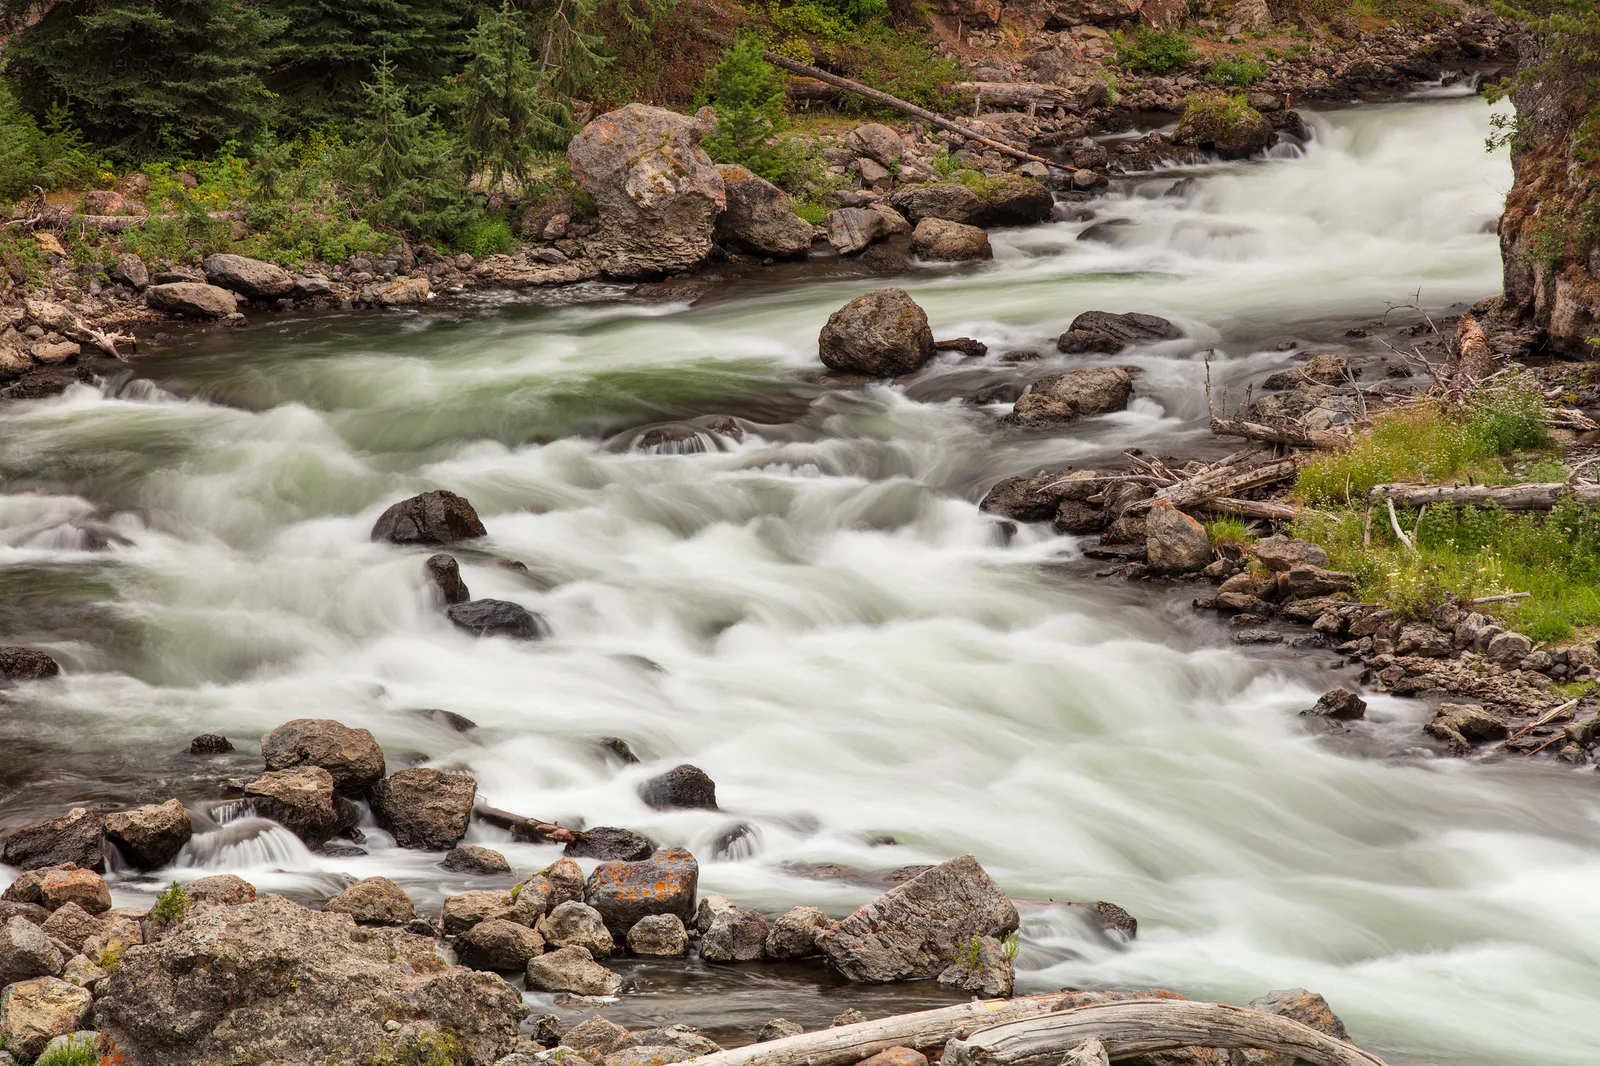
- Rocks as anchors. A strong rock in the foreground, with water flowing around it, gives a picture structure. The photo at the top of this page uses rocks to break up the white water.
- Rapids and cascades. Small drops and rapids create white water and movement. Get close and low to fill the frame with them.
- Pools and eddies. Calm pools between rapids hold reflections and swirling patterns of foam or leaves.
- Mossy stones and fallen logs add color and texture to forest streams.
- Look downstream. Shooting downstream shows water flowing away, which feels calm. Shooting upstream shows water rushing toward you, which feels energetic.
Get close to the foreground and use f/11 to keep both the near rocks and distant banks sharp. The guide to foreground interest has more on this.
Choosing a shutter speed
Shutter speed is the most important creative choice when photographing moving water. Different speeds give very different results.
| Shutter speed | Effect on the water | Best for |
|---|---|---|
| 1/1000 or faster | Frozen droplets and splashes | Rapids, splashes, energy |
| 1/60 to 1/15 | Slight blur with some texture | A natural look, handheld |
| 1/4 to 1 second | Soft, flowing streaks | Cascades and rapids with texture |
| 2 to 10 seconds | Smooth, silky water | Calm, dreamy streams |
| 30 seconds or more | Misty, glassy surface | Wide rivers and minimal scenes |
There is no right answer. Many photographers find that a speed around half a second keeps some texture in the water while still showing movement. Try several and compare. The guide to shutter speed explains the basics.
Remember that different parts of the same scene move at different speeds. Fast rapids blur quickly, while slow pools need much longer exposures to smooth. Choose the speed for the part of the river that matters most in your frame.
Making silky water
Smoothing water with a long exposure is one of the most popular river techniques. It needs a few simple tools.
- A tripod. Any exposure longer than about 1/30 needs a steady support. Set it on solid rocks or the bank, not in fast water.
- Low ISO and small aperture. Use the lowest ISO and an aperture such as f/11 to f/16 to lengthen the exposure.
- An ND filter. In daylight you will usually need a neutral density filter to make exposures long enough. See the guide to the ND filter.
- A polarizer. A polarizing filter removes glare from wet rocks and water and also darkens the exposure by about two stops. See the polarizing filter guide.
- A timer or remote. Use the two-second timer or a remote release to avoid shaking the camera.
Overcast days and shaded forests are ideal for silky water, because the light is low and even, and bright white water does not burn out.
If you do not have an ND filter, you can still blur water. Wait for shade or dusk, use the lowest ISO and smallest aperture, or take several shorter exposures and blend them in editing to mimic a longer one.
Light and weather
Light changes a river’s mood dramatically.
- Overcast skies are excellent for streams and forests. Soft light keeps detail in white water and makes moss and leaves glow. The guide to overcast day photography explains why.
- Golden hour warms rivers in open valleys and makes the water glow with reflected color.
- Mist and fog often hang over rivers on cool mornings, especially in autumn. Arrive early to catch it. See fog photography.
- After rain rivers run higher and faster, and rocks and leaves look rich and wet. Take care, because water levels can rise quickly.
- Bright sun creates harsh contrast in forests and burns out white water, but can work for wide rivers in open landscapes.
Reflections are another reason to watch the light. Where a river slows into a pool, it can mirror trees, cliffs or a colorful sky, especially in calm air early or late in the day.
Rivers through the seasons
Rivers change through the year, both in their flow and in their surroundings.
- Spring brings high water from rain and snowmelt, with powerful rapids and fresh green banks.
- Summer lowers water levels, revealing rocks and pools, and brings long evenings and people on the water.
- Autumn fills rivers with colorful leaves and reflections of fall color. Leaves swirling in pools make lovely long exposures. See fall photography.
- Winter adds ice along the banks, snow on rocks and steam rising from open water on cold mornings. See the winter photography guide.
Returning to the same stretch of river in each season makes a beautiful set. Stand in the same spot each time, note it on a map and keep the framing the same so the changes speak for themselves.
Life along the river
Rivers are full of life, and including it adds stories to your pictures.
- Wildlife. Herons, kingfishers, ducks, deer and other animals come to rivers to feed and drink, often early and late in the day. Use a longer lens and stay quiet.
- People. Anglers casting, paddlers in kayaks and people walking on riverside paths show how a river is used and enjoyed.
- Bridges and towns. Old stone bridges, mills and riverside towns show the human history of a river. The guide to bridge photography has more ideas.
- Boats. Riverboats, ferries and barges show working rivers.
A small creek near home can be just as rewarding as a famous river. Visiting often lets you learn how it changes after rain, in drought and through the seasons, and gives you endless chances to practice shutter speeds and composition.
Staying safe near rivers
Rivers can be dangerous, even when they look calm.
- Wet rocks are slippery, especially those covered in moss or algae. Move slowly and test each step.
- Do not wade in fast water. Even shallow water can knock you over if it is moving quickly.
- Watch water levels. Rivers can rise fast after rain upstream. Know your way back to the bank.
- Protect your gear. Keep a strap on the camera and a dry bag for crossings. The guide to hiking photography covers carrying gear safely.
- Stay off ice along rivers in winter unless it is known to be safe.
Exploring rivers on foot? The guide to hiking photography covers carrying gear safely on trails and crossings.
Editing river photos
Moving water and bright rapids need a careful hand in editing, because the brightest parts of a river are easy to lose.
- Protect the highlights. Lower the highlights and whites until the brightest water still shows texture. White water with no detail looks like a hole in the picture.
- Lift the shadows gently. Forest streams often have deep shade under banks and trees. A small shadow lift reveals detail without making the scene look flat.
- Cool or warm with care. Water in shade often looks blue. A small shift in white balance brings back neutral water, or you can keep a little coolness for a fresh mood.
- Bring out wet rocks. A touch of clarity or texture on rocks and moss adds crispness next to soft water, but keep it local so the water stays smooth.
- Straighten and crop. Rivers do not need a level horizon, but trees and banks should not lean. Crop to strengthen the curve of the water.
Want to adjust only part of a picture, such as the water or the sky? The guide to global and local adjustments explains how.
Common mistakes
- Blown-out white water. Bright water loses all detail. Fix: shoot on overcast days or in shade, and check the histogram.
- Too much blur. Water looks like fog with no texture. Fix: try a faster shutter speed, around half a second.
- A shaky tripod. Fix: set it on solid ground, not in moving water, and use a timer.
- Glare on rocks. Fix: use a polarizing filter.
- No foreground. Fix: include rocks, logs or plants close to the camera.
- Unsafe positions. Fix: stay on dry, stable ground and never take risks for a picture.
Try this: a 10-minute shutter speed study
Find a small stream with some rapids and set up a tripod on safe ground.
- Minutes 1 to 2: Compose a frame with a rock in the foreground and water flowing past.
- Minutes 3 to 4: Shoot at 1/1000 to freeze the water.
- Minutes 5 to 6: Shoot at 1/15 for slight blur.
- Minutes 7 to 8: Shoot at half a second for soft streaks.
- Minutes 9 to 10: Shoot at two seconds or longer for silky water.
Compare the five pictures side by side and decide which mood you prefer.
Frequently asked questions
What shutter speed makes water look silky?
Around one to ten seconds, depending on how fast the water moves. Half a second keeps some texture.
Do I need an ND filter for rivers?
In daylight, usually yes, for long exposures. In shade, on overcast days or at dusk you may not need one.
How do I photograph a river from above?
Find a hill, overlook or bridge, look for curves and use low side light to show the shape of the land.
Can I photograph streams with a phone?
Yes. Many phones have a long exposure or motion mode that smooths water. Brace the phone on a rock or use a small tripod.
How do I keep my lens dry near rapids?
Use a lens hood, keep a soft cloth handy and wipe spray between shots. Point the camera slightly away from the spray when you are not shooting.
What is the best time of day for forest streams?
Overcast days or early and late in the day, when the forest is in even shade and white water keeps its detail.
How do I stop my tripod moving in a stream?
Set the legs on solid rock or firm gravel rather than in moving water, spread them wide and press them down. Hang your bag from the center column for extra weight if the ground allows.
For terms such as shutter speed, ND filter, long exposure and leading lines, see the photography glossary.