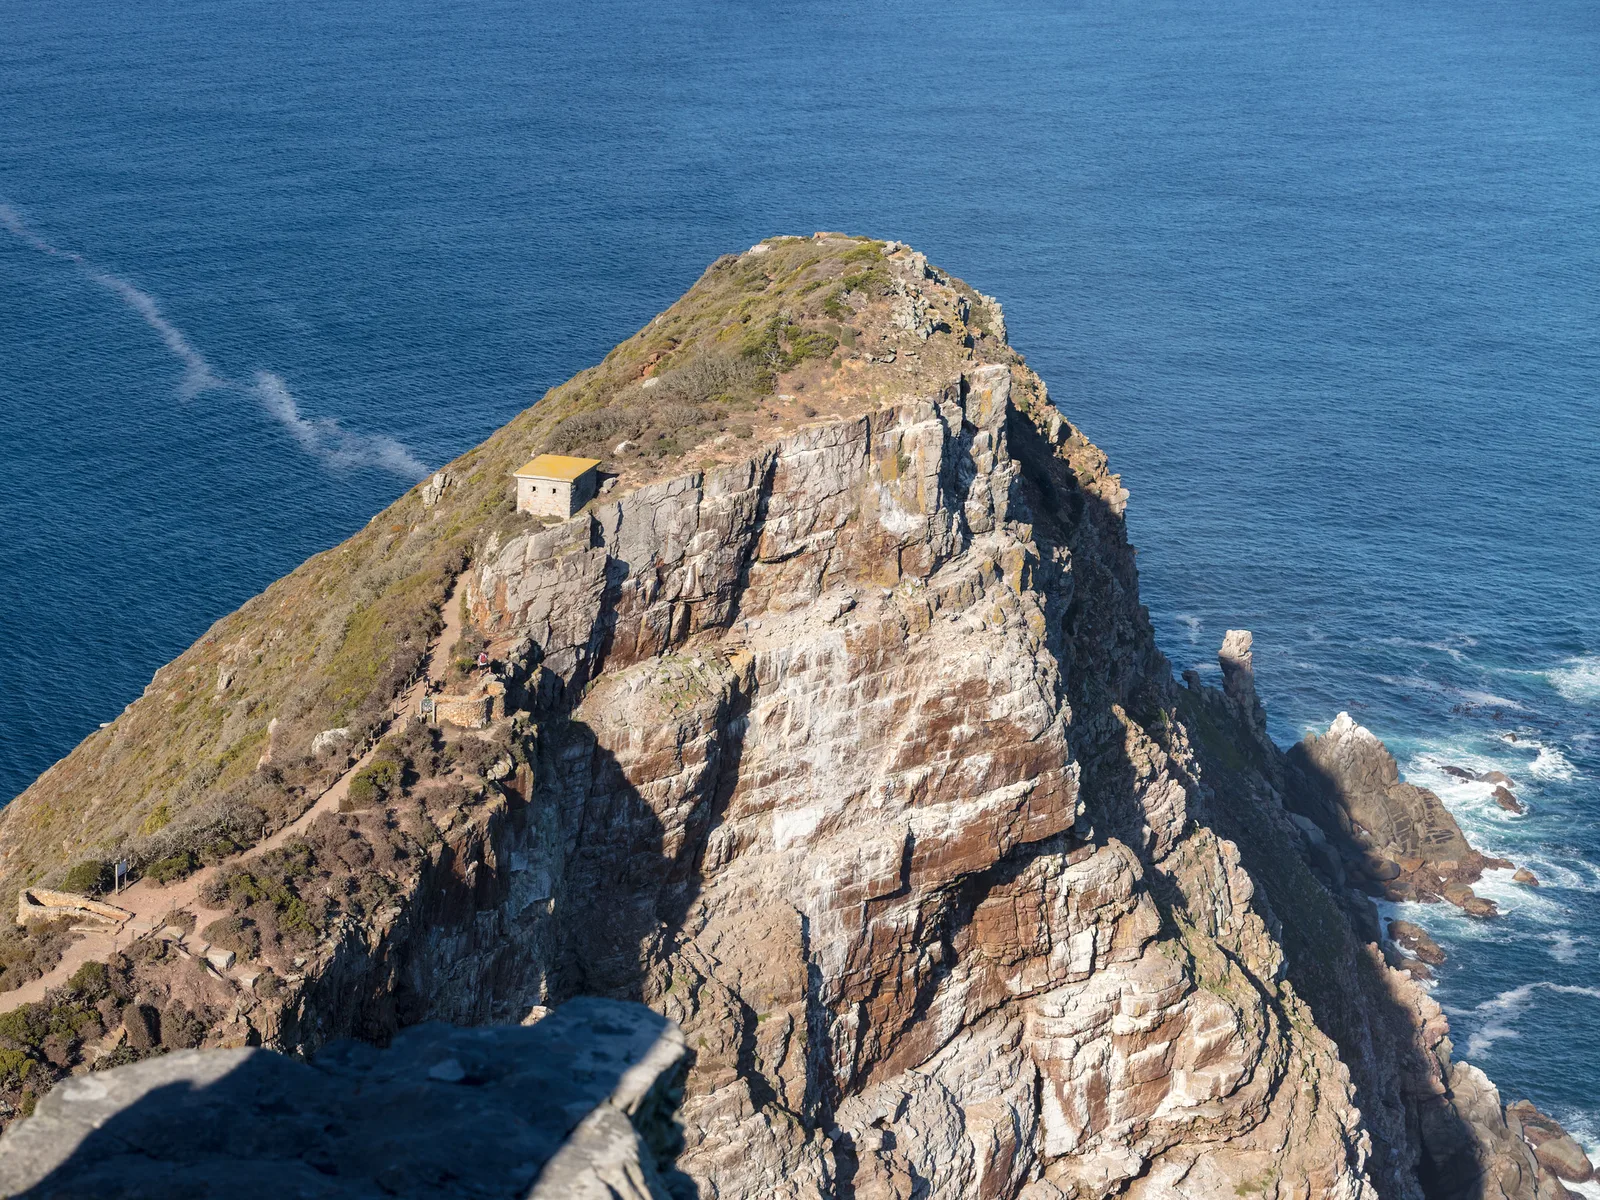
Sea cliffs are where the land meets the ocean in its most dramatic form. Towering rock faces, jagged headlands, sea stacks and arches stand against crashing waves, with seabirds wheeling overhead and the horizon stretching away. Coastal cliffs offer some of the most powerful landscape pictures anywhere, and with care and planning, beginners can photograph them safely and beautifully.
This guide covers safety at the edge, finding viewpoints, showing scale, waves and water, light and direction, long exposures, weather and mood, sea stacks and arches, wildlife, settings, editing and common mistakes. For coastal scenes in general, see the guides to seascape photography and beach photography.
Why coastal cliffs make great subjects
Cliffs combine the drama of mountains with the movement of the sea, which gives pictures energy and depth.
- They are dramatic. Sheer rock, deep shadows and crashing surf create bold, powerful scenes.
- They have texture and color. Layered rock, lichen, grass and wildflowers add detail and contrast.
- They change constantly. Tides, waves, light and weather transform the same cliff from hour to hour.
- They give viewpoints. From the top, you can look along the coast or down onto beaches, coves and rocks.
- They are full of life. Seabirds nest on ledges, and seals and other marine animals often rest below.
Coastal cliffs also make you think about safety, planning and patience, skills that make every landscape trip more successful.
Safety first at the edge
Cliffs are dangerous. Edges can crumble, grass can hide overhangs, wind can gust suddenly and waves can surge high onto rocks below. No picture is worth risking a fall.
- Stay well back from edges. Cliff edges are often undercut and unstable. Keep several steps back, and never stand on overhanging rock.
- Stay on marked paths. Coastal trails are placed for safety and to protect fragile ground.
- Watch your footing. Wet grass, loose gravel and slippery rock are common. Wear sturdy shoes with good grip.
- Mind the wind. Strong gusts can unbalance you or knock over a tripod. Keep a low stance and hang a bag from the tripod.
- Do not walk backward. It is easy to step back while composing. Plant your feet before you look through the camera.
- Know the tides. On beaches below cliffs, rising water can cut off your route back. Check a tide table before you go.
If you are focused on the screen, it is easy to forget where you are. Look up, look around and set up only in places where you feel completely secure. The guide to planning around the sun, moon and tides covers tide safety in detail.
Finding the best viewpoints
The best cliff pictures often come from looking along the coast rather than straight out to sea. From a headland or clifftop path, a coastline stretching into the distance, with one cliff behind another, creates depth and layers.
- Look along the cliff. Standing to one side of a headland shows its profile and shape.
- Find a viewpoint across a bay. Cliffs are often best seen from the opposite side of a cove or bay.
- Look down safely. From a secure viewpoint, looking down on a beach, rock arch or swirling water makes a striking picture.
- Go down to the beach. Where it is safe and the tide allows, the view from below shows the cliff towering overhead.
Scout in advance with maps and satellite views to find headlands, viewpoints and access paths. The guide to scouting locations explains how.
Clifftop walks
Many coastlines have long clifftop paths that make perfect photo walks. Each bend reveals a new cove, headland or view along the coast, so walk slowly and turn around often, since the view behind you may be the best one. Look for paths curving along the cliff edge as leading lines, gates and stiles as foreground interest and benches placed at viewpoints. Walking the same path in both directions, or at different times of day, often shows completely different pictures. Carry water, a wind layer and a small bag rather than heavy gear, so you can walk comfortably and keep your hands free on steep sections.
Showing scale
Cliffs can look small in pictures unless something shows how big they are. Add a recognizable element for scale: a person walking a clifftop path, a lighthouse, a building, a boat on the water below or a seabird in flight. A tiny figure against a vast cliff face makes the size obvious immediately.
Keep the scale reference small, often just a few percent of the frame, so the cliff stays the main subject. If you are traveling with a friend, ask them to walk to a safe spot on the path while you stay back with a longer lens. Place it where it stands out against a contrasting tone, such as a dark figure against pale sky or a white building against dark rock. The guide to fill the frame explains when context matters more than a tight crop.
Waves and water
The sea brings movement and drama to cliff scenes. Waves crashing against the base of a cliff, spray rising into the air and foam swirling around rocks all add energy. Watch the waves for a while to learn their rhythm, since every few minutes a larger set arrives. Be ready with the camera when you see a bigger swell rolling in, and shoot a short burst as it hits the rock.
Use a fast shutter speed, around 1/1000 second, to freeze spray and crashing waves. A slower speed, around 1/4 to 1 second, turns moving water into soft streaks and swirls. Try a range of speeds and compare the results. Stay far back from the water’s edge on rocks below cliffs, since large waves can surge without warning.
Water color
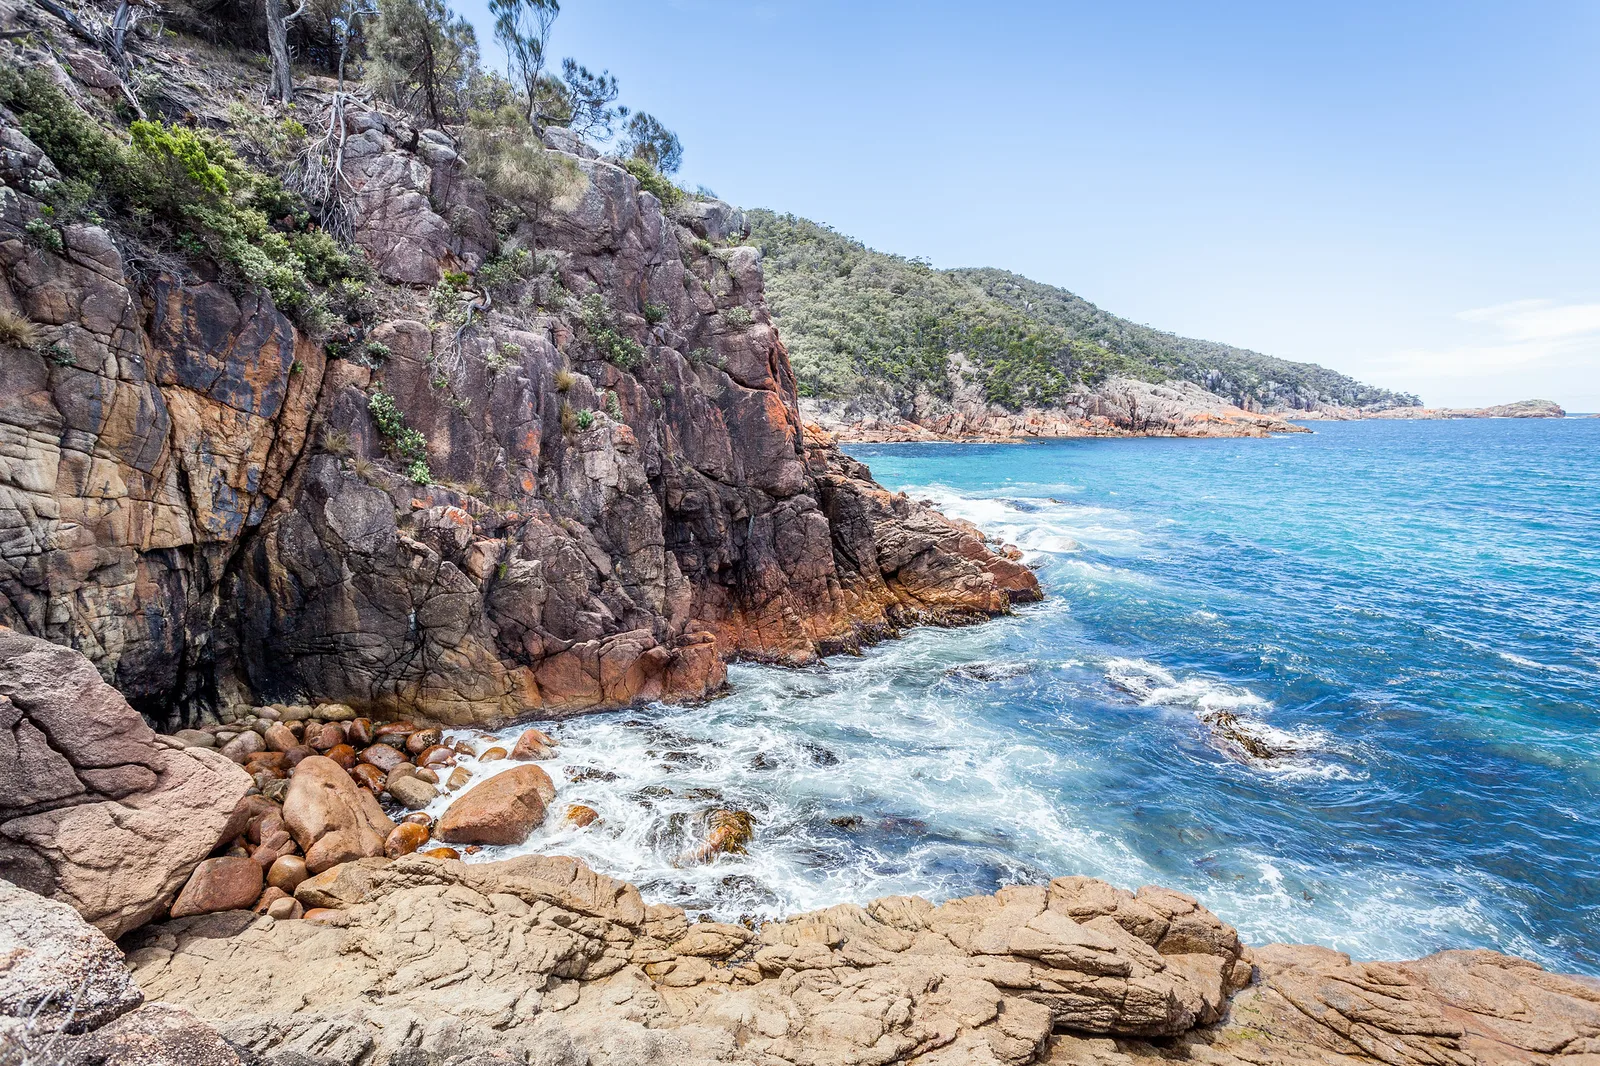
From above, coastal water can show beautiful shades of turquoise, blue and green, especially over sand or rock. A polarizing filter cuts glare on the water’s surface and deepens color, letting you see into the shallows. The guide to the polarizing filter explains how to use it.
Want to make the most of the sea itself? The guide to seascape photography covers waves, rocks and long exposures at the shore.
Light and direction
Light can make or break a cliff picture. Cliffs facing the sun at sunrise or sunset glow with warm color, while cliffs in shadow can look flat and dark. Check which direction the cliffs face before you go, and plan to arrive when light falls across them.
Side light, from the left or right, shows texture and shape in rock faces. Direct front light can make vertical faces look flat, especially at midday, when the sun is high and shadows are short. Backlight creates silhouettes of headlands and sea stacks against a bright sky, and sparkles on the water. The guide to direction of light explains how angle affects cliffs and canyons alike.
Golden hour and blue hour
Early morning and evening bring the warmest light and softest shadows. Blue hour, after sunset or before sunrise, turns the sea and sky cool and calm, which suits moody cliff scenes. Plan your walk so you are at the viewpoint before the best light arrives, with time to set up safely, and carry a headlamp for the walk back in fading light. The guide to golden hour photography explains timing.
Long exposures
Long exposures turn rough seas into smooth, misty surfaces around solid rock, creating calm, minimal pictures. Use a tripod, a low ISO and a neutral density filter to slow the shutter speed to several seconds or longer in daylight. At dusk, long exposures are possible without filters.
Keep the tripod steady in wind by spreading the legs wide, lowering the center column and hanging a bag from the hook. Use a remote release or the self timer to avoid shake. Watch for spray on the lens and wipe it between frames. The guide to long exposure photography covers the technique in depth.
Weather and mood
Coastal cliffs are wonderful in dramatic weather. Storms bring huge waves and dark skies, fog wraps headlands in mystery and broken clouds send shafts of light across the sea. Even a gray day can make strong, moody pictures of dark rock and pale sea. Black and white often suits these scenes, turning them into studies of shape, tone and texture.
Bad weather also brings risk. Strong winds, slippery paths and huge waves make cliffs more dangerous, so take extra care and stay well back. Protect your camera from spray and rain with a cover, and wipe salt off the lens often.
Details on the clifftop
Not every picture needs the whole cliff. Look closely at the clifftop itself: wildflowers clinging to thin soil, lichen in orange and yellow patches on rock, wind bent grasses, patterns of layered stone and pebbles in a crack. Close details like these make a set of coastal pictures richer, and they are perfect for gray days when the wide view is flat. Get low, fill the frame and use soft light to show color and texture.
Heading out in rough conditions? The guide to bad weather photography covers protecting gear and making the most of storms and fog.
Sea stacks, arches and caves
Erosion carves cliffs into remarkable shapes: sea stacks standing alone offshore, natural arches, blowholes and sea caves. These features make excellent focal points, and each one rewards a little patience as the light and tide change around it. A sea stack silhouetted at sunset, waves crashing through an arch or a lone pillar of rock in a calm long exposure are classic coastal pictures.
Look for viewpoints that separate the feature from the cliffs behind it, so its shape stands out clearly. At night, sea stacks also make lovely foregrounds for stars, as the guide to astro landscape photography describes.
Wildlife on the cliffs
Many cliffs are home to nesting seabirds, and some host huge colonies in the breeding season. Seals and other animals often rest on rocks below, and on some coasts whales and dolphins pass close to headlands at certain times of year. Keep your distance, stay on paths and follow any seasonal closures. A telephoto lens helps photograph birds on ledges without disturbing them, and a clifftop viewpoint can put you level with birds riding the updrafts along the cliff face, which makes flight pictures much easier. The guide to seabird photography covers gulls, gannets and more.
Settings for coastal cliffs
- Landscapes: f/8 to f/11, ISO 100, tripod in low light.
- Frozen waves: 1/1000 second or faster.
- Soft water: 1/4 second to several seconds, with a tripod and ND filter.
- Lens: a wide angle for big scenes, a short telephoto to isolate headlands and sea stacks.
- Filters: a polarizer for water color and an ND filter for long exposures.
Editing cliff photos
Keep editing natural. Level the horizon, balance bright sky and dark rock and add a little contrast to bring out texture. Watch the color of the sea, which can easily look too saturated. Remove dust spots against plain skies, and avoid heavy sharpening that creates halos along cliff edges.
Need a step by step editing routine for landscapes? The guide to editing landscape photos walks through the main adjustments in order.
Common mistakes
- Standing too close to the edge. Stay well back and on marked paths.
- No sense of scale. Add a person, building, boat or bird.
- Flat light on the cliff. Check which way the cliff faces and plan for side or warm light.
- Tilted horizons. Use the level or grid to keep the sea flat.
- Spray on the lens. Wipe it often and check every frame.
- Tripod blown over. Lower it and hang a bag for weight.
- Ignoring tides. Check the tide before walking on beaches below cliffs.
Try this: a 10-minute clifftop study
On a safe clifftop path, give yourself ten minutes:
- Minutes one to three: look along the coast and make one picture showing cliffs layered into the distance.
- Minutes four to seven: add scale with a walker, boat or building small in the frame.
- Minutes eight to ten: try two shutter speeds on waves below, one fast and one slow, and compare.
At home, notice which picture best shows the size and drama of the place. Then plan a return visit at a different time of day or tide, and see how the same viewpoint changes. Many of the best cliff pictures come from the second or third visit, once you know exactly where to stand and when the light will be right.
Frequently asked questions
How do I photograph cliffs safely?
Stay on marked paths, keep well back from edges, watch the wind and tides and never walk backward while composing.
What lens is best for coastal cliffs?
A wide angle for big scenes and a short telephoto for isolating headlands, sea stacks and distant cliffs.
When is the best time to photograph cliffs?
When warm, low light falls across the cliff face, usually at sunrise or sunset depending on which way it faces.
How do I show the size of a cliff?
Include something familiar for scale, such as a person, a building or a boat, small in the frame.
How do I make the sea look smooth?
Use a tripod and a slow shutter speed of several seconds, with a neutral density filter in daylight.
How do I keep spray off my lens?
Use a lens hood, stand back from the waves, keep a clean microfiber cloth in your pocket and check each frame for droplets. Point the camera down between shots to keep spray off the front glass.
Can I photograph coastal cliffs with a phone?
Yes. Phones are great on clifftop walks. Use the wide lens for big views, tap to expose for the sky and hold the phone firmly in wind, well back from the edge.
For terms such as polarizing filter, neutral density filter, long exposure and direction of light, see the photography glossary.