Ducks, geese and swans are the friendliest introduction to bird photography. They live on almost every pond, lake, river and park, they are large enough to photograph without huge lenses and they offer everything from calm portraits on still water to dramatic flocks against the sky. Many beginners take their first good bird pictures at a local duck pond, and it is a place worth returning to for years.
This guide covers where to find waterfowl, getting down to water level, light and reflections, ducks and geese in flight, behavior worth waiting for, the seasons, settings, editing and ethics. For bird photography in general, see the guide on how to photograph birds, which introduces waterfowl among many other groups. This page goes deeper into ducks, geese and swans specifically.
Why waterfowl make great subjects
Waterfowl offer a rare mix of accessibility and variety. You can practice nearly every bird photography skill with them before moving on to shyer species.
- They are everywhere. City parks, farm ponds, rivers, reservoirs, marshes and coastlines all hold ducks, geese or swans for much of the year.
- They are often used to people. Park birds let you get close enough for portraits without a very long lens.
- They are colorful and varied. Iridescent heads, patterned wings, bright bills and feet give plenty of color and detail.
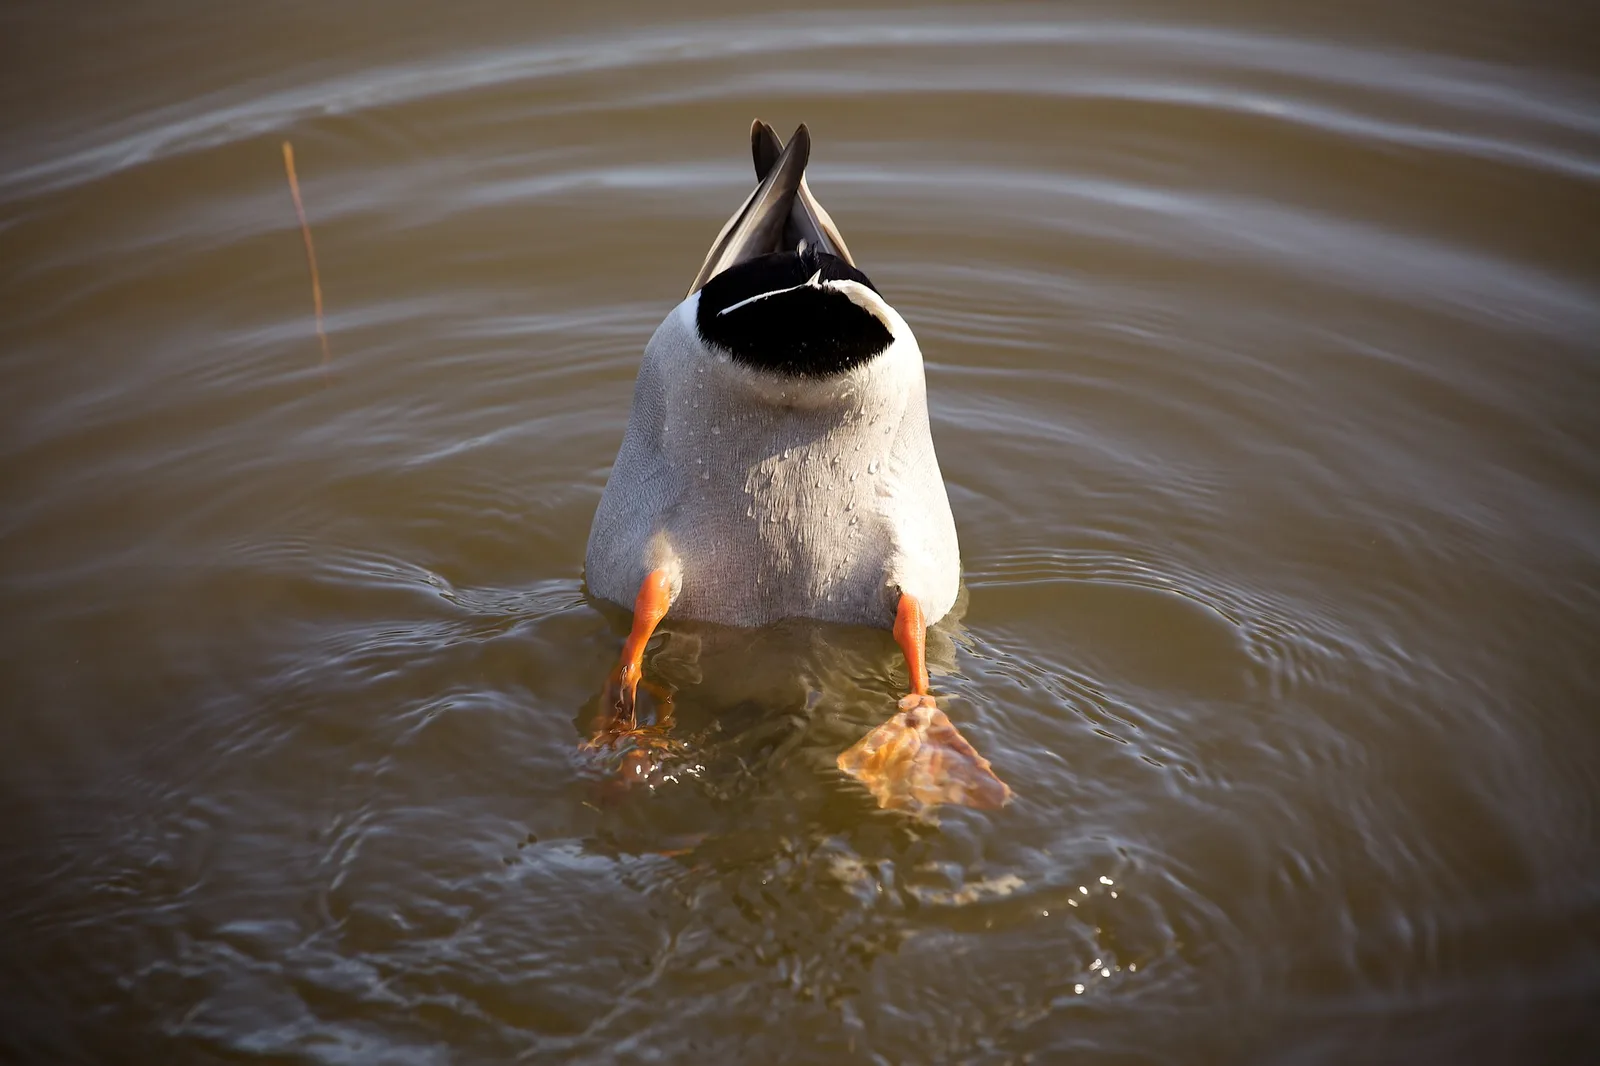
- They are full of character. Splashing, preening, squabbling and tipping tail up to feed give endless funny and charming moments, and many of them repeat often enough that you get a second chance.
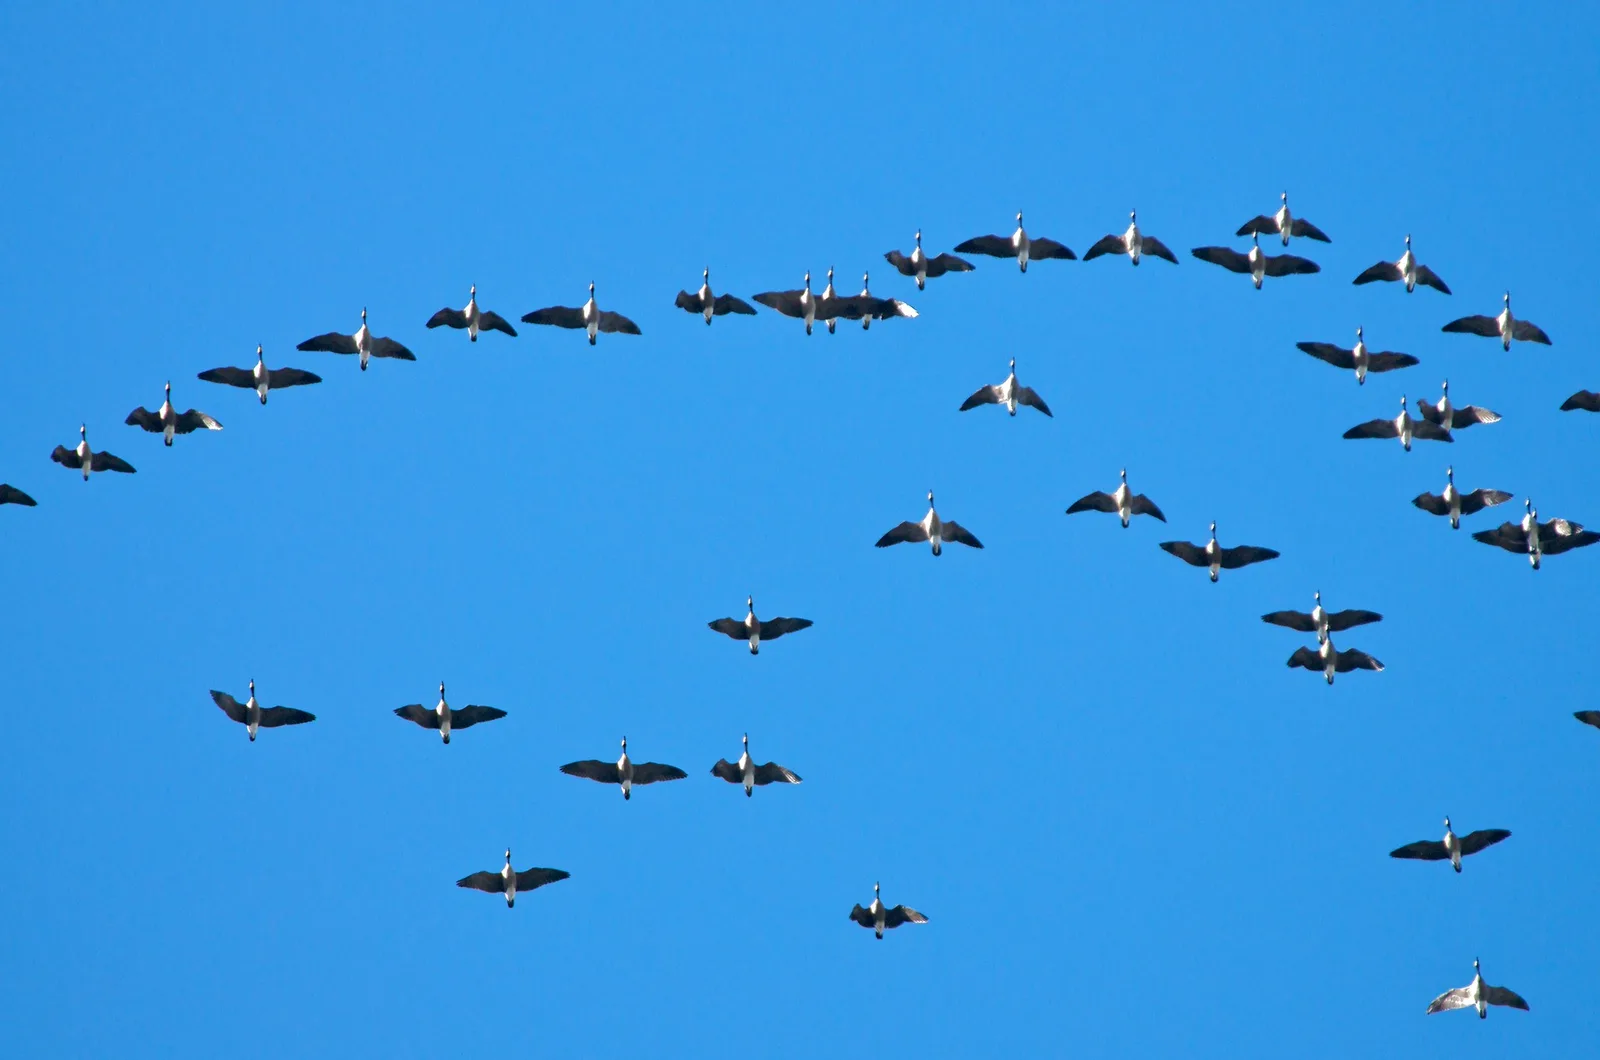
- They fly in big, beautiful flocks. Geese in long lines across the sky are one of the great sights of the changing seasons.
Because they are so easy to find, waterfowl let you practice often. Ten minutes at a pond on the way home can teach as much as a long trip, simply because you can do it again and again.
Where to find ducks, geese and swans
Start with the nearest park pond or lake. Urban birds are relaxed around walkers, so you can practice composition and timing without worrying about scaring them off. Rivers and canals offer moving water and different backgrounds. Marshes, wetlands and wildlife refuges hold wilder and shyer species, often from boardwalks or blinds designed for viewing.
Coastal bays and estuaries are good in the cooler months, when many diving ducks and sea ducks gather there. Farm fields near water attract grazing geese, and large lakes can hold big rafts of birds resting far from shore. The guides to lake photography and river photography have more ideas for working around water.
Learning the local birds
Different ducks behave differently. Dabbling ducks feed at the surface and tip forward with tails in the air. Diving ducks disappear completely and pop up somewhere else, which tests your patience but teaches you to anticipate where a subject will appear, a skill that helps with every kind of wildlife. Geese often graze on land in groups. Swans glide slowly and make long, elegant shapes. Learning a few of the common kinds in your area helps you predict what they will do next.
Get down to water level
The most important tip for waterfowl is to get low. A picture taken from standing height looks down on a duck and shows mostly water. A picture taken from just above the surface puts you in the bird’s world, with a soft blurred band of water in front and behind it and the eye at the same level as yours.
Kneel, sit or lie at the edge of the water, on a dock, a low bank or a pebbly shore. A small groundsheet or waterproof pad keeps you dry. Some photographers rest the camera on a beanbag right on the ground, and a tilting screen makes very low angles much more comfortable. The lower you go, the softer the foreground and background become, and the more intimate the picture feels. Even a small drop from eye level to knee level changes the picture more than any new lens.
Focus on the eye
Dark eyes on dark heads can be hard to see. Wait for the bird to turn its head toward the light so a catchlight appears, and place your focus point right on the eye. A sharp eye makes the whole picture feel sharp, even if the body softens a little.
Light, color and reflections
Low morning and evening light makes waterfowl glow. It brings out the green, purple and blue sheen on many ducks’ heads, which can look flat or black at midday. Light from behind you, slightly to one side, shows color best. Backlight makes splashing water sparkle and outlines birds with a bright rim, which works beautifully for silhouettes at sunrise and sunset.
Calm water gives reflections. On still mornings, a swan or goose and its mirror image make a simple, symmetrical picture. Ripples break reflections into abstract patterns of color, which can be lovely too. The guide to reflection photography has more ideas for working with water. Watch the color of the water as well, since a pond reflecting golden trees, blue sky or dark shadows changes the whole mood of the picture.
Hoping to catch ducks and swans on misty mornings? The guide to fog photography explains how to expose soft, hazy scenes over water.
Exposure for white and dark birds
Swans, white geese and pale ducks lose feather detail easily in bright light, while dark ducks and geese can turn into shapeless shapes. Check the histogram and highlight warning often. For white birds in sun, dial in negative exposure compensation until the feathers keep their texture. For dark birds on bright water, add a little exposure or wait for softer light. The guide to exposure compensation explains how to adjust the meter. Overcast days are kind to white birds, holding detail in both the bright feathers and the darker water around them.
Photographing swans
Swans are the most elegant of the waterfowl and deserve special attention. Their long curved necks, white or dark plumage and slow, gliding movement make them ideal for simple, graceful pictures. A single swan on calm, dark water, with plenty of empty space around it, can be one of the most peaceful images you make. The guide to minimalist photography explains how to use that kind of space.
Pay attention to the shape of the neck. A swan with its neck in a smooth S curve looks far more graceful than one with its head down in the water, so wait for the bird to lift its head. Pairs of swans facing each other often form a heart shape with their necks, a classic picture worth waiting for in spring. Swans can be protective near nests and young, so keep plenty of distance at that time of year.
Want to make the most of calm water and mirror images? The guide to reflection photography covers timing, angles and still water.
Ducks and geese in flight
Flying waterfowl are a step up in difficulty but very rewarding. Geese and swans are big and fairly steady flyers, so they are a good place to start.
- Listen first. Geese call before and during flight, so a honking flock gives a few seconds of warning.
- Watch for takeoff signals. Birds often stretch their necks, bob their heads or face into the wind just before taking off.
- Use a fast shutter speed. 1/1600 second or faster freezes wings. Use continuous autofocus and a burst.
- Keep the background simple. Clear blue sky or plain water makes focus easier and the shapes stronger.
- Follow smoothly. Track the bird before you press the shutter, and keep panning after.
Landings are a favorite moment: wings spread, feet forward and water spraying as the bird skids in. Pick a bird coming in, focus early and shoot a burst as it touches down. Takeoffs from water are similar, with running feet and splashes. The guides to freezing motion and panning help with both.
Flocks and patterns
Large flocks in the sky or on the water make lovely patterns. Look for lines, V shapes and gaps between birds. A flock against a sunset sky or a raft of ducks on silver water can be simple and graphic. With many birds, the overall shape matters more than any single bird, so zoom out and watch the whole group.
Behavior worth waiting for
Patience brings the best pictures. Watch one bird or a small group for a while and keep the camera ready for these moments:
- Wing flaps. After bathing, ducks and geese often rise up and flap their wings. It is quick, so use a burst.
- Tipping up. Dabbling ducks feed tail up, leaving only a tail and feet above water. It is a funny picture every time.
- Preening. Birds twist into curious shapes as they groom feathers.
- Splashing and bathing. Water flies in every direction.
- Squabbles. Geese and ducks chase and posture, especially in spring.
- Families. Ducklings and goslings following their parents in a line are always charming. Keep your distance, since parents protect them fiercely.
Waterfowl through the seasons
Each season brings something different. Spring has courtship displays, bright breeding plumage and ducklings. Summer gives long light and family groups, though many male ducks look dull while they molt. Autumn brings migrating flocks and golden reflections from changing leaves, as the guide to fall photography describes. Winter can be the best season of all, with large flocks gathering on open water, frosty breath and swans against snow. The winter photography guide covers cold weather tips.
Settings for waterfowl
- Swimming birds: 1/500 to 1/1000 second, aperture f/5.6 to f/8.
- Flapping, takeoffs and landings: 1/1600 second or faster, continuous autofocus and burst mode.
- Silhouettes: expose for the bright sky or water.
- ISO: auto ISO with a sensible upper limit.
- Lens: 200mm to 400mm works well for most waterfowl, while park birds can be photographed with shorter lenses.
- Focus: a single point or small zone on the eye for portraits, and a larger zone for flight.
For more on lenses for distant birds, see the guide to telephoto photography.
Editing waterfowl photos
Keep edits natural. Recover highlights in white feathers, lift shadows on dark heads to reveal color and keep water a believable color. Crop so the bird has room to swim into, and level the horizon of the water carefully, since a tilted waterline is very noticeable. Gentle clarity can bring out feather detail, but too much makes water look crunchy.
Want a clear editing routine for your bird pictures? The guide to photo editing for beginners walks through the basic steps in order.
Ethics and feeding
Feeding bread to ducks is a common habit, but it is bad for birds and for ponds. It fills them up without nutrition, causes health problems and leads to crowding and pollution. Many parks now ask visitors not to feed waterfowl at all. Respect those rules and photograph birds behaving naturally.
Keep your distance from nesting birds and families, never chase birds to make them fly and avoid flushing resting flocks, especially in winter when they need to save energy. If a bird changes its behavior because of you, step back. The best waterfowl pictures come from patience, not pressure.
Clean up after yourself, too. Fishing line, plastic and litter around ponds injure many birds each year. Picking up a little trash on the way out is an easy way to give something back to the place that gives you pictures.
Common mistakes
- Shooting from standing height. Get down to water level for more intimate pictures.
- Blown white feathers. Check the highlights and use negative exposure compensation.
- Tilted waterlines. Level the horizon in camera or when editing.
- Shutter speeds too slow for wings. Use 1/1600 second or faster for flapping and flight.
- Cluttered backgrounds. Move to put a clean stretch of water or sky behind the bird.
- Cutting off reflections. Include the whole reflection when the water is calm.
- Feeding birds for pictures. It harms them and makes the pictures look staged.
Try this: a 10-minute pond session
Visit the nearest pond and give yourself ten minutes:
- Minutes one to three: sit or kneel at the water’s edge and watch quietly. Notice where the light falls and which birds are active.
- Minutes four to seven: pick one bird and make three pictures from as low as you can, focusing on the eye.
- Minutes eight to ten: wait for a wing flap, tip up or takeoff, and catch it with a fast shutter speed and burst.
Compare the low pictures with any taken from standing height. The difference is usually striking.
Frequently asked questions
What lens do I need for ducks and geese?
A 200mm to 400mm lens works well for most situations, but park birds are often close enough for shorter lenses.
What shutter speed freezes a duck’s wings?
Around 1/1600 second or faster. Wing flaps and takeoffs are quick, so use continuous autofocus and a burst.
How do I photograph white swans without losing detail?
Use soft light where possible, check the highlight warning and dial in negative exposure compensation until the feathers keep their texture.
Is it okay to feed ducks to get pictures?
It is best not to. Bread and similar foods harm birds and ponds, and many parks ask visitors not to feed them.
When is the best time of year for waterfowl?
Winter and spring are often best, with big flocks, bright breeding plumage and courtship, but every season offers something different.
How do I photograph diving ducks?
Watch where the bird dives and how long it stays down, then aim at the area where it tends to surface. Keep both eyes open so you can spot it quickly when it reappears.
Why do the green heads on my duck photos look black?
Iridescent feathers only show color when light hits them from the right angle. Keep the sun behind you and wait for the bird to turn its head toward the light.
For terms such as catchlight, burst mode, exposure compensation and telephoto lens, see the photography glossary.