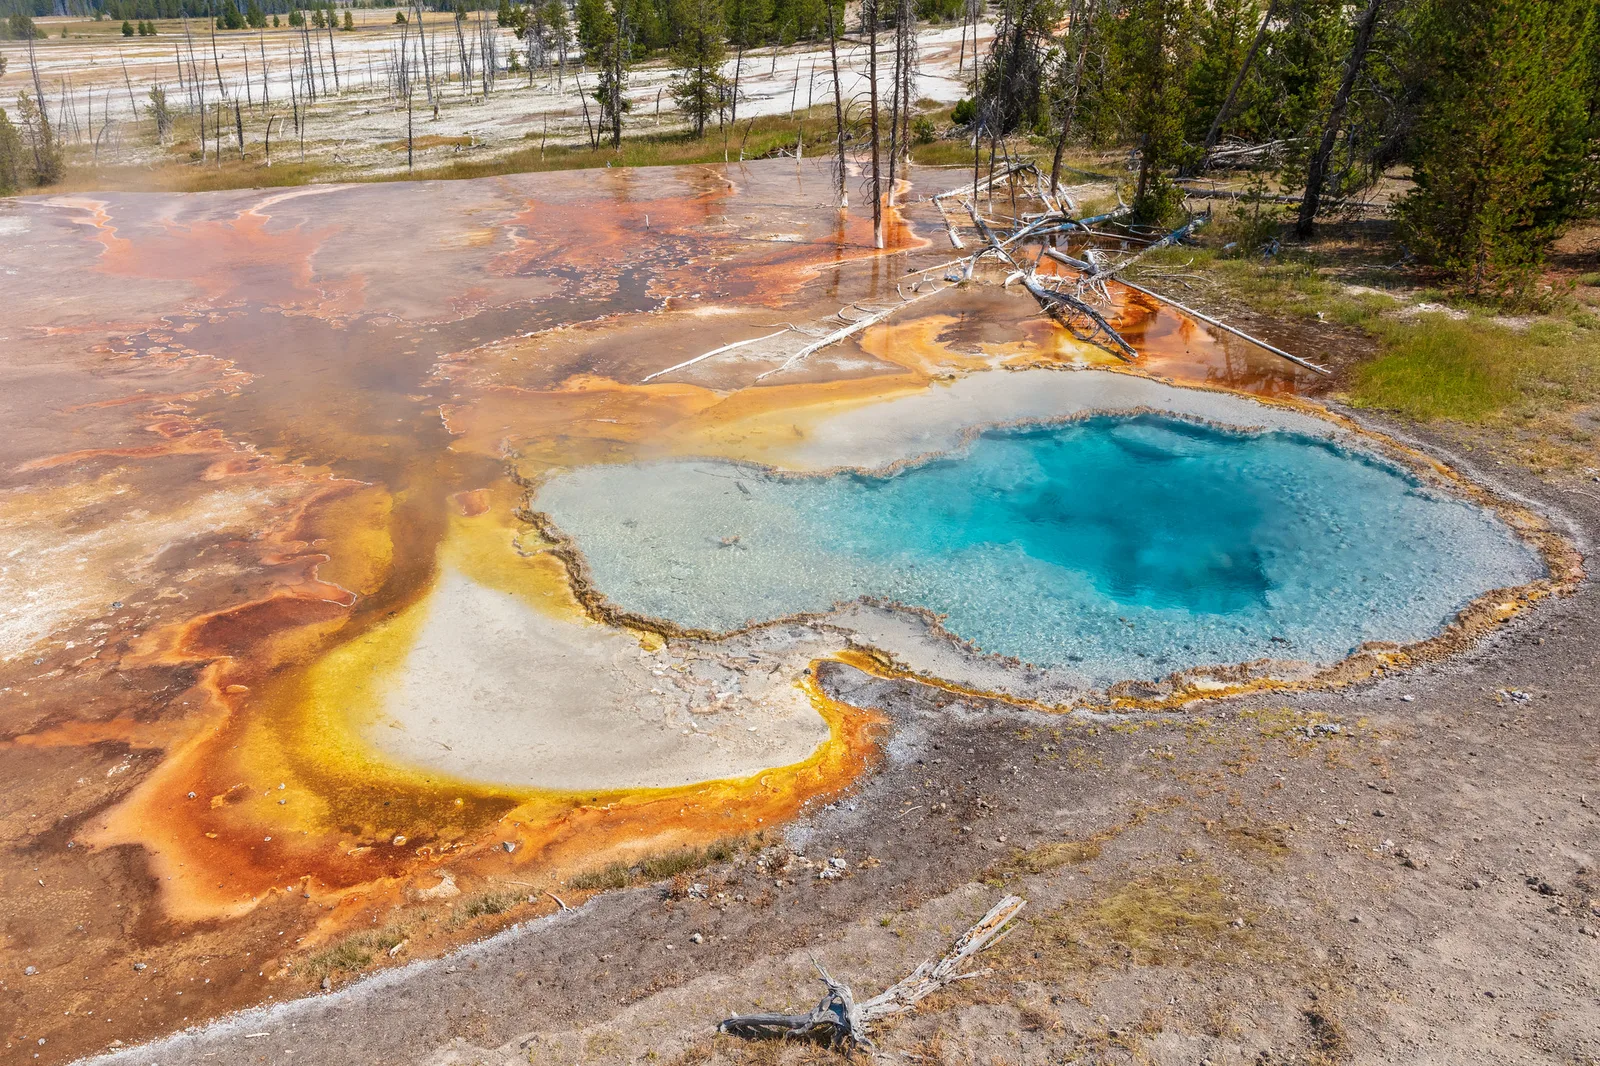
Hot springs and geysers look unreal. Water glows turquoise, mats of orange and yellow spread across the ground, steam rolls over everything and, every so often, the earth throws a column of boiling water into the sky. They are thrilling to photograph, but they also come with tricky light, constant steam and real danger. A little understanding of what you are looking at goes a long way.
This guide explains where the colors come from, how to see through surface glare, how to work with steam instead of fighting it, how to time a geyser eruption and how to compose on a boardwalk. It also covers protecting your camera and yourself. For the bigger picture of planning a trip to a park, see the national parks guide.
What you are photographing
Hot springs, geysers, mud pots and steam vents all have the same cause: water heated deep underground rising back to the surface. The differences come from how the water reaches the air.
- Hot springs are pools where heated water flows up and spreads out calmly. The clearest and hottest are often deep blue.
- Geysers have narrow plumbing that traps heat until pressure builds and the water bursts out in an eruption.
- Terraces form where hot water carries dissolved minerals and leaves them behind as it cools, building stepped shelves of pale rock.
- Mud pots and steam vents appear where there is little water, so only bubbling mud or hissing steam reaches the surface.
The colors are the main attraction. The deep blue of a hot pool comes from clear water absorbing red light and scattering blue, much as a deep lake does. The orange, yellow and brown rings around the edges are living mats of heat-loving microbes, and their colors change with the temperature of the water they grow in. Hotter water near the center supports fewer colors; cooler runoff carries the richest oranges. Knowing this helps you read a scene: the bands of color trace the flow of the water across the ground.
Seeing through glare
The biggest enemy of hot spring color is reflected sky. From a low angle, a pool acts like a mirror, and you photograph the sky instead of the water. Two things help.
- Get higher. The steeper your view into the water, the less glare. Raise the camera above your head, use a raised section of boardwalk or a viewing hill, and look down into the pool rather than across it.
- Use a polarizing filter. A polarizer removes much of the reflected glare from water at the right angle and lets the color underneath show through. Turn it slowly while watching the pool, and stop when the color looks deepest.
Bright overhead sun actually helps with hot springs. Light that shines straight down into the pool lights up the blue from inside, while low sun mostly bounces off the surface. This is one of the few subjects where the middle of the day can give the best color.
Not sure how a polarizer works or why it changes as you turn it? Polarizing filters explains the angles where it works best and when to take it off.
Working with steam
Steam is part of the character of a thermal area, but it can also hide everything you came to see. How much steam you get depends mostly on the air temperature.
- Cold mornings produce dense, billowing steam. Pools disappear, but backlit steam with low sun shining through it can be magical, especially with trees or people silhouetted in it.
- Warm afternoons produce much less steam, so the colors of pools and mats show clearly.
- Wind moves steam in one direction. Stand upwind of a pool to see it clearly, or downwind if you want steam drifting through the frame.
Steam behaves like fog in a picture. It lowers contrast, softens backgrounds and separates layers, as in the second photo on this page. Treat it as a tool. A single dead tree or a lone figure in drifting steam makes a simple, moody image, and the guide to fog photography covers exposure and composition in that kind of light.
Steam is bright, so it fools the meter much like snow does. If the picture comes out dull and gray, add a little exposure compensation and check the histogram.
Timing a geyser eruption
Some geysers erupt every few minutes, some every few hours and some only rarely. Patience is part of the job.
- Check predictions. At many geyser basins, staff post expected eruption times for the more regular geysers. Arrive early and claim a good spot.
- Watch for signs. Many geysers splash, surge or steam more heavily shortly before an eruption. Have the camera ready when activity builds.
- Know the wind. Stand so the wind carries steam and spray away from you, not across your view.
- Shoot in bursts. An eruption changes shape every second. Use burst mode to catch the moment the column looks tallest or most graceful.
- Keep shooting afterward. The steam that lingers after an eruption, lit by low sun, often makes a better picture than the eruption itself.
For a sharp, frozen column of water, use a fast shutter speed of 1/500 or faster. For a softer, flowing look, try 1/30 to 1/15 with a steady hand or a support. Include something of known size, such as a boardwalk railing or distant trees, so viewers can judge how tall the eruption is.
Composing on a boardwalk
In most thermal areas you must stay on boardwalks and marked trails. That limits where you can stand, so composition becomes a matter of using every position along the path.
- Walk the whole route first. Viewpoints change dramatically every few steps. Note where pools, trees and terraces line up well, then come back.
- Use the boardwalk itself. A boardwalk curving across a pale mineral flat makes a strong leading line and shows how people move through the landscape.
- Look for dead trees. Trees killed by mineral-rich water stand pale and bare in thermal areas. They make striking silhouettes against steam or colorful ground.
- Zoom in on patterns. Runoff channels, microbial mats and terrace edges make beautiful abstract pictures. A telephoto lets you reach details you cannot walk to.
- Wait for gaps in the crowd. Popular boardwalks are busy. Early morning and late evening are quieter, and a little patience usually opens a clear view.
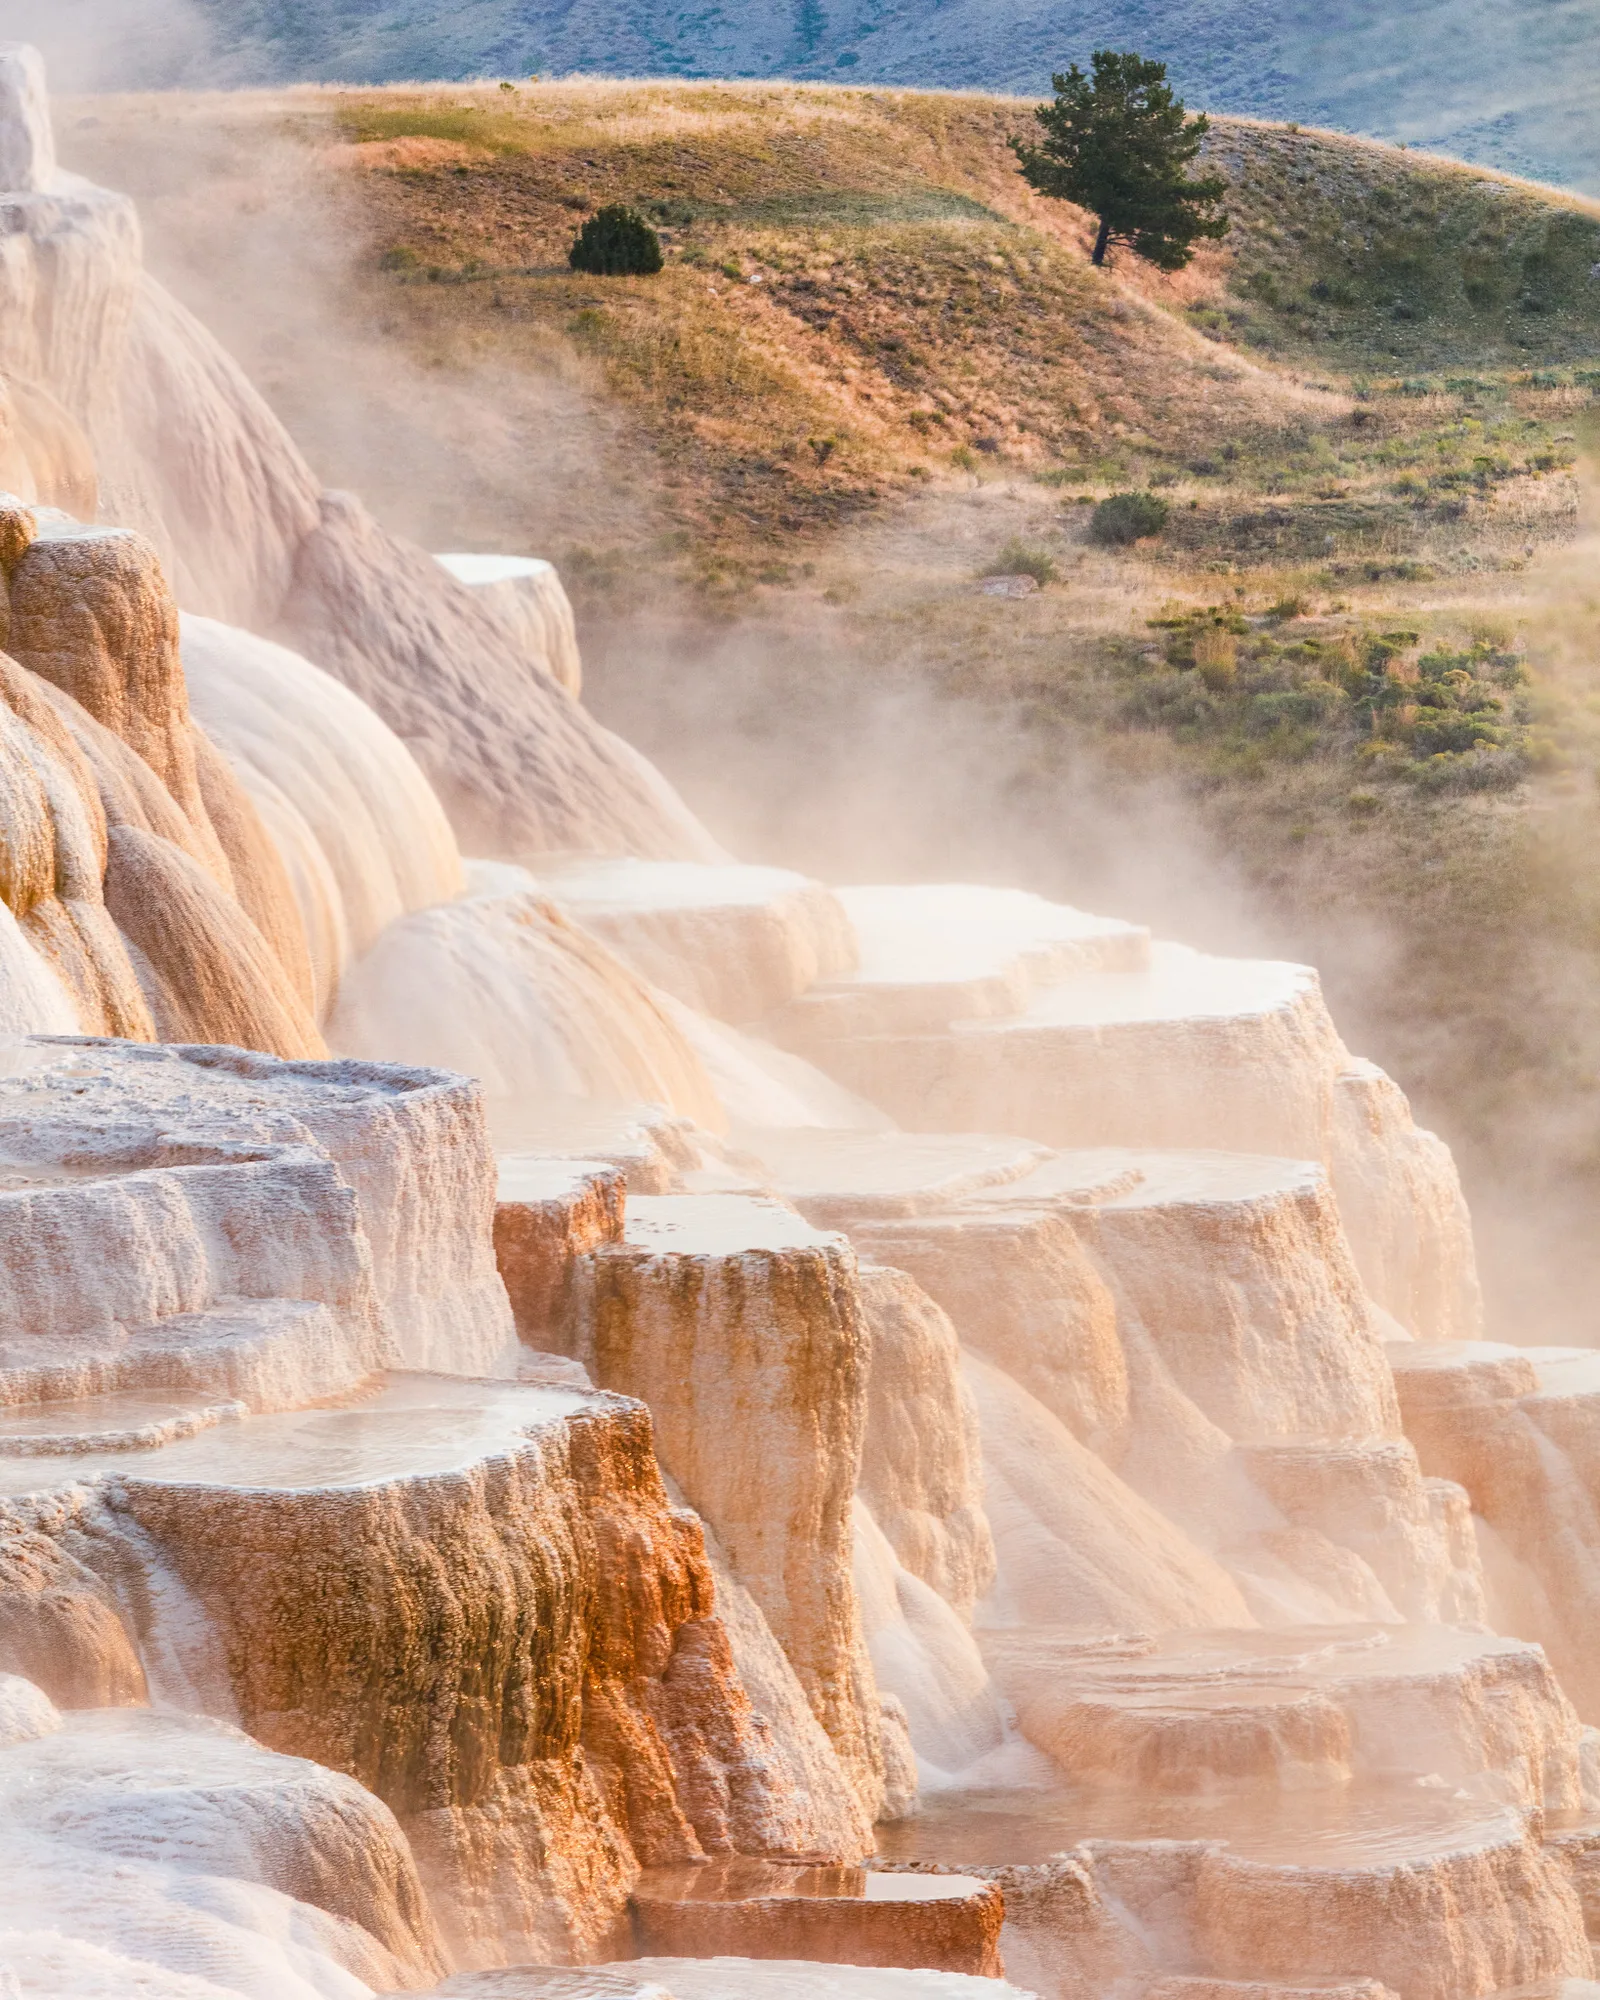
Terraces deserve special mention. Their stepped shelves show texture best in side light, so they suit early and late sun better than hot pools do. Look for water flowing over the edges, the play of light and shadow across each step and contrasts between active white terraces and older, gray ones. The guide to texture explains how angle of light reveals surfaces like these.
Mud pots, vents and small details
The famous pools and geysers get the attention, but some of the most rewarding pictures in a thermal area are small. Mud pots bubble and pop in slow, thick bursts, throwing up rings and splashes that last a fraction of a second. Steam vents hiss from cracks in pale rock streaked with yellow mineral crust. Runoff channels braid across the ground in threads of orange and brown.
These subjects reward a different way of working:
- Use a longer lens. You cannot get close, so a telephoto of 100 to 300mm brings details into reach from the path.
- Freeze the bubbles. A shutter speed of 1/1000 or faster catches a mud splash at its peak. Burst mode helps, because the timing is impossible to predict.
- Fill the frame. Leave out the horizon and the boardwalk, and let color and texture carry the picture. These close views often look like paintings.
- Watch the light change. A passing cloud can reveal colors in a runoff channel that bright sun washes out, so wait a few minutes and shoot again.
Small details also make good pictures on crowded days, because a tight frame leaves the people out. The guide to abstract photography has more ideas for finding pictures in pattern and color.
Winter and bad weather
Thermal areas are spectacular in cold weather. Steam freezes onto nearby trees as frost, snow surrounds the warm ground, and wildlife sometimes gathers near the heat. On very cold days the steam can be so thick that only shapes remain, which suits simple, quiet compositions in soft gray light.
Cold brings its own challenges. Batteries drain faster, steam freezes on the lens, and boardwalks can be icy. Carry spare batteries in an inside pocket, wear traction on your boots and keep the camera in its bag between shots so it does not ice over. Bright snow and white steam together fool the meter even more than steam alone, so expect to add a stop or more of exposure.
Heading out on a freezing morning? The winter photography guide covers exposure in snow, cold-weather batteries and keeping your hands working.
Lenses, settings and exposure
| Subject | Starting settings | Tips |
|---|---|---|
| Hot spring pool, overhead sun | f/8, lowest ISO, 1/250 | Polarizer, shoot from as high as possible |
| Geyser eruption, frozen | f/8, auto ISO, 1/500 or faster | Burst mode, include something for scale |
| Steam in low backlight | f/8, ISO 100 to 400, exposure +0.7 | Shield the lens from direct sun |
| Terraces in side light | f/8 to f/11, lowest ISO | Look for repeating steps and flowing water |
| Patterns in mats and runoff | Telephoto, f/8 | Fill the frame, leave out the horizon |
A standard zoom handles most scenes, a wide-angle lens captures big pools from close boardwalks, and a telephoto picks out details and distant eruptions. Bright mineral ground and white steam reflect a lot of light, so watch for clipped highlights. Shoot raw if you can; the colors in hot springs are strong and easy to push too far in a JPEG.
Staying safe
Thermal areas are among the most dangerous places a photographer can visit. The ground that looks solid may be a thin crust over boiling water, and pools that look inviting can be hot enough to cause fatal burns.
- Stay on boardwalks and marked trails. Always. No photograph justifies stepping off.
- Never touch the water or reach over a railing with your camera. Hot springs can be scalding and some are strongly acidic.
- Keep watch on children and companions, and keep a firm grip on your camera strap near pools.
- Drones are banned in many parks and protected areas. Check local rules before you plan any aerial view.
- Do not throw anything into pools. Coins and debris damage the vents and change the colors for good.
Some thermal areas also release gases that can be unpleasant or harmful in still air. Follow posted signs and leave if you feel unwell.
Protecting your camera
Steam and mineral spray are hard on equipment. Steam condenses on cold glass and fogs the lens, and spray from geysers can leave mineral spots that are difficult to remove once they dry.
- Keep a soft, dry cloth in an easy-to-reach pocket and check the front of the lens often.
- Use a lens hood to shield the glass from drifting spray.
- Stay upwind of erupting geysers, or cover the camera if spray is falling around you.
- Wipe mineral spray off the lens and body gently as soon as you can, before it dries.
- Let a cold camera warm up gradually in its bag when moving into a warm car or room, to avoid condensation inside.
The guide to camera maintenance covers cleaning lenses safely.
Editing thermal colors
Hot springs are already intensely colored, so editing should be light. Set white balance so pale mineral ground looks neutral or slightly warm, which keeps the blues and oranges true. Add a small amount of contrast or clarity to bring out the edges of mats and terraces, and use dehaze sparingly on steamy scenes, because too much makes steam look dirty.
Resist the urge to push saturation. Bright blues and oranges clip quickly, losing the delicate gradations that make these places so special. If a color looks too strong, lower the saturation of just that color rather than the whole picture.
Common mistakes
- Photographing the sky reflected in the pool. The blue turns gray and the color is lost. Fix: shoot from higher and use a polarizer.
- Arriving on a cold morning to shoot pool colors. Steam hides everything. Fix: come back on a warmer afternoon, or shoot the steam itself.
- Missing the eruption. The camera was not ready. Fix: check predictions, arrive early and set a fast shutter speed in advance.
- Gray steam and mineral flats. The camera underexposed the bright scene. Fix: add exposure compensation.
- Oversaturated colors. The pool looks artificial. Fix: reduce saturation and let the natural colors carry the picture.
- A fogged or spotted lens. Steam and spray blur the picture. Fix: check the glass often and wipe it gently.
Try this: a 10-minute boardwalk study
- Minutes 1 to 3: Walk a short section of boardwalk without shooting. Note three spots where something interesting lines up.
- Minutes 4 to 5: At the first spot, photograph a pool from as low as you can, then from as high as you can. Compare the glare.
- Minutes 6 to 7: At the second spot, zoom in on a pattern of color or runoff and fill the frame.
- Minutes 8 to 10: At the third spot, make a wider frame that includes the boardwalk, steam or a dead tree to show the place.
You will come away with a detail, a scene and a clear lesson in how viewpoint changes what the water shows.
Frequently asked questions
What is the best time of day to photograph hot springs?
Late morning to mid-afternoon on a warm day, when steam is light and the sun shines down into the pools. For steam and mood, go early on a cold morning.
Do I need a polarizing filter?
It helps a great deal by cutting glare on the water so the color shows. Without one, shoot from as high a viewpoint as you can.
How do I photograph a geyser erupting?
Check predicted times, arrive early, stand upwind, set 1/500 or faster and use burst mode as the column rises.
Why are the colors so different around a hot spring?
The rings are communities of heat-loving microbes, and each kind thrives at a different water temperature. The colors trace the water as it cools.
Is it safe to step off the boardwalk for a better angle?
No. The ground in thermal areas can be a thin crust over scalding water. Stay on boardwalks and marked trails at all times.
For terms such as polarizing filter, exposure compensation, histogram and burst mode, see the photography glossary.