Kayaks, canoes and paddleboards take you to places few other photographers reach: the middle of a still lake at dawn, a quiet backwater full of birds, a sea cave at the foot of a cliff or a misty river bend with no one else around. Paddling also makes a wonderful subject in its own right, with bright boats, flashing paddles, reflections and the calm rhythm of people moving across water. With some care for your gear and a few simple techniques, paddling trips can produce some of your most peaceful pictures.
This guide covers keeping cameras dry, choosing gear, photographing from the boat, photographing paddlers from the shore, reflections and calm water, light, action and rough water, wildlife from the water, details and gear, safety, settings and editing. For water scenes in general, see the guides to lake photography and river photography.
Why paddling makes a great subject
Paddling combines adventure, landscape and quiet observation, which makes it rewarding for every kind of photographer.
- It offers a unique viewpoint. From water level, shorelines, cliffs, bridges and reflections look completely different than from land.
- It gets you close to nature. Boats move quietly, so birds and animals often let paddlers come closer than walkers.
- The boats are colorful. Bright kayaks and canoes stand out against blue water and green shores.
- It has rhythm and movement. Paddles, ripples and wakes create lines and patterns.
- It is calm. Early morning paddles on still water are some of the most peaceful times to photograph.
Paddling trips also make lovely personal stories. A set of pictures from a day on the water, with launch, journey, lunch on a beach and return at sunset, captures the experience in a way that friends and family enjoy.
Keeping your camera dry
Water and cameras do not mix, so protecting your gear comes first. Even calm days bring splashes from paddles, drips from hands and the risk of a capsize.
- Use a dry bag. Keep the camera in a roll-top dry bag or waterproof case when not shooting, clipped to the boat.
- Use a waterproof camera or phone case. Waterproof compact cameras, action cameras and phones in waterproof pouches are ideal for paddling.
- Keep a towel handy. A small microfiber towel in your pocket dries hands and wipes splashes off the lens.
- Use a strap or tether. Attach the camera to yourself or the boat so it cannot sink if dropped.
- Start simple. Bring an inexpensive camera or a phone in a case on your first trips, before risking larger gear.
Sea water is especially hard on electronics. Rinse waterproof cameras in fresh water after each trip, and dry everything thoroughly. Check the seals on waterproof cases before every outing, since a single grain of sand or hair can let water in. A quick test in a sink at home, with a tissue inside the case instead of the camera, gives peace of mind.
Choosing gear for the water
Lighter is better on a boat. A waterproof compact or action camera covers most needs, especially for close shots of paddlers, splashes and wide scenes. A phone in a waterproof case is easy to use and always ready. For wildlife or distant shorelines, a small camera with a zoom lens, kept in a dry bag between shots, offers more reach.
Action cameras can be mounted on the bow, the stern or a paddle shaft to capture the paddler, the water and the scenery together. The guide on taking action photos with a small action camera explains mounts and settings. Avoid bringing more than you can comfortably manage while paddling. One camera and one lens, kept close at hand, will produce more pictures than a bag full of gear that stays packed away because it is too awkward to reach.
Photographing from the boat
Shooting from a moving, rocking boat takes practice, but the viewpoint is worth it.
- Stop paddling first. Let the boat glide to a stop and settle before you shoot.
- Use a fast shutter speed. At least 1/500 second freezes the motion of the boat and avoids blur.
- Keep the horizon level. Boats rock, so use the grid or level and straighten pictures later if needed.
- Get low. A camera held close to the water makes reflections bigger and shows the surface in dramatic detail.
- Include the bow. The front of a kayak or canoe pointing into the scene makes a natural leading line and tells the viewer where you are.
Paddleboards
Stand up paddleboards give a higher viewpoint than kayaks, which is useful for looking down into clear water at rocks, fish and sand. They are also less stable, so kneel or sit before you take the camera out, and keep it tethered. From a board, a picture looking straight down at your feet and paddle over turquoise or glassy water makes a fresh, graphic frame. Friends on boards gliding across calm water, seen from the side with their reflections, make elegant pictures at sunrise.
Point of view pictures, with the bow, your hands or the paddle in the foreground and the lake or river ahead, put viewers right in the boat with you.
Photographing your companions
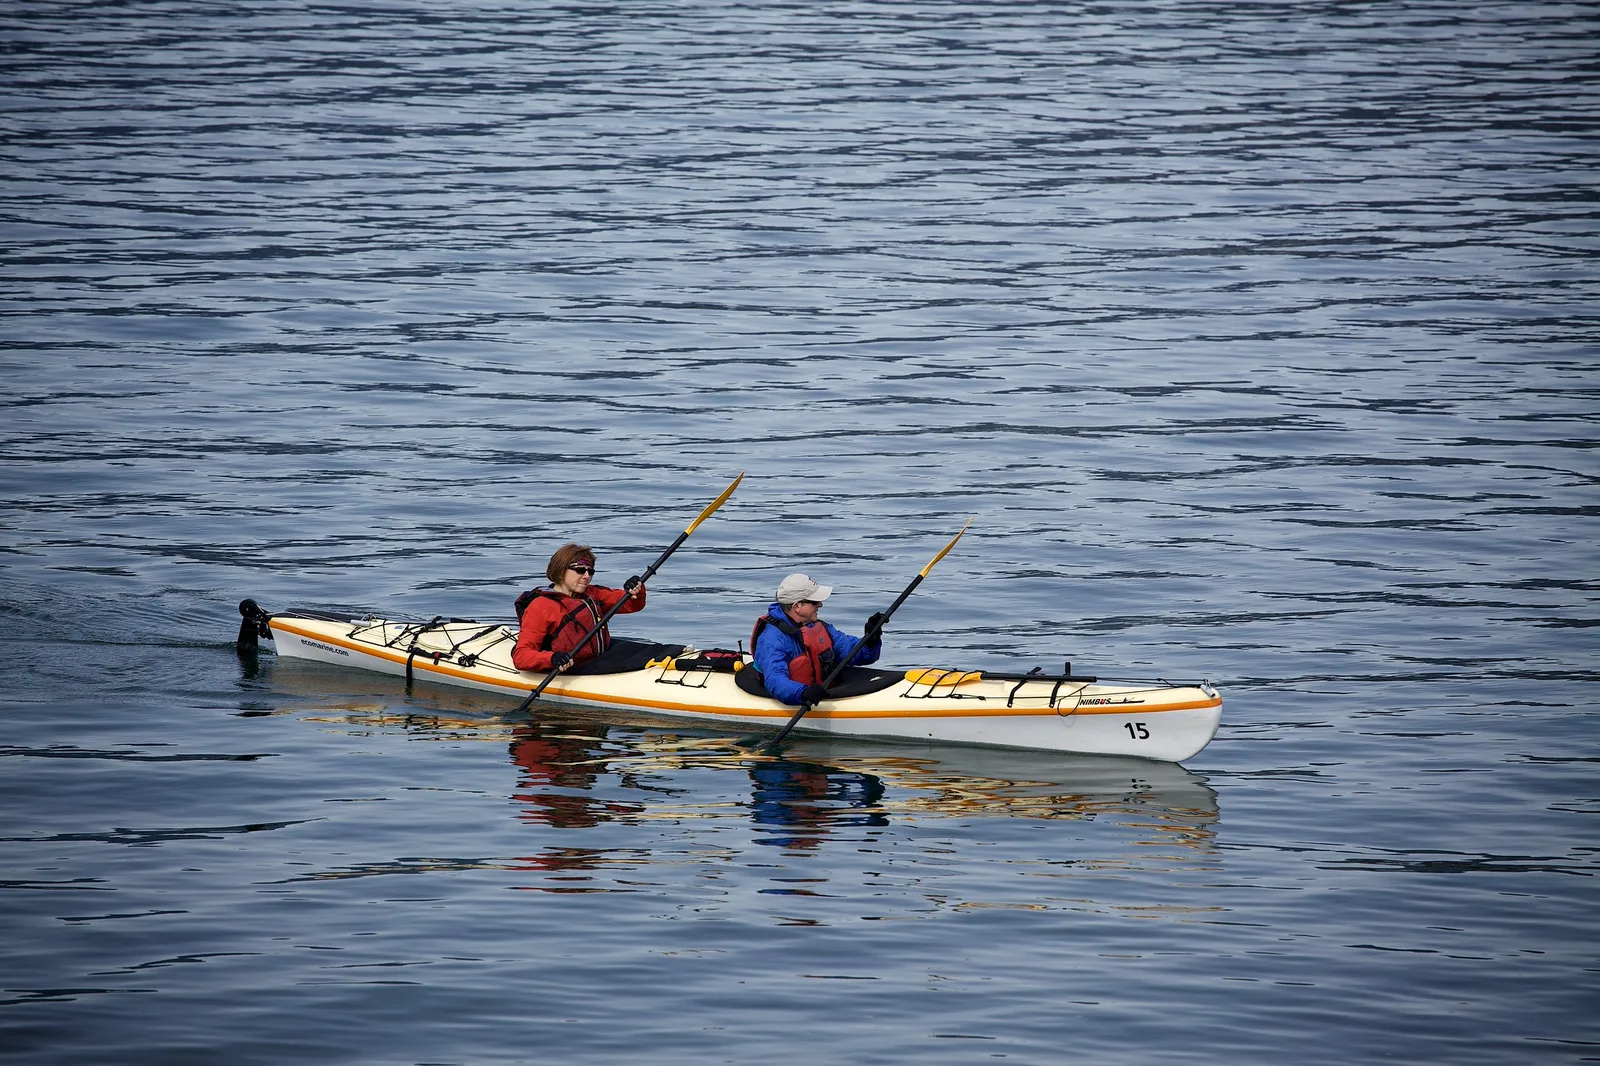
When paddling with friends, ask them to paddle past you, toward a scenic background or through a patch of good light. A boat moving across the frame with a little space ahead looks dynamic. Catch the moment when the paddle is raised and dripping, which shows motion and effort. Shooting from a lower angle on the water makes paddlers look adventurous. Bright jackets and boats stand out against blue water and green shores, so a red or yellow kayak is a gift for the photographer.
Photographing paddlers from the shore
Some of the best paddling pictures are taken from land. From a dock, beach, bridge or headland you can use a bigger camera and a longer lens without risking it on the water.
Look for paddlers crossing a calm lake, passing beneath cliffs, threading through islands or paddling into a sunset. Keep the boats small to show the scale of the landscape, or zoom in to show expression and action. A bright kayak on dark water is a natural focal point. From a bridge or a high bank, looking down on a canoe gliding over clear water can make a striking, graphic picture.
Drawn to boats of every kind? The guide to boat and harbor photography covers marinas, fishing boats and reflections.
Reflections and calm water
Still water is the paddler’s gift. Early morning, before the wind rises, lakes and rivers often lie perfectly calm, mirroring the sky, trees and mountains. A kayak floating on this mirror, with its reflection below, is one of the most peaceful pictures you can make.
Paddle gently and stop well before your subject so the ripples from your boat settle. Keep the camera level and include the full reflection. The guide to reflection photography has more ideas for calm water. Mist often rises from lakes at dawn, softening the scene and adding atmosphere, as the guide to fog photography describes.
Light on the water
Water reflects light, which can be both beautiful and challenging. Early morning and evening give warm, low light and calm water. Midday sun creates harsh glare and contrast, though it can show clear water and bright colors well, especially with a polarizing filter.
Sunrise and sunset paddles are magical. Silhouettes of paddlers against a glowing sky, light sparkling on the water and colors reflected on the surface all make lovely pictures. Expose for the bright sky and let the boat and paddler fall into silhouette. The guide to golden hour photography explains how to plan around the best light, and the guide to the polarizing filter explains how to cut glare.
After sunset, the water often turns deep blue and perfectly still, reflecting the last colors of the sky. If you paddle at this time, stay close to shore, carry a light and wear bright clothing so others can see you. From the shore, a slow shutter speed on a tripod can turn the water into glass while a lit canoe or kayak glows in the twilight.
Curious about the soft light just after sunset? The guide to blue hour photography explains timing and settings.
Action and rough water
Whitewater and sea kayaking bring drama: splashing waves, bracing paddles and boats tilting through rapids. These scenes are best photographed from the shore, where you can stand safely with a longer lens.
Use a fast shutter speed, 1/1000 second or faster, to freeze splashes, and continuous autofocus with burst mode to follow the boat. Position yourself where boats will pass through the most interesting water, and wait for paddlers to hit a wave or turn. Never put yourself or others at risk for a picture, and never paddle beyond your skill level with a camera.
Wildlife from the water
Paddling is a wonderful way to see wildlife. Herons, ducks, loons, otters, turtles and seals often tolerate a slow, quiet boat more readily than a person on foot. Drift rather than paddle as you get closer, and keep a respectful distance. If an animal changes its behavior, back away.
A small camera with a zoom lens is useful, kept ready in a dry bag on your lap. Use a fast shutter speed to counter the boat’s movement. The guides to heron photography and duck and goose photography have tips for water birds.
Details and gear
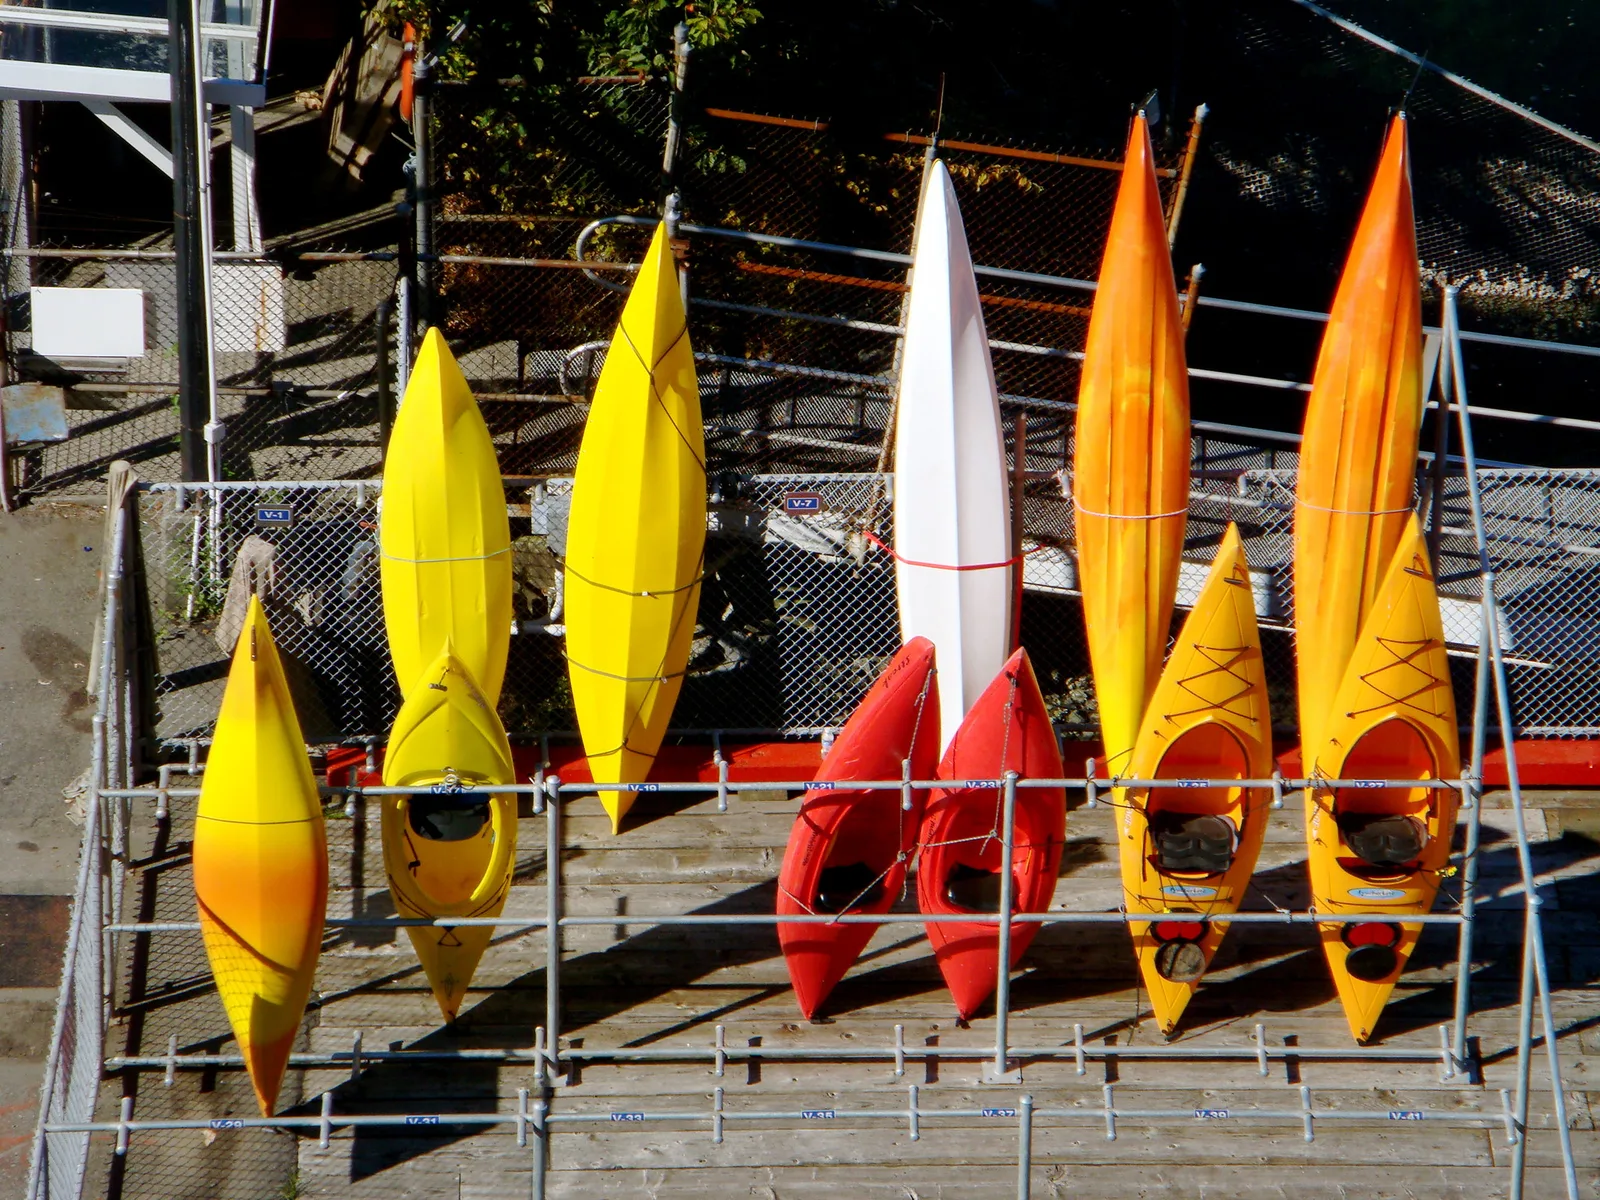
The small things tell the story of a paddling trip. Colorful kayaks on a rack or beach, paddles leaning against a dock, water droplets on a deck, a map in a waterproof case, a canoe pulled up on a rocky shore or a camp beside a lake all make good detail pictures.
Look for patterns and colors. A row of bright kayaks stacked on a rack or lined up on sand makes a bold, graphic picture. The guide to color in photography explains how to use bold color combinations.
Telling the story of a trip
A paddling trip has a natural story: packing and launching, the first strokes across open water, a quiet moment in a bay, lunch on a beach, wildlife along the way and the tired, happy return. Try to photograph each stage rather than only the scenery. Include wide views, people, details and moments, and vary close and far pictures. Later, a small sequence of eight to twelve pictures can capture the whole day. The guide to building a photo essay explains how to choose and order pictures so they flow.
Safety on the water
Photography should never come before safety. Always wear a life jacket, check the weather and water conditions before going out and tell someone your plans. Stay within your skills, and avoid shooting in rough water or strong currents. Keep the camera stowed when you need both hands to paddle. Paddling with a companion makes it safer and gives you someone to photograph. Learn how to get back into your boat after a capsize before carrying anything valuable on board. The guide to bad weather photography covers protecting gear in wet conditions.
Settings for paddling
- From the boat: 1/500 second or faster, auto ISO, aperture around f/5.6 to f/8.
- Action and splashes: 1/1000 second or faster, continuous autofocus and burst mode.
- Reflections at dawn: f/8, low ISO, a steady hold or a stop on calm water.
- Silhouettes: expose for the bright sky.
- Lens: a wide angle for scenes and point of view, a zoom for wildlife and paddlers from shore.
Editing paddling photos
Straighten tilted horizons, which are common when shooting from boats. Balance bright skies and darker water, and add a little contrast to bring out reflections. Keep water a natural color, and resist oversaturating bright boats. Remove water spots on the lens if they show.
Need a simple editing routine? The guide to photo editing for beginners walks through the basic steps in order.
Common mistakes
- Unprotected gear. Use dry bags, waterproof cases and tethers.
- Tilted horizons. Level the camera and straighten later.
- Blurry pictures. Stop paddling and use a fast shutter speed.
- Rippled reflections. Stop early and let the water settle.
- Water drops on the lens. Wipe the lens often with a microfiber cloth.
- Getting too close to wildlife. Drift slowly and keep your distance.
- Putting pictures before safety. Wear a life jacket and stow the camera when needed.
Try this: a 10-minute paddle study
On your next calm paddle, give yourself ten minutes:
- Minutes one to three: make a point of view picture with the bow pointing into the scene.
- Minutes four to seven: stop, let the water settle and make one reflection picture of the shore.
- Minutes eight to ten: photograph a companion paddling past, with space ahead of the boat.
At home, put the three together to tell the story of the trip. Next time, add a wildlife picture and a detail of your gear, and the story grows.
Frequently asked questions
What camera is best for kayaking?
A waterproof compact, an action camera or a phone in a waterproof case is easiest. Bigger cameras should be kept in a dry bag between shots.
How do I keep my camera dry while paddling?
Use a dry bag or waterproof case, tether the camera and keep a small towel to dry your hands and the lens.
How do I avoid blurry pictures from a boat?
Stop paddling, let the boat settle and use a shutter speed of at least 1/500 second.
When is the best time to photograph on the water?
Early morning, when the water is calm, the light is soft and mist may rise from the surface.
Can I photograph wildlife from a kayak?
Yes. Drift quietly, keep your distance and use a zoom lens and fast shutter speed.
How do I photograph myself while paddling?
Mount an action camera on the bow facing back, or ask a friend on shore to photograph you passing. Set a timer or interval mode so the camera shoots while you paddle.
For terms such as polarizing filter, shutter speed, burst mode and reflection, see the photography glossary.