Every flash photograph is really two exposures recorded on top of each other in a single frame: one made by the ambient light already in the scene, and one made by the brief burst of the flash. Shutter speed controls only the ambient part, flash power and flash distance control only the flash part, and aperture and ISO change both. Once you know which dial moves which exposure, you can decide exactly how bright the background should be and exactly how much the flash should add, instead of accepting whatever the camera gives you.
One frame, two exposures
While the shutter is open, the sensor collects whatever light already falls on the scene: sunlight, street lamps, stage lights, a fire. Somewhere during that time the flash fires and adds a second dose of light, mostly to whatever is close to it. The final picture is the sum of the two.
The reason shutter speed has no effect on the flash part is timing. A flash burst is extremely short, and at the flash sync speed or slower the entire burst fits inside the period when the shutter is fully open. At 1/200 second or a full second, the sensor sees the same complete burst, while the continuous ambient light doubles every time the shutter time doubles. How short that burst is, and why it matters for freezing motion, is covered in the guide to flash duration.
| Control | Ambient exposure | Flash exposure |
|---|---|---|
| Shutter speed (at or below sync speed) | Yes | No |
| Aperture | Yes | Yes |
| ISO | Yes | Yes |
| Flash power or flash exposure compensation | No | Yes |
| Flash-to-subject distance | No | Yes |
This table is the whole technique in miniature. Aperture and ISO are shared, so you usually set them first for depth of field and noise, then leave them alone. After that you have two independent handles: shutter speed for the background and flash power for the subject. Change one and the other stays put.
Distance is the most powerful flash control you have. Light from a small source falls off with the square of distance, so moving the flash from 2 metres to 4 metres cuts the light on the subject to a quarter, a loss of two stops, while the ambient-lit background is unaffected. The inverse square law guide works through the numbers.
A classic example of getting only one of the two exposures right: a snapshot at dusk with on-camera flash, 1/40 second and a low ISO. The flash exposure on the face is fine, but the ambient exposure is far too dark for the light that was actually there, so the sky and the street behind the subject go black and the place disappears. A slower shutter speed or a higher ISO would have brought the background back without making the face any brighter, because the flash burst is far shorter than either shutter speed.
Set the background first, then add the flash
The ambient light is the part you cannot change; the flash is the part you can. So build the background exposure first with the flash off, then bring the flash in for the subject.
- Choose aperture and ISO. Pick the aperture for the depth of field you want and an ISO that keeps noise acceptable. These now stay fixed.
- Turn the flash off and set the shutter speed for the background. Take a test frame in manual mode and look at the background only. Ignore the subject for now. Decide how bright the surroundings should be: full brightness, one stop darker, or two stops darker for drama.
- Turn the flash on and take a second test. Now look only at the subject. If the face is too dark, add flash power or move the flash closer. If it is too bright, reduce power or move it back.
- Fine tune each exposure with its own control. Background too bright? Faster shutter. Subject too bright? Less flash. Resist the urge to fix a flash problem with the shutter speed or an ambient problem with flash power.
A worked example: a portrait on a city street at dusk. You want some background blur, so you choose f/2.8, and ISO 800 keeps the noise clean. With the flash off, the meter suggests 1/30 second for the street. You want it slightly moody, so you set 1/60 second, one stop darker. With the flash on, the face is a stop too bright, so you halve the flash power. The street does not change, because flash power does not touch it.
With through-the-lens automatic flash the logic is the same: exposure compensation shifts the ambient, flash exposure compensation shifts the flash. On some cameras ordinary exposure compensation also nudges the flash, so check how yours links them. The TTL flash page explains how the pre-flash measurement works.
Fill or key: decide which light is in charge
The key creative decision is the ratio between flash and ambient on your subject, which decides whether the flash is a quiet helper or the main event.
| Flash on the subject compared with ambient | How it looks |
|---|---|
| About 2 stops weaker | Barely visible. Lifts the darkest shadows and adds a catchlight. Most viewers will not notice a flash. |
| About 1 stop weaker | Clear fill. Shadows under the eyes and chin open up, but the ambient light still sets the mood and direction. |
| Roughly equal | Shared lighting. Both sources are obvious; the flash starts to define the face. |
| Flash stronger, ambient set 1 to 2 stops dark | Flash as key light. The subject pops out of a darker, richer background. The look is deliberate and editorial. |
When the flash is the weaker partner it works as fill light, which is what the fill flash technique uses outdoors in harsh sun. When it is the stronger partner it becomes the key light, and the ambient becomes the fill and the background.
One detail catches many people out: the two exposures add together. If you meter the ambient light correctly on a face and then add a flash one stop weaker than that, the face now receives one unit of ambient plus half a unit of flash, which is about half a stop brighter than you intended. For subtle fill this rarely matters. For a flash that is equal to the ambient, the face gets twice the light, a full stop over. When you want the combined result to land at a normal brightness, set the ambient a little darker to leave room for what the flash will add.
To choose a ratio, ask what the photograph is about. If the place and its light are the story (a festival, a candlelit dinner, a sunset), keep the flash as fill. If the person is the story, let the flash lead and darken the ambient enough to frame them.
Dragging the shutter at night
At night the ambient light is so weak that at a normal handheld shutter speed it barely registers, which is why flash photos at parties so often show a bright face floating in a black void. The fix is to keep the shutter open long enough for the ambient light to build up, a technique called dragging the shutter. The flash still freezes the subject with its brief burst, and the long shutter records the lights around them.
Every time you halve the shutter speed you double the ambient light recorded and the flash stays the same. Going from 1/125 to 1/60 to 1/30 to 1/15 second adds three stops of background, which is often the difference between a black backdrop and glowing string lights, neon or a sky that still holds some blue.
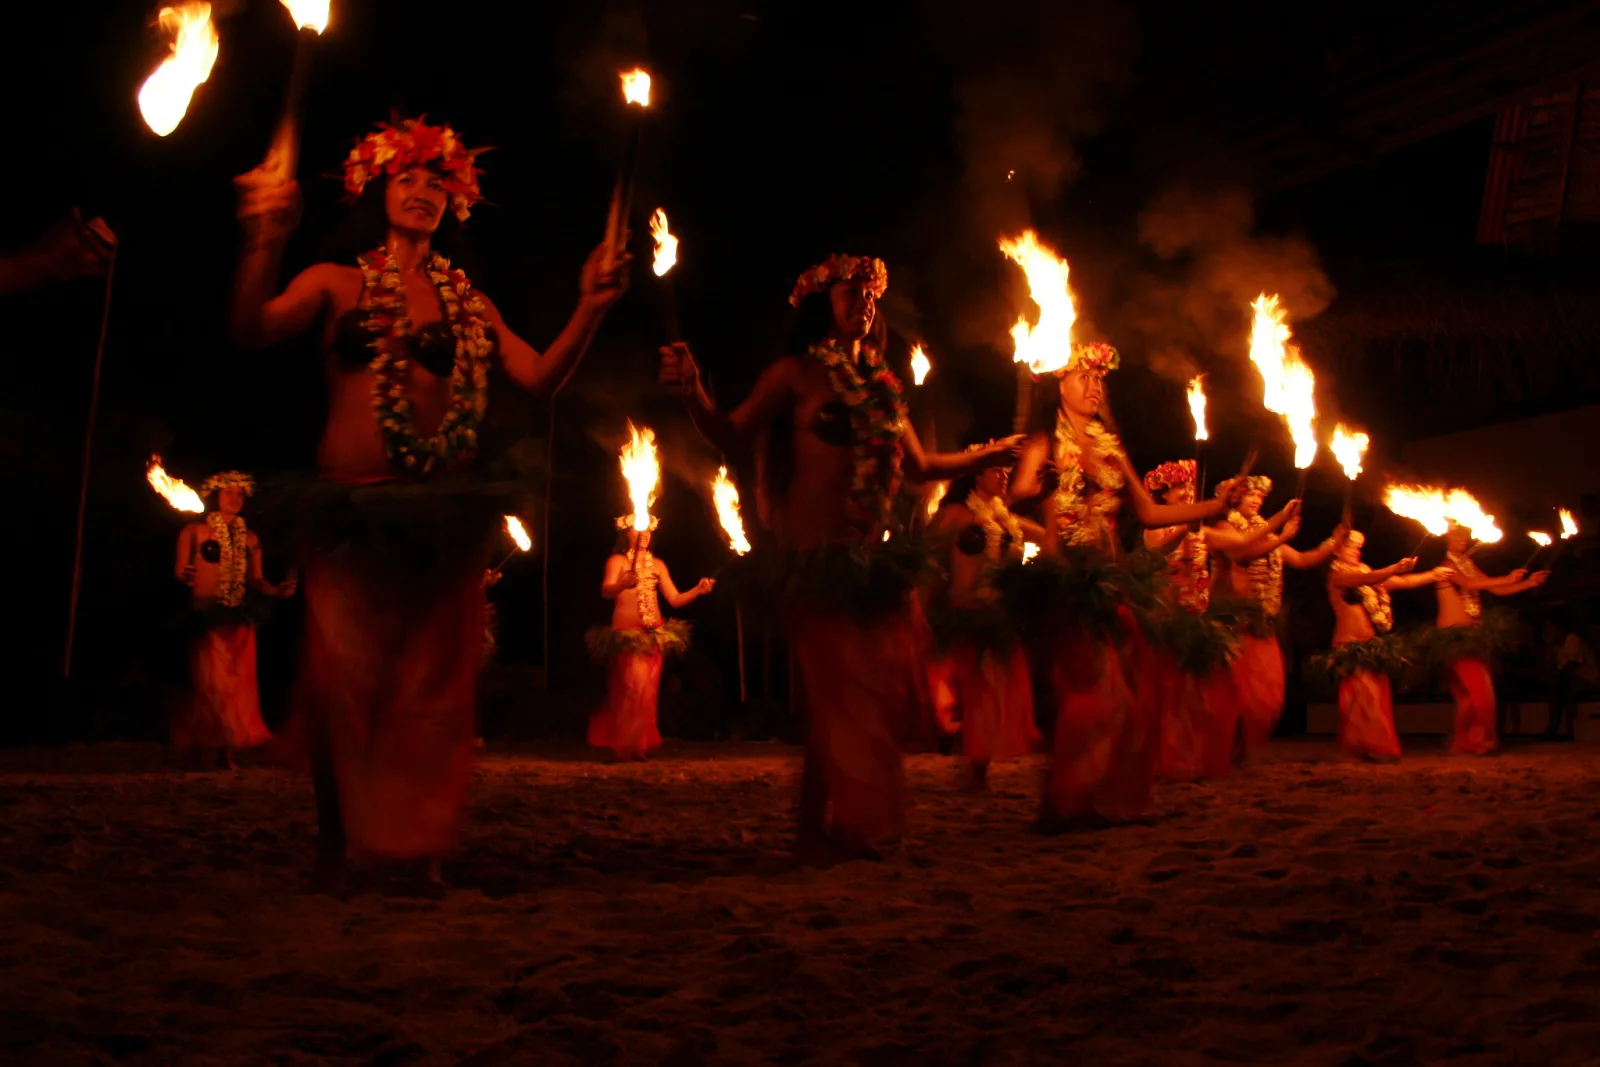
A long shutter brings a new problem: the subject is also lit by the ambient light for the whole exposure. If they move, that ambient part records as a blurred ghost next to the sharp flash-lit image. The ghost’s strength depends on the ambient light on the subject compared with the flash: faint when the flash is two or more stops stronger, almost as bright as the frozen image when the two are close.
You can control this in three ways. Keep the subject out of strong ambient light so the flash does most of the work on them. Use a faster shutter speed, accepting a darker background. Or embrace the blur and use rear-curtain sync, which fires the flash at the end of the exposure so the motion trail sits behind the subject rather than in front of them.
Camera shake follows the same logic. At 1/15 second handheld the flash still freezes the subject, but your hand movement can smear the background lights into streaks. Some photographers twist the camera on purpose to turn the lights into swirls around a sharp face. That is a creative choice, as long as you meant it.
Daylight and the sync-speed ceiling
In bright sun the problem reverses. The ambient light is so strong that controlling it with shutter speed alone hits a wall: the flash sync speed. Most cameras with a focal-plane shutter can only fire a normal flash at shutter speeds up to somewhere around 1/160 to 1/250 second. Above that, the shutter never fully uncovers the sensor at one instant, so part of the frame misses the burst.
Now apply the sunny 16 rule. In direct sun at ISO 100, a correct ambient exposure is about f/16 at 1/100 second. At a 1/250 second sync speed, that becomes roughly f/11. So in full sun, at base ISO and at your sync speed, you cannot open the aperture wider than about f/11 without overexposing the background. For a portrait at f/2.8 you would need about 1/4000 second, four stops faster than the sync speed allows.

You have four ways out, and each has a cost:
- Stop down. Work at f/8 to f/11 and accept more depth of field. Each stop smaller also halves the flash reaching the sensor, so the flash needs twice the power per stop.
- Add an ND filter. A three-stop ND lets you shoot f/4 at the sync speed in sun. But the filter darkens the flash by the same three stops, so the flash must put out eight times as much light as it would without the filter.
- Use high-speed sync. The flash pulses rapidly for the whole time the shutter slit travels across the sensor, behaving like a short burst of continuous light. This removes the ceiling but costs a large share of the flash’s usable output, and it changes the rules in this guide: because the flash is now spread over the shutter time, a faster shutter speed reduces the flash exposure as well as the ambient. Each stop faster shutter costs a stop of flash too.
- Use a camera or lens with a leaf shutter, which can sync at much faster speeds because it uncovers the whole frame at once. Few systems offer this, but where available it gives full flash power at fast shutter speeds.
There is also the question of overpowering the sun, darkening the sky by a stop or two so the flash-lit subject stands out. The sun’s exposure is fixed, so the flash has to match or exceed full daylight on the subject. That takes a lot of light, which is why this look relies on moving the flash very close. Halving the distance gives two stops for free.
Matching the colour of the flash to the ambient
A flash emits light close to midday daylight in colour. Most artificial ambient light is warmer: household bulbs, stage tungsten and candles are orange, older sodium street lamps are orange-yellow, and some fluorescent and cheap LED sources carry a green tint. If you mix an ungelled flash with warm ambient light, you get two colour temperatures in one frame, and white balance can only correct one of them.
Set white balance for the room and the flash-lit face turns cold and blue. Set it for the flash and the background turns orange. Auto white balance usually picks a compromise that leaves both slightly wrong. The colour temperature page explains the underlying scale.
The fix is a colour correction gel over the flash head. A full orange conversion gel shifts daylight-coloured flash roughly to the colour of tungsten light. With that gel on, you set white balance to tungsten, and now both the flash-lit subject and the background render neutral. Half and quarter strength gels are useful when the ambient is only somewhat warm, such as a mix of window light and lamps. A pale green gel does the same job for fluorescent light that has a green cast.
- Gels cost light. A full-strength orange gel absorbs roughly two-thirds to one stop, so turn the flash up to compensate.
- Gels can be used creatively. Put the orange gel on the flash outdoors at dusk, set white balance to tungsten, and the subject renders neutral while the sky turns a deep, saturated blue. The same trick works in reverse to warm a background.
- Coloured festival and stage lighting cannot be matched. Magenta, green and blue LEDs change constantly. Your choice is to keep the flash neutral and low so skin stays believable, or to switch it off and let the colour own the frame.
A raw file’s white balance changes the whole frame, so a flash and ambient mismatch can only be fixed with local adjustments afterwards; see colour cast.
Where the flash sits changes the blend
The same exposure numbers look different depending on the flash position. Direct on-camera flash lights the subject from the lens axis, which flattens faces and looks obviously like flash even at low power. Bounced off a pale ceiling or wall, the light spreads out and arrives from a direction that feels like room light, so it blends far more naturally, at the cost of two or three stops or more of power. The bounce flash page covers choosing a surface.
Off camera, you can put the flash on the same side as an existing window or streetlight, so it reads as a stronger version of the real light rather than a second source. The off-camera flash guide covers triggers and stands.
Common mistakes
- Leaving the camera on its default flash shutter speed at night. In program and aperture priority modes, many cameras choose 1/60 second or faster whenever the flash is on, which turns backgrounds black. Switch to manual and choose a slower shutter speed for the background.
- Fixing the subject with the shutter speed. A shutter change will barely alter a flash-lit face and will change the background a lot. Adjust flash power or distance for the subject instead.
- Forgetting that the two exposures add. A correct ambient exposure plus flash equals an overexposed subject. Pull the ambient down a little when the flash is doing real work.
- Ghosting you did not want. A subject standing in bright ambient light during a long shutter records twice. Move them into shade or shorten the shutter.
- Mixing an ungelled flash with warm room light. Faces turn blue or rooms turn orange. Gel the flash to match and set white balance for the ambient.
- Pushing past the sync speed in sun without high-speed sync. The result is a dark band across part of the frame. Stay at or below sync speed, stop down, or use an ND filter.
Try this
At dusk, take a friend and one flash outside near a lit shop window or a string of lights. In manual mode, set ISO 800 and f/4. With the flash off, shoot the same frame at 1/250, 1/60, 1/15 and 1/4 second. Turn the flash on at a fixed power and repeat the four shutter speeds. Lay the eight frames side by side: the flash-lit face looks almost identical at every shutter speed while the background climbs from black to bright. Then take your favourite frame and change only the flash power one stop up and down to see the opposite effect.
Frequently asked questions
Why does my flash photo have a black background?
The shutter speed was too fast, or the ISO too low, for the ambient light to register. The flash only reaches a few metres, so everything beyond that depends on the ambient exposure. Use a slower shutter speed or a higher ISO.
Does shutter speed affect flash exposure at all?
Not at or below the sync speed, because the entire burst falls inside the time the shutter is open. It does when you use high-speed sync, where the flash is spread over the whole exposure, and when a very long full-power burst approaches the sync speed.
Should I use TTL or manual flash when balancing with ambient?
Either works. Manual flash stays consistent when the subject stays at the same distance, which suits posed portraits. TTL adapts when distances keep changing, which suits events. Set the ambient manually in both cases.
How much fill flash looks natural?
Around one to two stops weaker than the ambient light on the subject. At that level the flash opens shadows and adds a catchlight without announcing itself.
Related guides
- Flash Photography for Beginners: the basics of on-camera flash before you start balancing it.
- Ambient Light: the other half of every flash exposure, and how to read it.
- Flash Duration: why the burst length, not the shutter, freezes the subject.
- High-Speed Sync: the trade-offs of flash above the sync speed.
- Inverse Square Law: why distance is your strongest flash control.
- Best Camera Settings for Night Photography: starting points for the ambient side after dark.
- Festival Photography: putting flash and coloured night light together in a real crowd.