Festival photography is less about gear and more about behavior: ask before you photograph people, carry a small kit you can seal against dust and keep on your body, work the soft light at the ends of the day, and switch to fixed white balance and deliberate exposure once the art lights up at night. Back up every card before you sleep. Do those things and a festival gives you more color, costume and spectacle per hour than almost any other place you can point a camera.
Why a festival is not a client event
At a wedding or a conference, someone hired you, the guests expect a photographer, and there is a shot list. At a large public festival nobody hired you. You are one participant among thousands, most of them holding a phone, and the people around you came to dance, perform, grieve at a memorial, or simply get lost for a few days. That changes three things.
- Your right to be there comes with the ticket, not a contract. Read the gathering’s photography policy before you go. Many large events allow personal photography freely but require registration or permission for commercial use, professional video or drones. If you might ever sell or license the images, sort that out in advance, not after.
- Nobody owes you a picture. There is no organizer to wave people into a group shot. Every portrait is a small negotiation with a stranger.
- The schedule is loose. Performances start late, art moves, weather closes roads. Instead of a shot list, keep a short list of ideas (a sunrise portrait, the main structure at dusk, one great costume) and let the day fill the gaps.
The skills from event photography still help: anticipate moments, protect your files, watch the light. So do the low-light instincts from concert photography. What is different is that you are a guest in someone else’s experience, and the best festival photographers behave that way.
Consent culture: ask first, and mean it
Many festivals and gatherings have an explicit norm: ask before you photograph anyone who could be recognized. Even where there is no stated rule, the crowd enforces one. A costume is self-expression, not an invitation to be published, and someone who is happy to be admired in person may have very good reasons not to appear online (a job, a family, a custody case, a country where their appearance is risky).
Asking is quick. Catch their eye, lift the camera slightly, and say something specific: “Your coat is amazing in this light. Can I take a picture?” A specific compliment tells them why you want the photo, which relaxes most people. If they say yes, take a few frames, show them the back of the camera, and offer to send the picture. If they hesitate, treat hesitation as a no. For the full approach, from the first line to handling a refusal, see the guide to street portraits.
Some situations call for leaving the camera down entirely:
- People who are visibly intoxicated, distressed, or unable to give a clear answer. A yes from someone who is not fully present is not a real yes.
- Anyone partly undressed. Some gatherings are relaxed about the body. The internet is not.
- Memorial spaces, shrines and quiet ritual areas, where people come to grieve.
- Children, unless their parent or guardian agrees.
Wide scenes where no single person is identifiable (a crowd silhouetted against a burn, a dust storm full of cyclists) do not need a conversation with everyone in them. The moment one face becomes the subject of the frame, it does. If someone asks you to delete a photo, delete it in front of them. That one gesture protects the whole community of photographers at the event. The broader principles are covered in photography ethics.
A light, protected kit for dust, heat and long days
You will carry your kit for twelve hours or more, often on foot or on a bicycle, in conditions that are hard on electronics. A small kit that stays sealed beats a big kit that stays in the tent. One body with a standard zoom that runs from wide angle to short telephoto covers most festival pictures, and it means you never change lenses in the open. If you want a second focal length, bring one small fast prime for night, and swap it only inside a tent or a closed vehicle.
| Threat | What it does | How to protect against it |
|---|---|---|
| Fine dust | Gets onto the sensor during lens changes, grinds in zoom and focus rings, clogs buttons | No lens changes outdoors. Camera in a sealed bag between shots. Clean with a blower, never by wiping grit across glass |
| Heat | Shortens battery life, can make a camera shut down, bakes gear left in a car or tent | Insulated bag in shade. Never leave gear in direct sun or a closed vehicle |
| Cold nights | Batteries lose capacity quickly | Keep spares in an inside pocket, close to your body |
| Theft and loss | Gear left on a bike or a chair walks away in crowds | Small bag worn on your body, a strap on the camera, serial numbers written down |
| Card failure or loss | One lost card can take the whole event with it | Several smaller cards rotated daily instead of one large card |
For dusty events, a simple kit is enough: a few large resealable bags, a disposable shower cap to pull over the camera when wind picks up, a rocket blower, a microfiber cloth used only after the grit is blown off, and a clear or UV filter on the lens so the glass you clean is cheap. Weather sealing helps, but fine dust still gets past seals over a week, so plan on a sensor clean afterward.
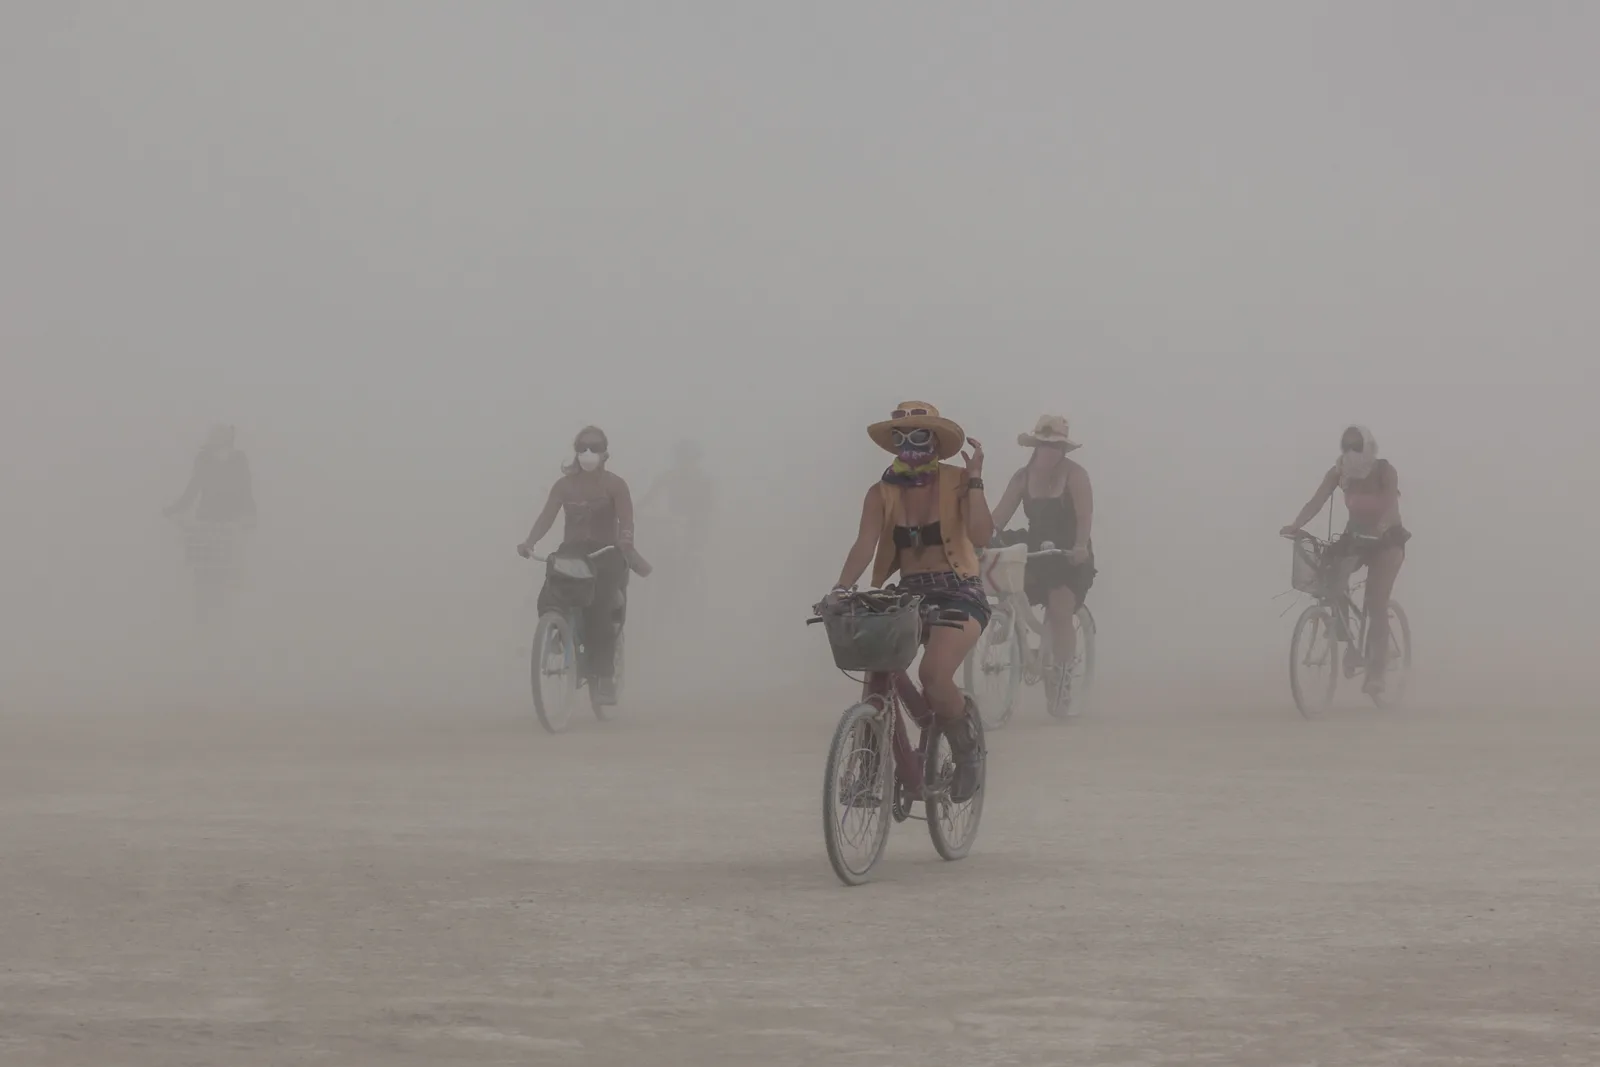
Dust storms and haze are worth shooting, not just surviving. The air acts like a giant diffuser: contrast falls, distant figures fade into layers, and the scene turns almost monochrome. Keep the camera bagged, pull it out for a burst, and put it straight back. The bad weather photography guide covers the same idea for rain, snow and fog.
Harsh daylight: beating glare and bright ground
Midday at an outdoor festival is the hardest light you will work in. The sun is high, shadows fall straight down into eye sockets, and pale ground (sand, dust, concrete) bounces glare everywhere. It also fools your meter. A camera meter assumes the scene averages out to a middle gray, so a frame full of bright ground gets pulled darker than it should be. Dial in about +2/3 to +1 stop of exposure compensation and check the histogram, which should reach close to the right edge without climbing the wall.
For a quick sanity check, the sunny 16 rule still works: in full sun, f/16 at a shutter speed of about 1 over your ISO (1/200 second at ISO 200) gives a correct exposure.
Practical ways to make midday work:
- Put the sun behind you or to your side for art. The sculpture is lit evenly, and the part of the sky about 90 degrees from the sun is naturally the deepest blue. A polarizing filter deepens it further, but on a wide lens it can leave an uneven dark band across the sky.
- Put the sun behind people. For portraits, turn your subject so the sun backlights their hair, then expose for the face. The face is now in even, soft shadow instead of squinting.
- Use shade structures. Tents, shade cloth and the shaded side of large art all create open shade, which is the kindest light available at noon.
- Watch hat brims. A wide brim puts the eyes in a dark band. Ask the person to tilt their chin up slightly or step into shade.
Better still, plan your day around the light. The hour after sunrise and the hour before sunset give low, warm side light that makes costumes glow and gives sculptures shape.
Art installations and costumes
Large art is the easiest festival subject to find and the hardest to photograph well, because everyone takes the same picture from the same spot. Walk all the way around a piece before you shoot. Look for the angle where the background is clean (sky, empty ground, distant mountains) and where the light rakes across the surface instead of hitting it flat.
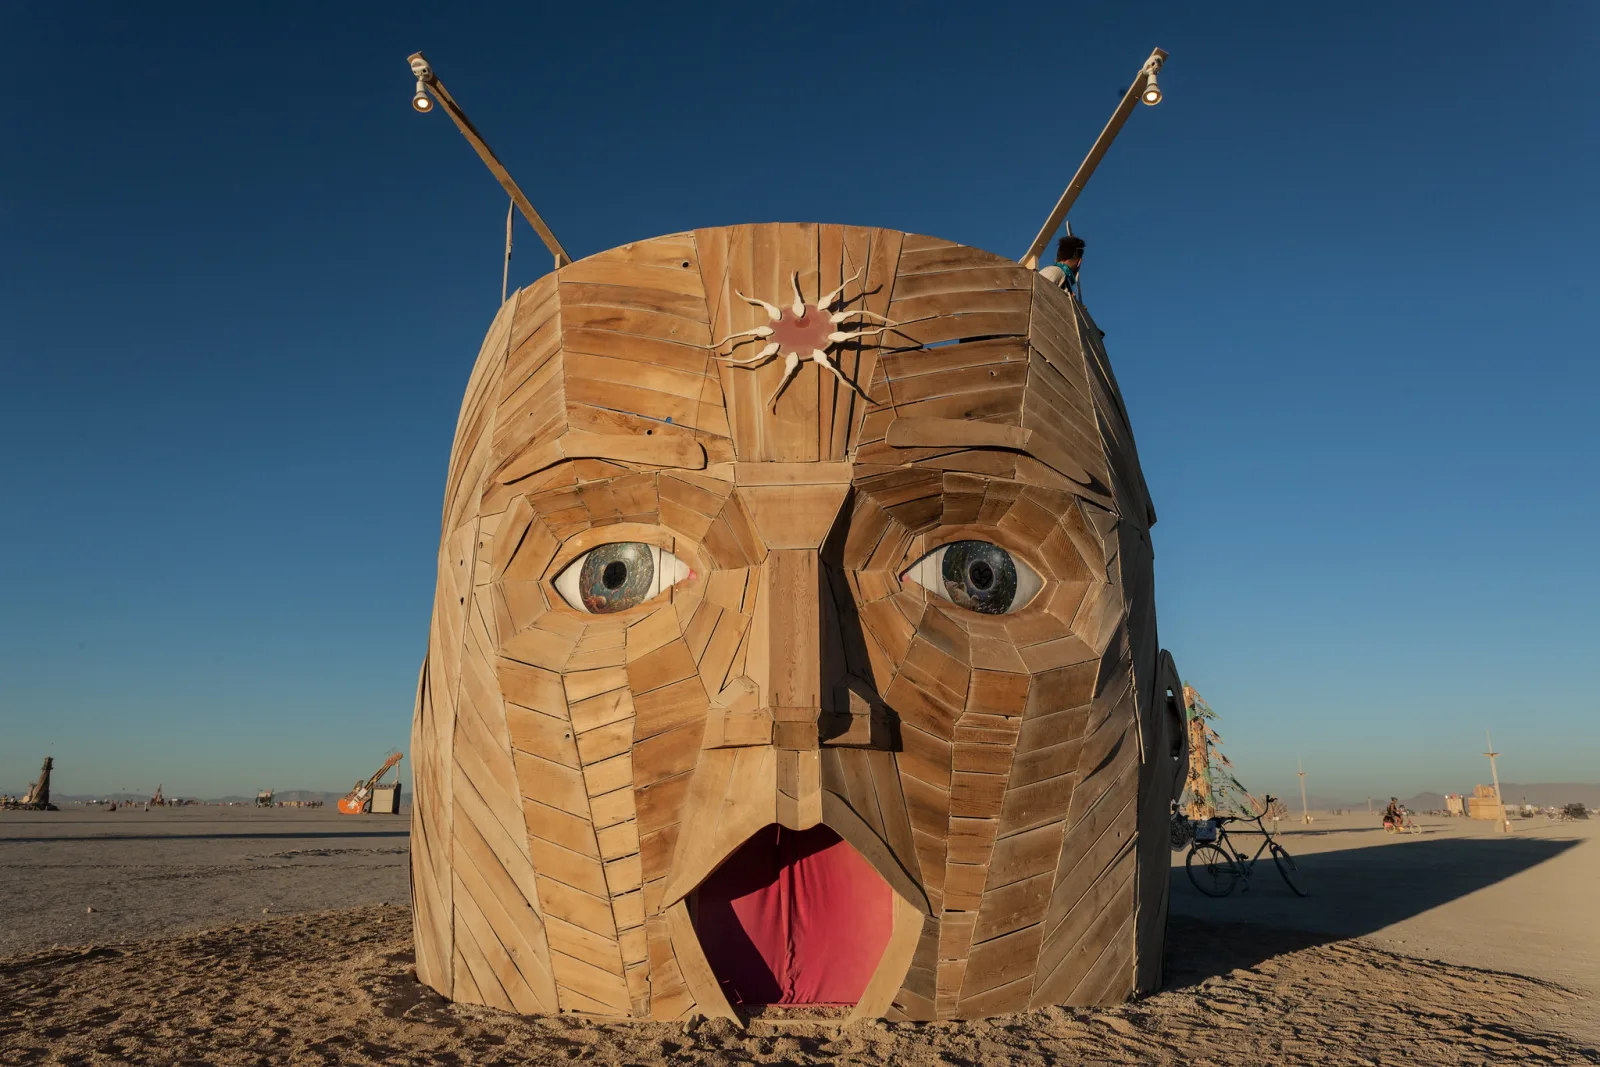
Three frames cover most installations:
- The establishing frame. The whole piece, with a person somewhere in it for scale. A tiny figure beside a huge sculpture tells the viewer its size instantly.
- The interaction frame. People climbing, touching, sitting inside or reacting to the work. This is often the strongest picture because it shows what the art does.
- The detail frame. Texture, welding, carving, a single lit panel. Details work well in harsh light because you can choose one small area where the light is good.
Most installations are made by named artists, and many carry a small sign or plaque. Photograph it, so you can credit the work when you share it. It is courteous, and artists often share work that credits them.
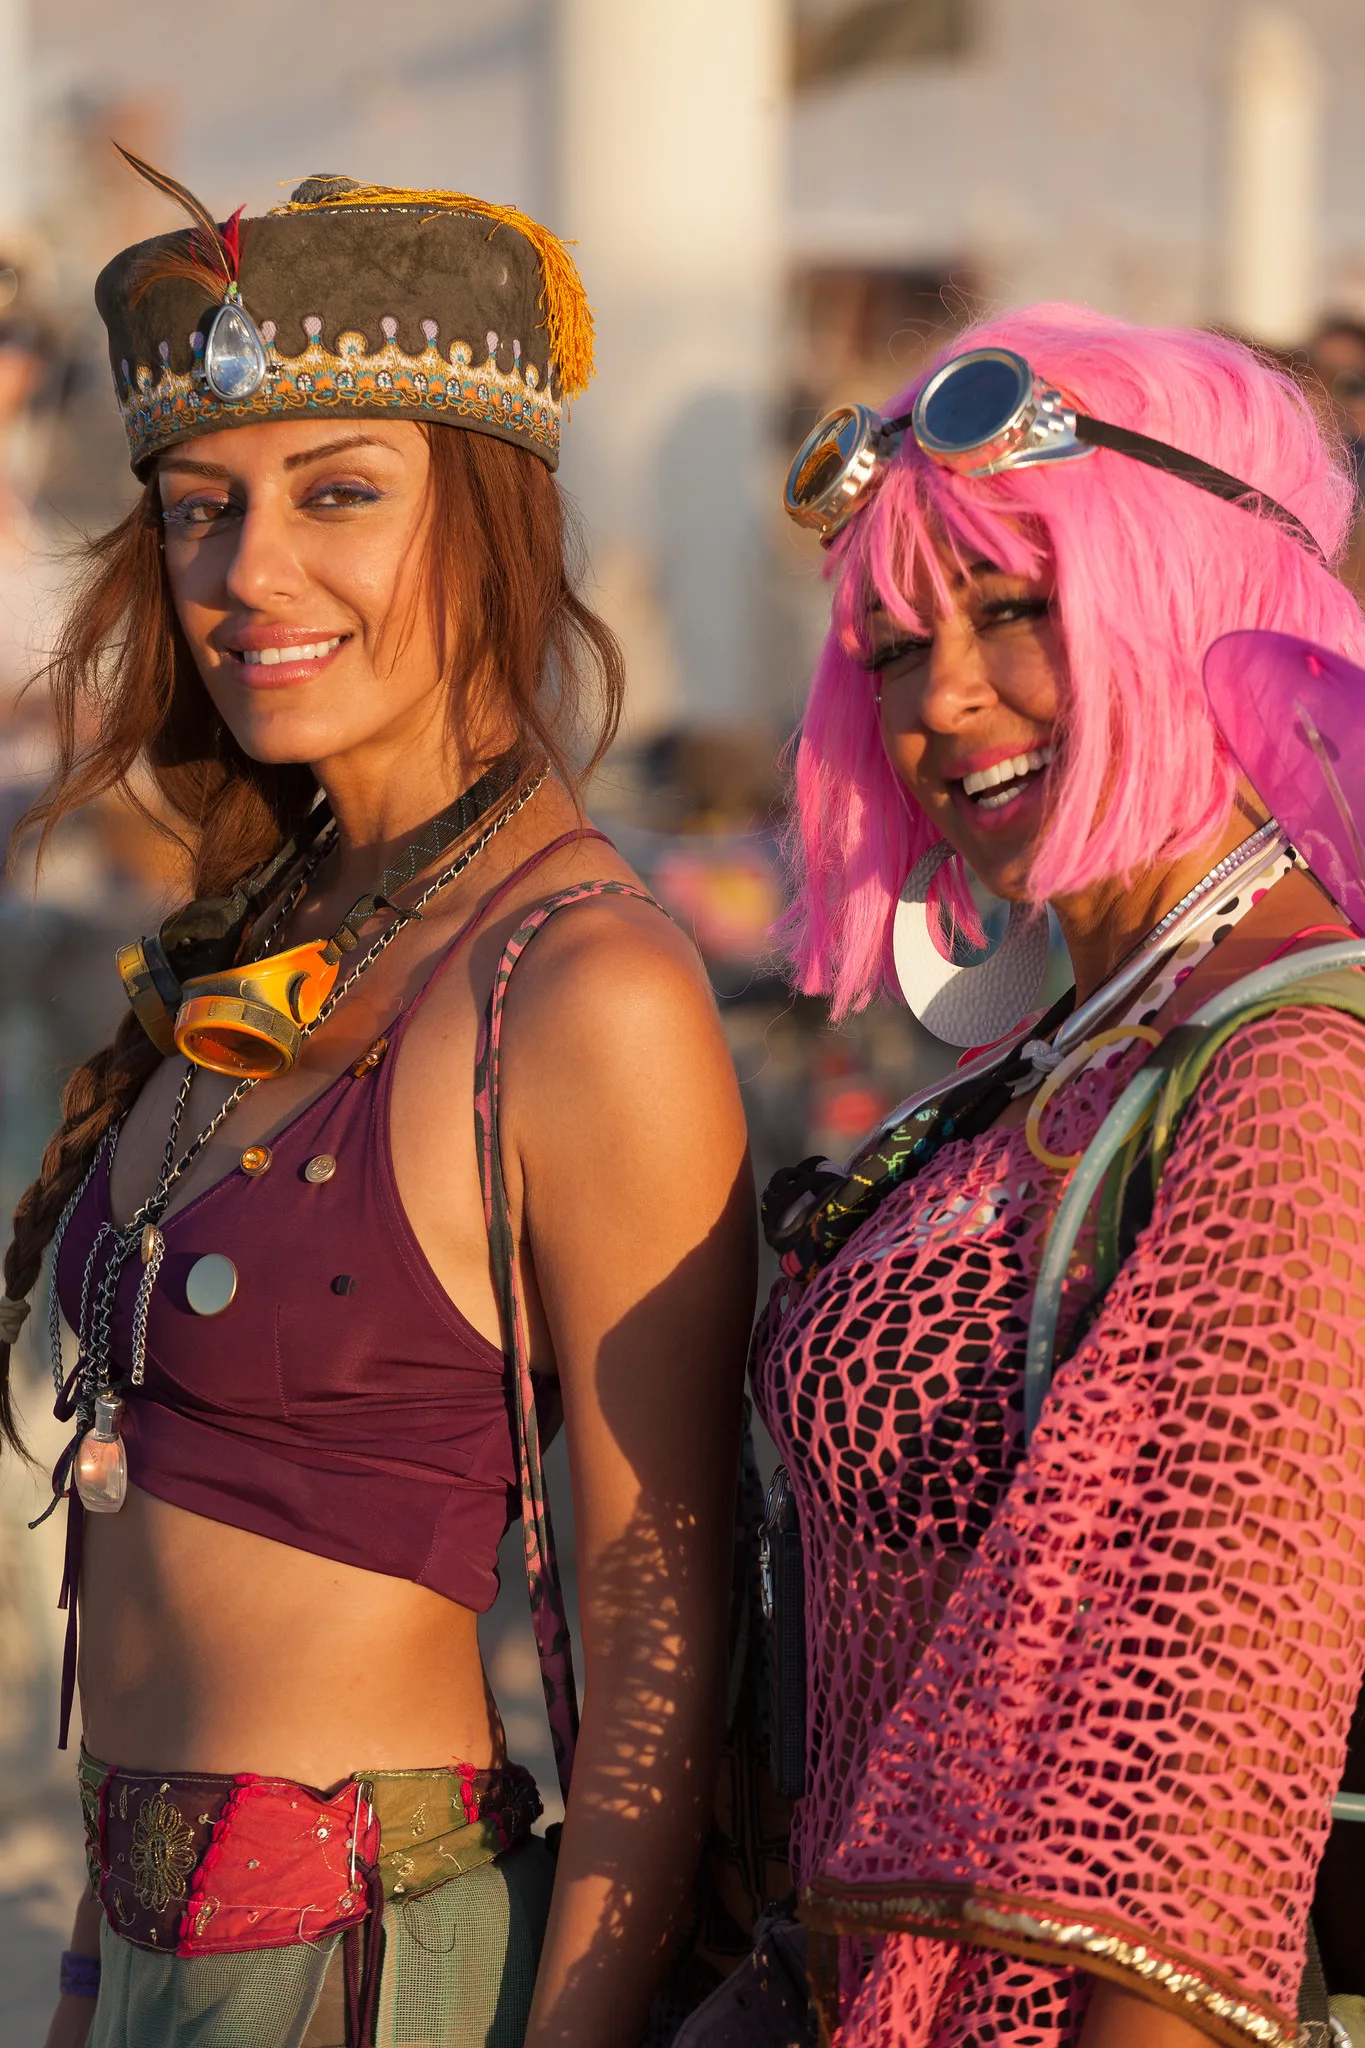
For costume portraits, background is everything. Busy festival scenes swallow detailed costumes. Crouch so the person stands against sky, or step back and zoom to a short telephoto so the background compresses into soft color. An aperture around f/4 to f/5.6 at a short telephoto length keeps the whole costume sharp while softening the scene behind it.
Working inside a crowd
Crowds are where the energy is, and they are also where you have the least control. Three habits make them manageable.
- Change your height. From eye level, a crowd is the back of the head in front of you. Get higher (a permitted platform, a step, a rise in the ground) to show scale, or hold the camera overhead with a tilting screen. Get lower to put faces against sky or lights.
- Pre-set focus and shutter. In a moving crowd, set a wide angle, f/8, and focus at about 2 to 3 meters. Almost everything from a meter or so out to several meters will be acceptably sharp, and you can shoot without waiting for autofocus. Keep the shutter at 1/250 second or faster in daylight so dancers freeze.
- Stay aware. Keep the strap on and the bag zipped, and look up from the viewfinder between bursts. Know where the exits are, and move toward the edge if the crowd starts to surge. No photograph is worth being trapped or knocked down.
Night: LED art, art cars and light trails
After dark, many festivals turn into a city of light: glowing sculptures, vehicles wrapped in LED strips, bicycles covered in lights, fire. The artificial light is the subject now, and it needs different settings from ordinary night photography of a dark landscape.
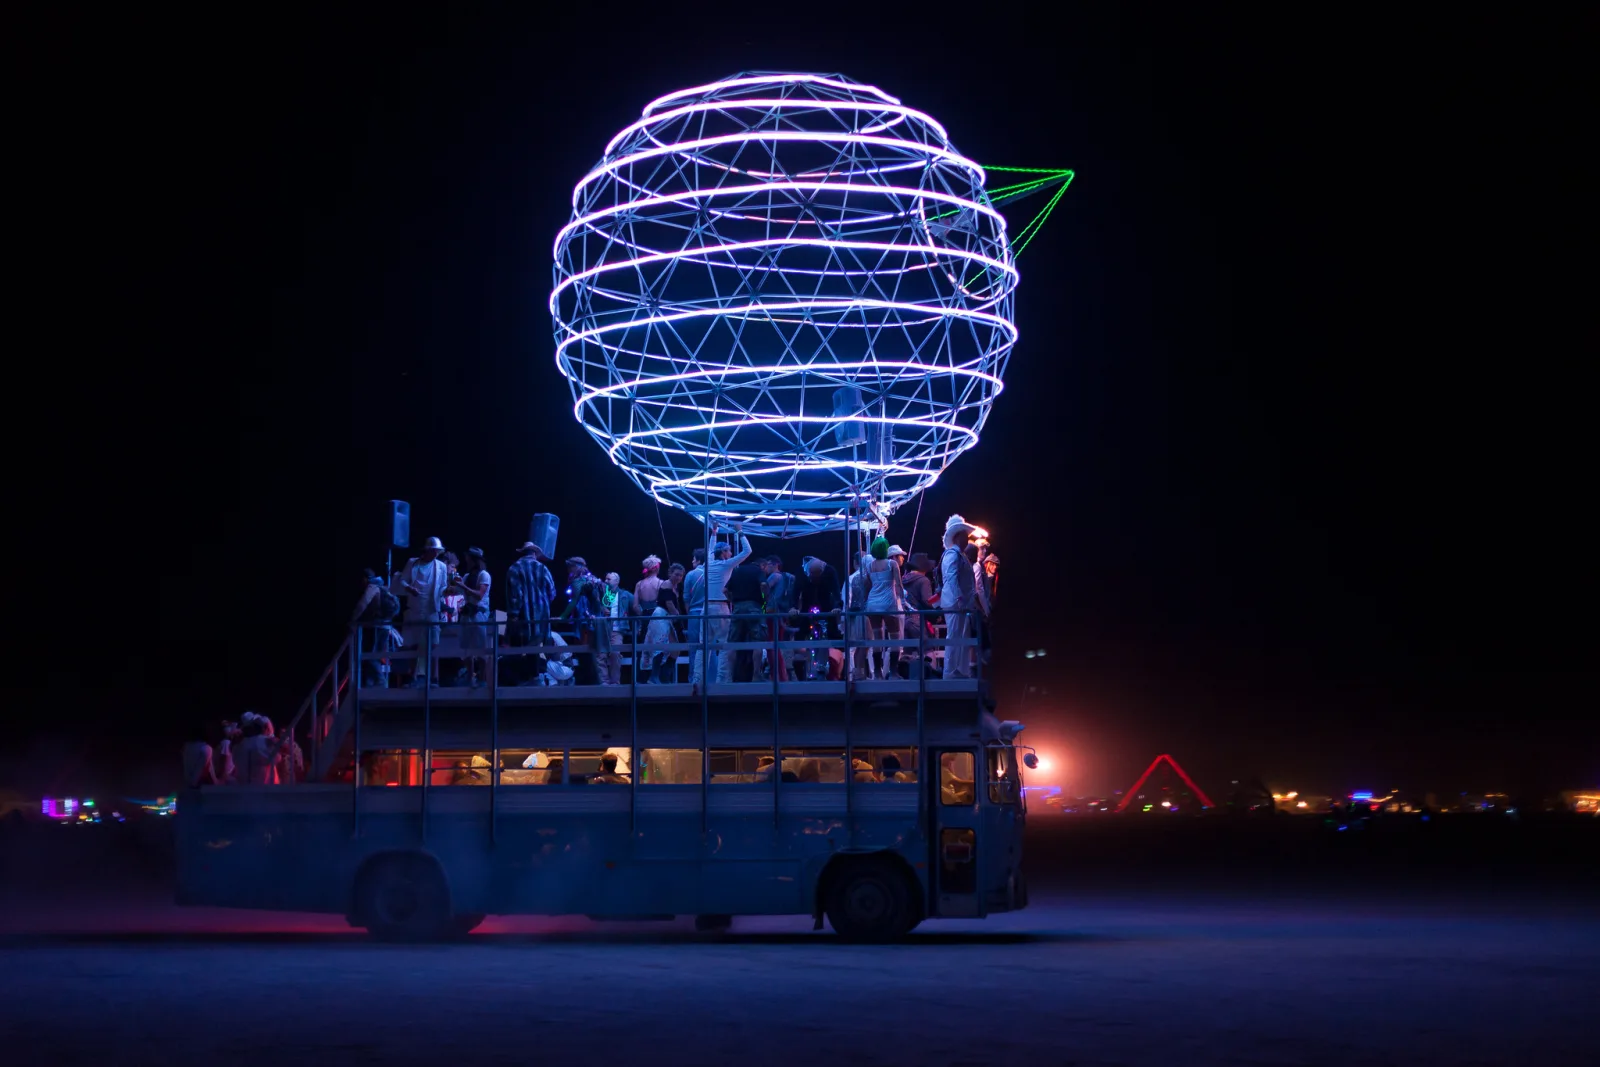
Expose for the lights, not the darkness. A meter sees a mostly black frame and tries to brighten it, which washes out the lights and turns saturated LED colors into white blobs. Use -1 to -2 stops of exposure compensation, or spot metering on the brightest glowing part, and let the ground go black. Saturated red and blue LEDs are especially easy to clip in a single color channel even when the overall histogram looks fine, so check the color histogram if your camera shows one.
Fix your white balance. Auto white balance tries to neutralize the dominant color, so it drains the blue out of a blue sculpture or the warmth out of fire. Set a fixed daylight value (around 5000 to 5500K) and the colors come out as the eye saw them. Shoot RAW so you can still adjust later.
| Scene | Starting settings | Why |
|---|---|---|
| Glowing art, handheld | f/1.8 to f/2.8, 1/30 to 1/60 s, ISO 1600 to 3200 | Fast enough to hold steady, dark enough to keep the lights from clipping |
| Moving art car or people lit by it | 1/125 s or faster, wide aperture, raise ISO as needed | Freezes the vehicle and the people on it |
| Light trails of bikes and vehicles | Tripod or steady surface, f/8, 2 to 10 s, ISO 100 to 400 | Moving lights draw lines while anything still stays sharp |
| The whole lit landscape | Tripod, f/8, 10 to 30 s, ISO 400 to 800 | Gathers the glow of the whole scene, people vanish into blur |
Light trails are the signature festival night picture. Set up beside a path where lit bicycles pass, frame something static and interesting (a sculpture, a lit tent), and use a shutter speed of several seconds. The same technique powers light painting, where you move the light yourself.
Fire is the other great night subject: fire dancers, flame effects and large burns. It follows its own rules for metering, white balance and safety distance, covered in the guide to photographing fire.
Two safety habits: light yourself so vehicles and cyclists can see you, and use a headlamp with a red mode so you can see your camera without blinding the people around you.
Backing up in the field
At many festivals there is no reliable internet and power is scarce, so cloud backup is not an option. A simple field routine keeps a week of pictures safe.
- Rotate cards. Use a fresh card each day, even if yesterday’s is not full. If a card fails or disappears, you lose a day, not the event.
- Make a second copy every night. Copy the day’s card to a portable drive, a laptop, or a card-to-drive copier that runs on battery. Check that the files open.
- Never format a card on site. Bring enough cards that you never have to. A full card sitting in a case is your second copy.
- Separate the copies. Keep the cards on your body and the drive in camp (or the other way around), so one lost bag cannot take both.
- Use both card slots if you have them. Setting the camera to write every frame to two cards gives you an instant backup while you shoot.
Swap cards inside a tent or vehicle, not in wind, for the same reason you avoid lens changes. When you get home, follow the full photo backup routine before you erase anything.
Common mistakes
- Photographing people without asking. It breaks the norms of most gatherings and can put people at real risk. Fix: ask first, and delete on request.
- Changing lenses in the open. One gust puts dust on the sensor for the rest of the week. Fix: one zoom outdoors, swap only inside.
- Letting the meter brighten night scenes. LED colors turn to white and the mood disappears. Fix: -1 to -2 stops of compensation and fixed daylight white balance.
- Shooting only at midday. The light is at its worst when most people are awake. Fix: work dawn, dusk and night, rest at noon.
- Carrying too much. A heavy bag gets left behind, and a camera left in camp takes no pictures. Fix: one body, one zoom, one small prime.
- Formatting cards before you get home. Fix: carry enough cards to finish the event without erasing any.
Try this
At the next public festival, market or street fair, give yourself 30 minutes and three rules. First, ask five strangers for a portrait, each time with one specific compliment, and offer to send them the photo. Second, for each yes, move once before shooting so the background behind them is plainer. Third, as it gets dark, photograph one lit object three times: at your camera’s metered exposure, at -1 stop, and at -2 stops. Compare the three at home and note which one kept the colors of the lights. That exposure offset is your starting point next time.
Frequently asked questions
Do I need permission to photograph at a festival?
For personal photography, usually not beyond your ticket, but the event sets the rules and many require registration for commercial use, professional video or drones. Read the photography policy before you go. For recognizable people, ask each person, whatever the policy says.
What is the single best lens for a festival?
A standard zoom that runs from wide angle to short telephoto. It covers crowds, art and portraits without a lens change, which matters more than image quality where dust is involved. Add a small fast prime for night if you can.
Can I sell festival photos?
It depends on the event’s terms and on the law where you are. Many gatherings restrict commercial use of images made there, and using an identifiable person’s picture to sell something generally needs their signed release. Laws vary by country, so consult a lawyer in your jurisdiction before selling.
How do I keep my phone or camera alive for several days?
Turn off wireless features you do not need, lower screen brightness, keep spare batteries warm at night and shaded by day, and charge from a solar panel or power bank during the day.
Related guides
- Street Portraits: exactly what to say when you ask a stranger for a photo.
- How to Photograph Fire: settings and safety for fire dancers and big burns.
- Concert Photography: working stage light when the music starts.
- Night Photography: tripods, long exposures and focusing in the dark.
- Photography Ethics: consent, representation and sharing responsibly.
- Event Photography: the client-event side of photographing gatherings.
- Light Trails: step-by-step long exposures of moving lights.