To photograph holiday lights well, shoot in the blue hour just after sunset so the sky still has color, expose for the lights themselves rather than the darkness around them (usually by dialing in one to two stops of negative exposure compensation), set a fixed white balance instead of auto, and steady the camera on a tripod or a solid surface. Small apertures such as f/11 to f/16 turn bright points into starbursts; wide apertures turn out-of-focus lights into soft bokeh.
Blue hour or full dark: choosing when to shoot
The single biggest decision is timing, and it matters more than any camera setting. Displays look very different in the two phases of the evening.
- Blue hour is the period after sunset (and before sunrise) when the sun is below the horizon but the sky still glows deep blue. Its brightness is close to that of the lights, so a single exposure can hold both: the sky shows color, buildings and trees keep their outlines, and the lights glow without blowing out. Blue against the warm yellow and orange of most decorative lights is also a naturally pleasing color contrast. The blue hour guide explains the timing in detail.
- Full dark is better when the lights are the whole picture: a tunnel of lights, a lantern festival, a display that fills the frame, or a scene where you want starbursts and bokeh against pure black. Anything not lit by the display disappears, which simplifies cluttered scenes but loses context.
How long blue hour lasts depends on your latitude and the season. Near the equator it is brief, often well under half an hour; far from the equator in winter it lasts longer. A sun-position planning app will show sunset time and the length of twilight for your location. Arrive before sunset, set up, and shoot continuously as the sky darkens: the best balance often lasts only a few minutes, and you will not know which frame it is until you see them side by side.
One practical advantage of winter displays is that blue hour arrives early in the evening, when the lights are already on and children are still awake. For more on shooting after sunset generally, see night photography.
Exposing for points of light
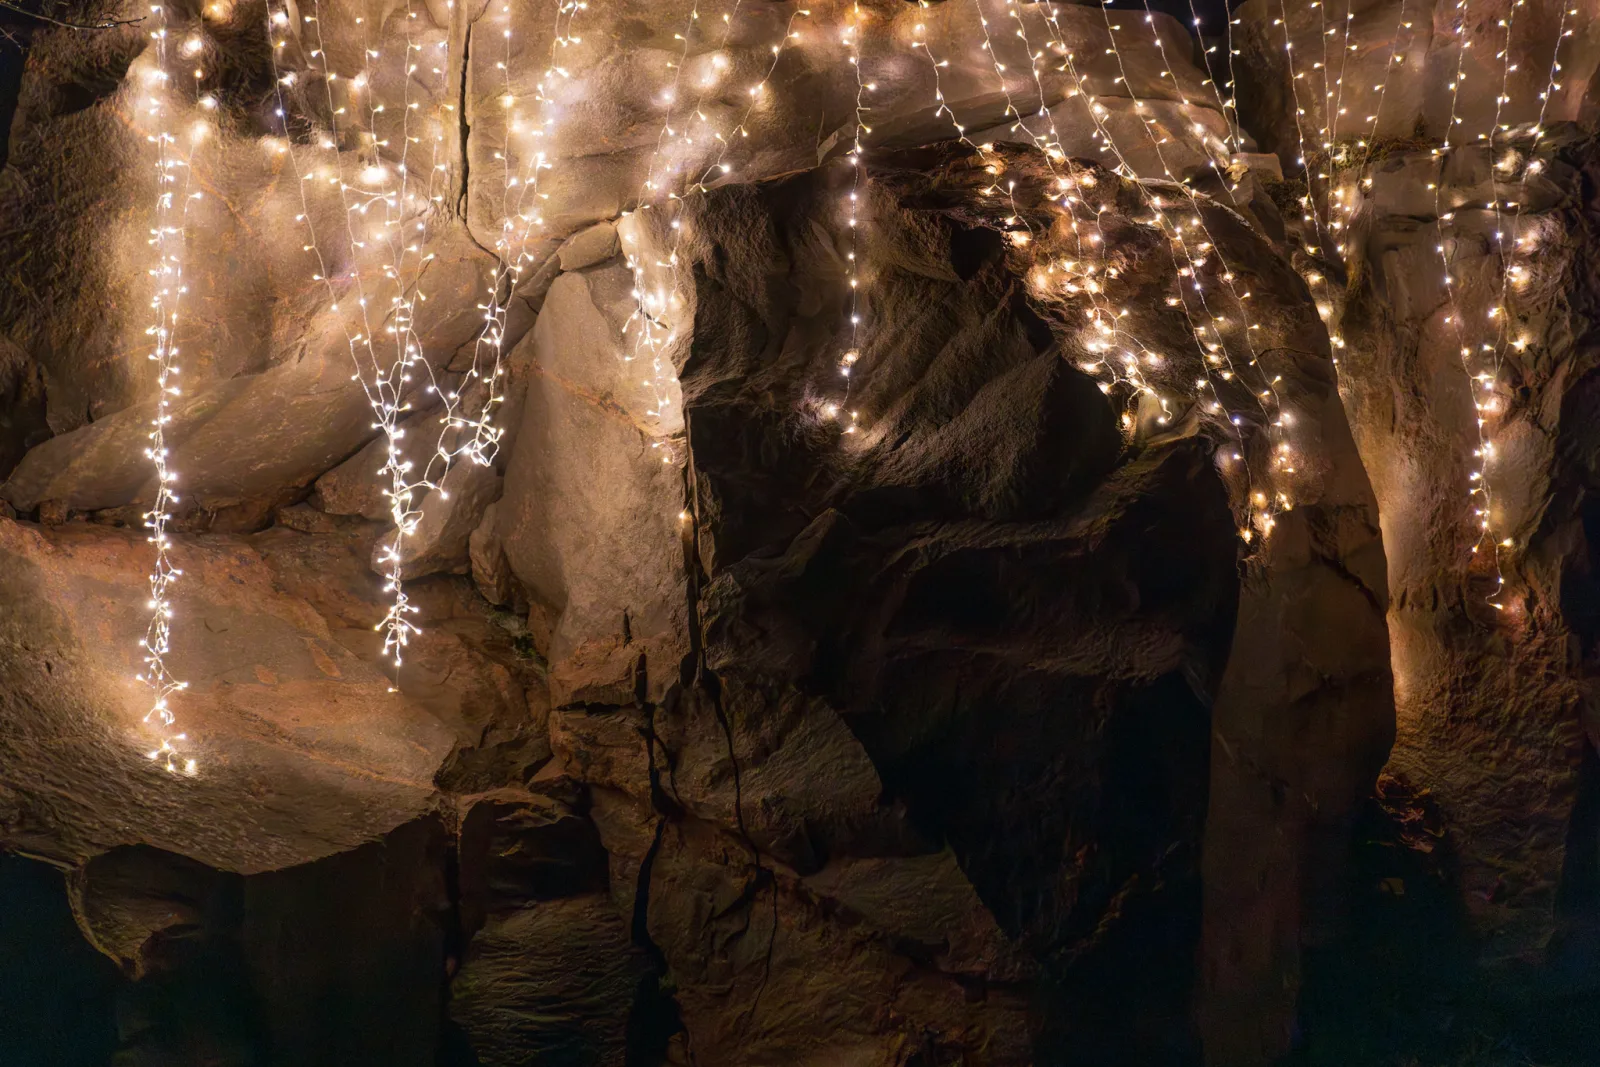
Light displays fool camera meters in a predictable way. The meter assumes the scene should average out to a middle tone. A display at night is mostly dark with small, very bright points, so the meter brightens the whole frame to lift all that darkness. The result: the bulbs swell into overexposed white blobs, their color disappears, and the image looks washed out and noisy.
The fix is to expose for the lights, not the dark:
- Use exposure compensation. In aperture priority or program mode, start at minus one stop and go to minus two if the bulbs still look bloated. This is the fastest method and works for most people.
- Or shoot in manual. Displays do not change brightness, so once you find an exposure that works it stays correct for the whole display. That is more consistent than any automatic mode.
- Judge by color, not brightness. A correctly exposed colored bulb shows its color in its center. If the center of a red or blue bulb is white, it is overexposed. Zoom in on the camera’s screen to check.
- Use highlight warnings and the histogram. A few tiny clipped points at the very centers of bulbs are normal and acceptable; large clipped areas mean you need less exposure.
Colored LED lights deserve extra caution. Saturated reds and blues can overflow a single color channel even when the overall exposure looks fine, flattening them into featureless patches. If red and blue lights look like flat stickers while white ones look fine, take off another third to two-thirds of a stop. Shooting RAW gives you more room to recover those channels later.
Starting settings
Every display differs in brightness, so treat these as a first frame to check, not a final answer.
| Situation | Starting settings | Notes |
|---|---|---|
| House or street display at blue hour, on a tripod | f/8, ISO 100, around 1 to 4 s | Adjust the time until the lights hold color. |
| Starbursts on a tripod | f/11 to f/16, ISO 100, several seconds | Small apertures make the points; see below. |
| Handheld walk through a display | Widest aperture, ISO 1600 to 6400, 1/30 to 1/60 s | Brace against something solid. |
| People or children lit by the display | Widest aperture, ISO 1600 to 6400, 1/125 s or faster | Faster shutter freezes moving people. |
| Bokeh background behind a subject | Widest aperture, subject close, lights far behind | Distance, not just aperture, makes the blur. |
White balance with mixed light sources
A typical display mixes warm incandescent bulbs, cool white LEDs, colored LEDs, sodium or LED street lights and the blue sky. No single white balance setting makes all of them look neutral, and that is fine: the color is the point. Your job is to choose which light should look “right”.
- Avoid auto white balance for a series. Auto tries to neutralize each frame differently depending on which colors dominate, so the same display drifts from warm to cool as you move. A fixed setting keeps a set consistent.
- Daylight white balance renders warm lights as warm and the blue-hour sky as blue. This is usually the most natural-looking choice, because it is roughly how the scene felt.
- A tungsten or low Kelvin setting (around 3000 to 3500K) neutralizes warm bulbs and turns the sky an intense, often unnatural blue. Use it when warm lights look too orange.
- For cool white LEDs, a middle setting around 4000 to 5000K often keeps them white without making warm bulbs look orange.
A useful test is to look at the white lights in your frame. If they look icy blue, warm the white balance up; if white bulbs look like candles, cool it down. Shooting RAW makes this a decision you can revisit later.
Some LED displays flicker faster than the eye can see. At fast shutter speeds, especially with an electronic shutter, parts of a display can appear dim or switched off, or you may see bands across the frame. Slower shutter speeds average out the flicker, and animated displays that chase or pulse also look fuller at exposures of half a second or longer. The guide to light flicker and banding explains why.
Bokeh and starbursts: two looks from one aperture ring
Your aperture controls two opposite effects on points of light, and holiday displays are the perfect place to use both.
Starbursts from small apertures
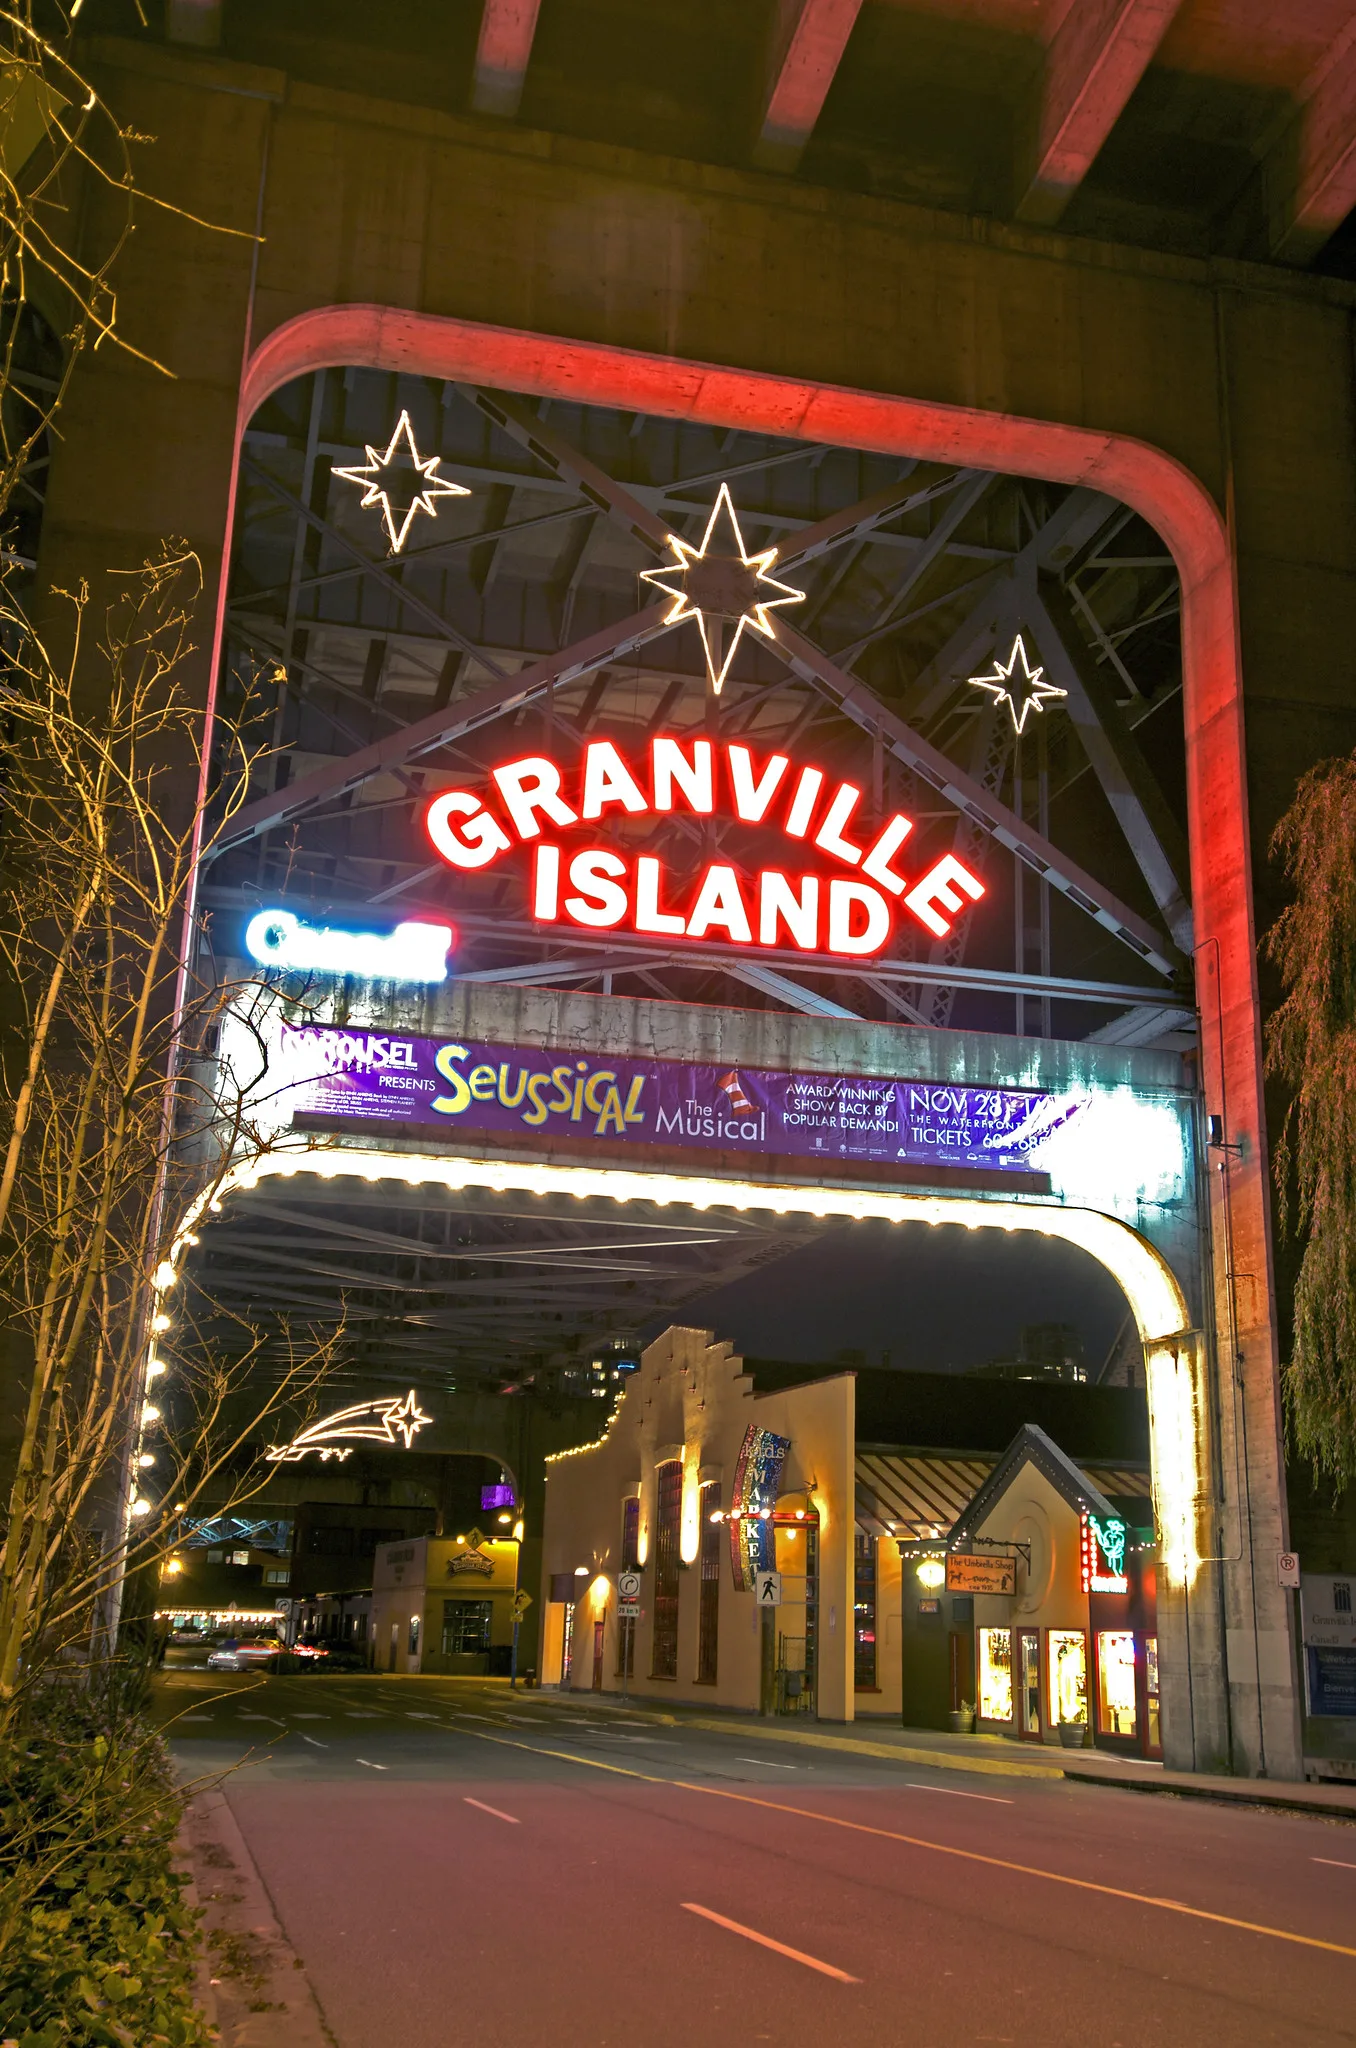
At small apertures such as f/11 to f/16, bright points of light render as stars with sharp rays. The rays are caused by diffraction at the edges of the aperture blades. The number of rays follows the blade count: a lens with an even number of blades makes that many rays, and a lens with an odd number makes twice as many, because the rays from opposite edges do not overlap. Lenses with straight blades give crisper stars than those with rounded blades.
Starbursts work best on bright, isolated points: a single bright bulb, a street lamp, a star on top of a tree. On a string of hundreds of tiny bulbs, every one becomes a star and the result looks busy. Stopping down further than about f/16 adds diffraction softness to the whole image without improving the stars much. Small apertures also mean long exposures, so use a tripod. More in the guide to star-shaped light points.
Bokeh from wide apertures
At wide apertures, out-of-focus lights become soft discs. The effect is strongest when three conditions combine: a wide aperture (f/1.8 to f/2.8), a subject close to the camera, and lights far behind the subject. A person standing one meter from you with a lit tree ten meters behind will give large, soft discs; the same person standing right in front of the tree will not, however wide your aperture. Longer focal lengths enlarge the discs further.
Stopped down a little, discs take the polygon shape of the aperture blades, and near the edges of the frame they often become cat’s-eye shapes on fast lenses. Both are normal lens behavior. The bokeh photography guide covers the technique in depth, including cut-out shapes you can place over the lens to turn every light into a star or heart.
People and children lit by the display
The best holiday light photographs often have a person in them: a child’s face lit by a glowing window, a couple walking through a tunnel of lights, a family silhouetted against a display. The challenge is that display light is dim and falls off quickly, so faces a few steps away from the lights are much darker than the lights themselves.
- Bring people close to the lights. Light intensity drops rapidly with distance, so a face half a meter from a lit display is far brighter than one two meters away. Ask your subject to step in, and turn their face toward the brightest part of the display.
- Expose for the face. Use a faster shutter speed (1/125 second or faster for children, who rarely stay still), your widest aperture and a high ISO. Accept noise; a sharp, grainy face beats a smooth, blurred one.
- Focus on the eyes. Autofocus struggles in dim light. Put a single focus point on the eye or use face detection if it works in low light, and consider focusing on a lit edge of the face.
- Get down to their level. Photographing children from adult height shows the tops of their heads and a lot of ground. Crouch so the lights appear behind and around them.
- Look for the reaction. A child looking up at the lights, lit by them, often makes a stronger image than a posed smile at the camera.
Flash is a compromise. Direct flash lights the face well but flattens it and makes the display look dim behind it. If you use flash, lower its power and use a slower shutter speed so the background lights still register, a technique called dragging the shutter. The guide to balancing flash and ambient light explains the balance. For general advice on photographing children, see how to photograph your kids.
Handheld or tripod
A tripod gives you the cleanest files: low ISO, a small aperture for starbursts and exposures long enough to average out flicker and fill in animated displays. It is the right choice for a house display, a quiet street or a view over a lit town. See how to use a tripod for technique, and use a two-second self-timer or remote so pressing the button does not shake the camera.
Many popular displays and light festivals are crowded, and some ban tripods outright because they block paths and trip people. Always check the rules. When you shoot handheld:
- Brace yourself. Lean against a post or wall, tuck your elbows in, exhale slowly and press gently. Rest the camera on a railing or bench if you can.
- Use stabilization. Image stabilization lets you hold slower shutter speeds than you otherwise could, but it only reduces your own shake. It does nothing for people moving in the scene.
- Raise ISO before you drop the shutter speed. Noise can be reduced in editing; camera shake cannot be fixed.
- Take several frames. In a burst of three or four at a marginal shutter speed, one is often sharper than the others.
Lantern festivals and light installations
Lantern festivals, winter light trails and large art installations are designed as walk-through experiences, and they reward a different approach from a house display. Everything is lit on purpose, usually for the eye at close range, and crowds are part of the scene.
- Arrive early or late. Crowds are thinnest just after opening and near closing. Early also gives you a blue-hour sky behind the first lanterns.
- Use people for scale. A lone silhouette in a tunnel of lights or in front of a giant lantern shows the size of the piece and adds a story. Wait for a single figure rather than trying to clear the scene entirely.
- Look for reflections. Lanterns floating on water or placed beside a pond double themselves in the reflection.
- Go close for detail. Paper lanterns, hand-painted panels and the textures of lit fabric make strong frames that do not depend on crowd-free views.
- Respect the path. Stepping over barriers, blocking narrow walkways for long exposures and using flash on light art annoy other visitors and are often against the rules.
Large lit sculptures glow from inside, and their brightest panels are often much brighter than they look. Expose for those panels and let the surroundings go dark. The guide to festival photography covers crowds, courtesy and working an event.
Reflections in wet streets and snow
Weather that sends most people indoors often makes the best light photographs.
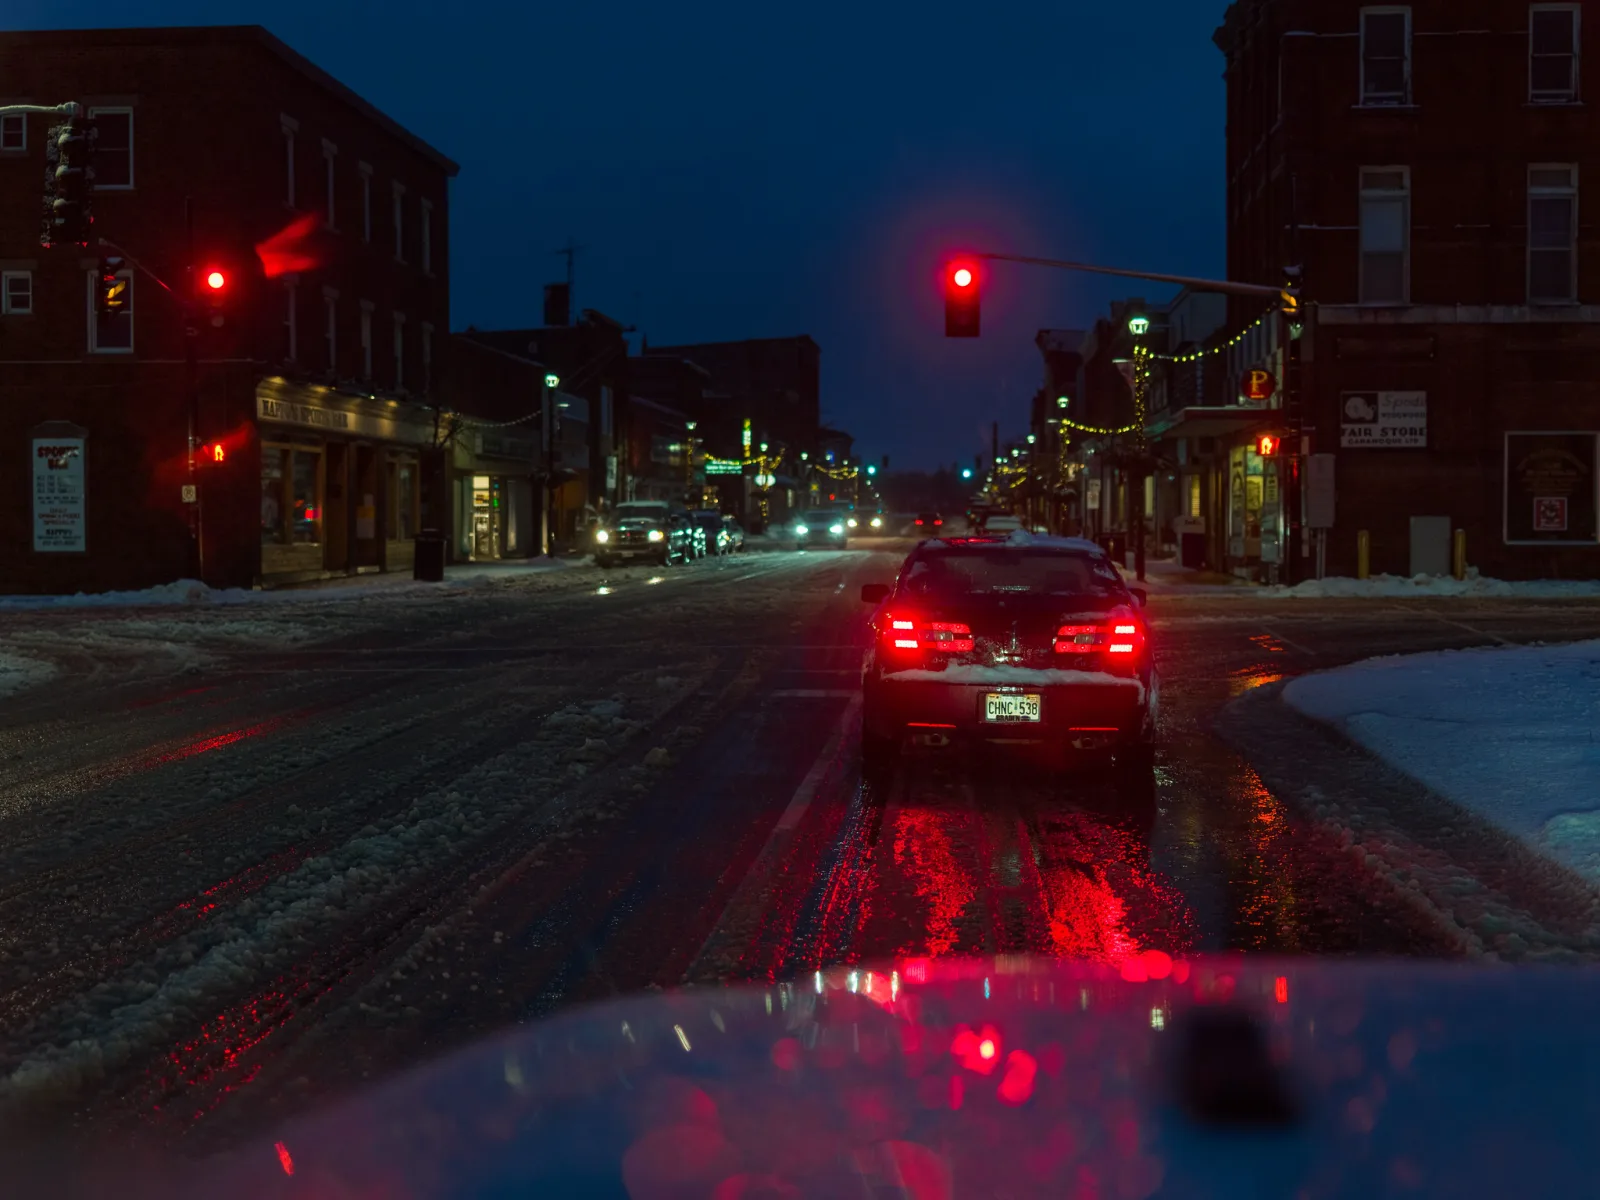
Wet pavement acts like a dark mirror. After rain, every light gains a long, colored reflection, and a dull street becomes a river of color. Get low: the closer the camera is to a wet surface or puddle, the more of the reflection you see. A puddle in the foreground can reflect an entire display. Do not use a polarizing filter here, because it removes the very reflections you want. For more ideas, see creative reflection photography.
Snow is a gift for light displays. It reflects the color of every nearby light, so a white yard becomes a pool of red, green or blue, and it brightens the whole scene, lowering the contrast between lights and surroundings. Because snow is so reflective, check that it has not blown out to pure white under a bright display. Falling snow gives you two choices: a fast shutter speed freezes individual flakes, and a longer exposure turns them into soft streaks. Avoid direct on-camera flash when snow is falling, because it lights the flakes nearest the lens and fills the frame with bright white spots.
Cold drains batteries quickly. Carry spares in an inside pocket and swap them as they fade. When you come back indoors, keep the camera in its bag for a while so condensation forms on the bag rather than inside the lens. The winter photography guide covers cold-weather care in detail.
Common mistakes
- Letting the meter expose for the darkness. Bulbs bloat into white blobs. Dial in one to two stops of negative exposure compensation.
- Waiting for full dark. The sky goes black and the scene loses context. Start at sunset and shoot through blue hour.
- Leaving white balance on auto. Colors drift between frames. Set a fixed white balance.
- Using a wide aperture when you want starbursts. Stars need small apertures. Use f/11 to f/16 on a tripod.
- Putting people right in front of the lights for bokeh. The lights stay sharp. Move the person away from the lights and closer to you.
- Firing direct flash at people. The display goes dim behind a flat face. Raise ISO, use the display’s own light, or balance a low-power flash with a slower shutter.
- Shooting animated displays at fast shutter speeds. Half the lights look switched off. Use half a second or longer on a tripod.
Try this
Find any string of lights: a decorated window, a lit tree, even a strand of fairy lights draped over a chair at home. Put the camera on a tripod or a stable surface and make four photographs of the same scene in about 20 minutes. First, one at the camera’s default exposure. Second, the same with minus one and a half stops of exposure compensation. Third, at f/16 for starbursts. Fourth, with the lights a few meters behind a small object (a mug, a toy, a person) placed close to the lens, at your widest aperture and focused on the object. Compare all four on a large screen: look at the color in the centers of the bulbs, the shape of the stars and the size of the bokeh discs. You will have seen, in your own photos, the three controls that matter most for this subject.
Frequently asked questions
What are the best camera settings for holiday lights?
On a tripod at blue hour, start around f/8, ISO 100 and one to four seconds, then adjust until the bulbs show color in their centers. Handheld, use your widest aperture, ISO 1600 to 6400 and 1/30 second or faster.
Why do my holiday light photos look blurry and washed out?
Blur comes from a shutter speed too slow to hold by hand; use a tripod or raise ISO. Washed-out lights come from overexposure, because the camera brightens the dark scene; use negative exposure compensation.
How do I get star effects on lights?
Use a small aperture, around f/11 to f/16, on a tripod. The stars come from diffraction at the aperture blades, so they are sharpest on bright, isolated lights.
How do I photograph lights with my phone?
Hold the phone very still or rest it on something, tap to focus on the lights and slide the exposure control down until the bulbs show color. Night modes help with still scenes but can smear moving people.
Related guides
- Blue hour photography: timing the twilight that balances lights and sky.
- Bokeh photography: turning distant lights into soft discs.
- Night photography: the foundations of shooting after dark.
- Festival photography: crowds, courtesy and working an event.
- Winter photography: snow exposure and cold-weather care.
- How to photograph fireworks: another celebration of light, with its own timing.
- Creative reflection photography: using puddles and wet streets.