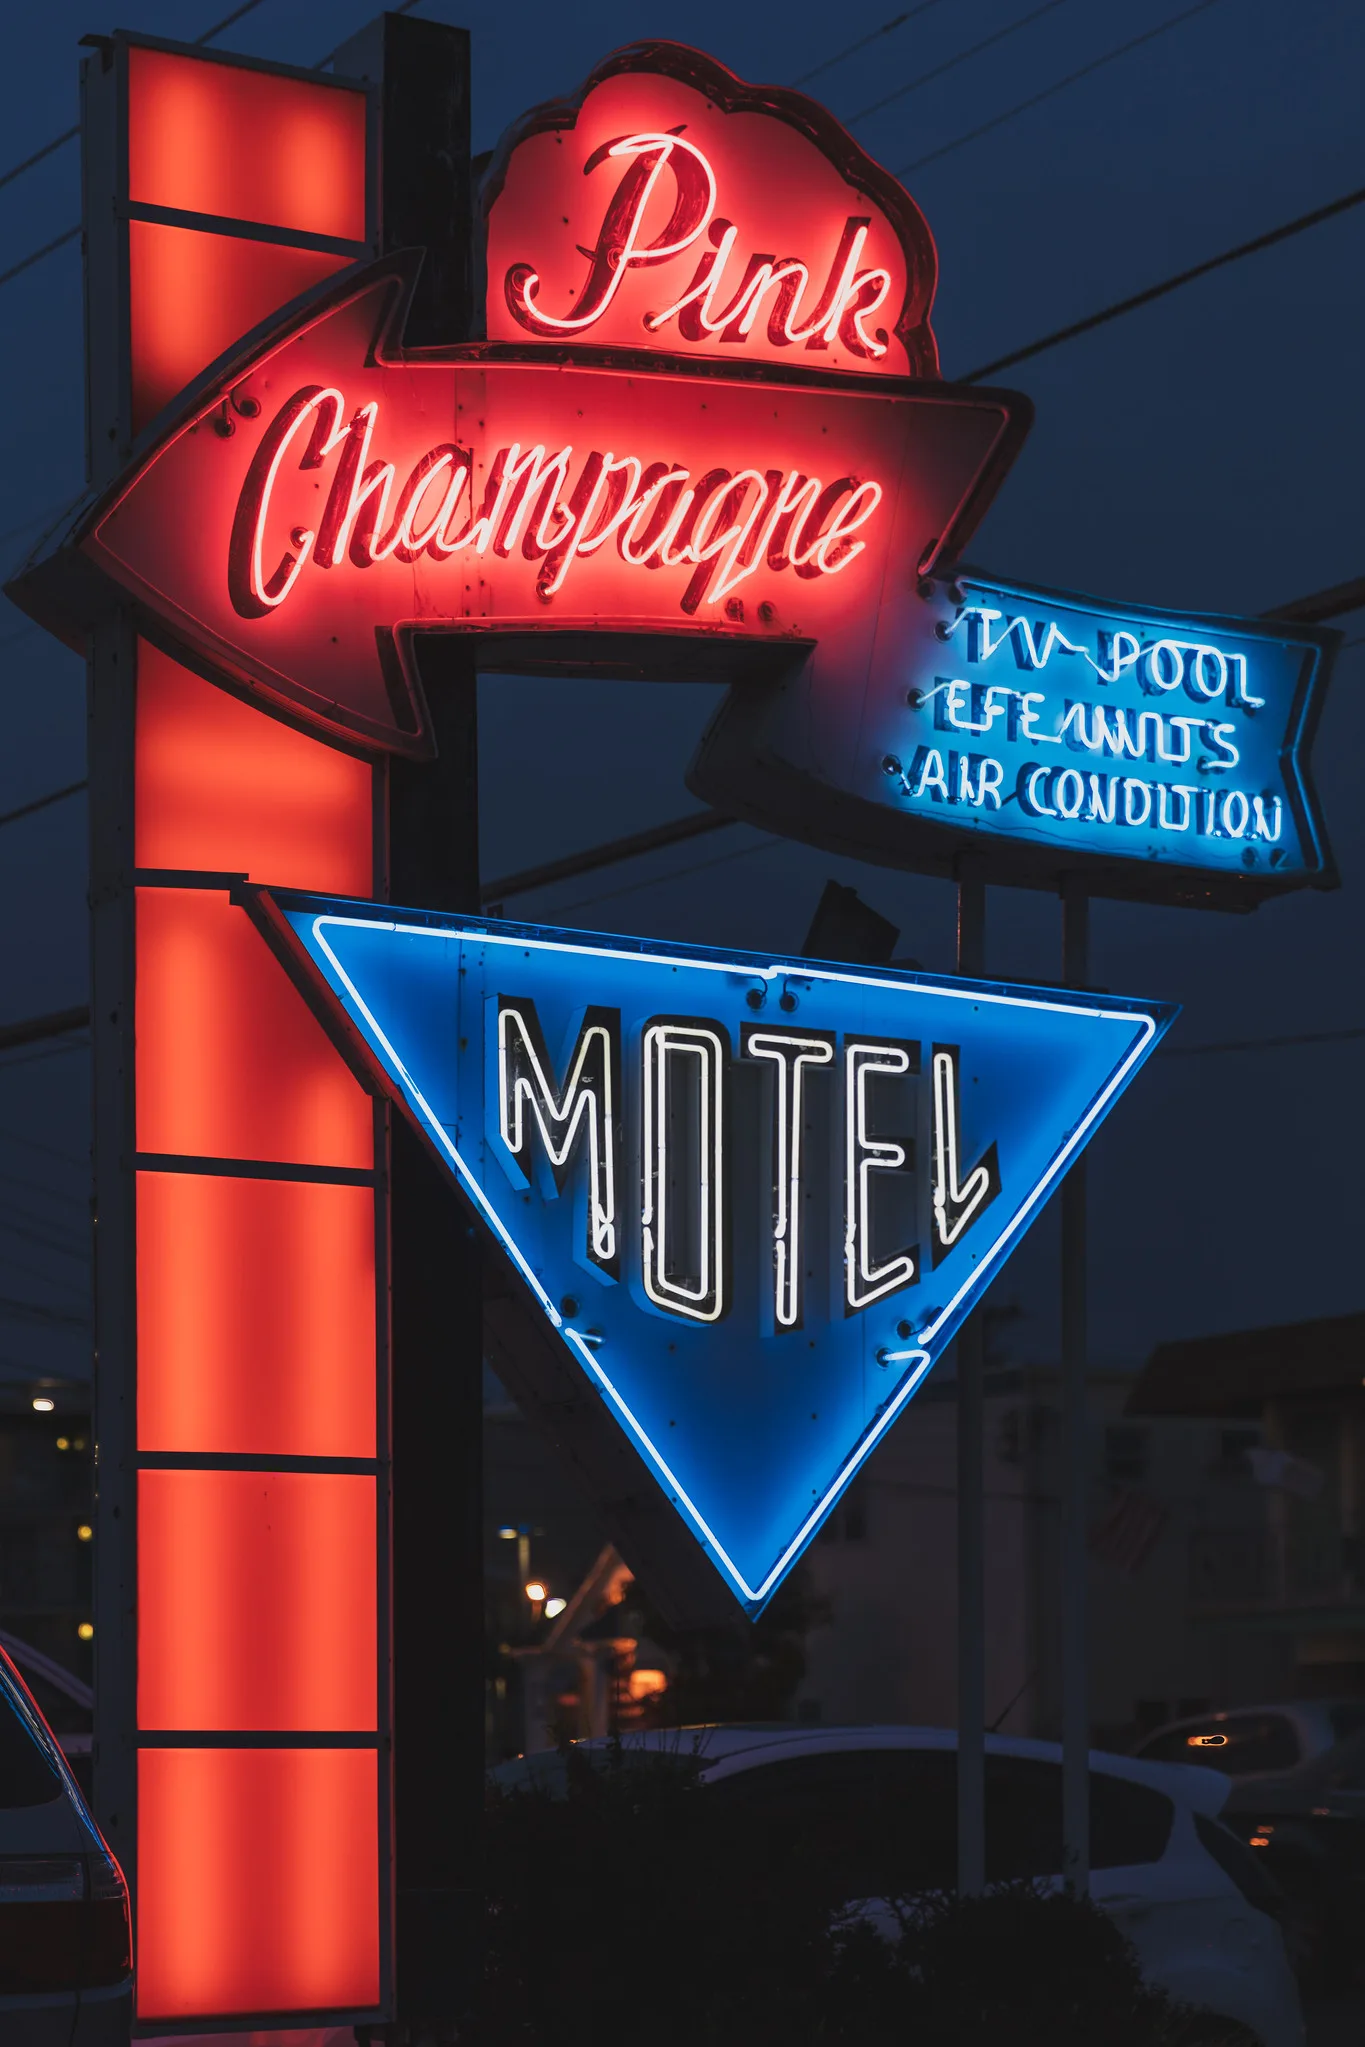
Neon signs turn white in photographs because the tubes are small, intensely coloured and many stops brighter than the street around them, so the camera exposes for the dark and one colour channel overloads. To keep the colour, expose for the tubes: about f/2.8 at 1/60 to 1/125 and ISO 100 is a reliable first frame. Then check the RGB histogram and darken until the tube shows colour across its whole width.
This guide covers exposure, white balance, flicker, handheld settings, reflections, glass, flare, portraits by neon light, composition and editing. Night street photography covers working among people after dark, and how to photograph holiday lights deals with strings of small points of light. This page goes further on the one problem neon adds: saturated colour that clips a single channel long before the picture looks overexposed.
Why neon blows out: small, saturated and far brighter than the street
A neon sign is a glass tube of gas at low pressure, lit by a high voltage across it. Neon gas itself glows red-orange. Other colours come from different gases, from phosphor coatings inside the tube or from tinted glass, and many current signs are strips of LEDs in a diffusing sleeve made to look like neon. All share three properties that trouble a camera.
- Small. The tubes fill a tiny part of the frame, so a meter that averages the scene sees mostly darkness and brightens everything.
- Very bright. Published exposure tables put neon and other bright signs at about EV 9 to 10 at ISO 100 (see exposure value), several stops above the walls and pavement beside them.
- Saturated. The light sits in a narrow part of the spectrum, so a red tube fills the red channel of the sensor while green and blue stay almost empty.
That third property is why neon fails differently from a white street lamp. Once the red channel is full it cannot record more, but green and blue keep rising as exposure increases. The recorded colour drifts away from red and ends as white, usually with a thin coloured fringe where the glow is weaker.
| Tube colour | What overexposure typically turns it into |
|---|---|
| Red or orange-red | Orange, then yellow, then white |
| Pink or magenta | Pale pink, then white |
| Blue | Pale cyan, then white |
| Green | Pale yellow-green, then white |
Exposing to keep colour in the tubes
The aim is a tube that shows its colour from edge to edge. The rest of the scene is negotiable.
- Shoot raw and turn on the RGB histogram. A single white histogram mostly tracks brightness, which is weighted toward green, so it can look safe while red or blue is already against the right edge.
- Take control of exposure. Use manual exposure from the first frame given above, or keep an automatic mode and dial in minus one to minus three stops of compensation. The darker the frame around the sign, the more you need.
- Watch the channel that matches the sign: red for a red tube, blue for a blue one. If it touches the right edge, darken by a third of a stop and shoot again.
- Zoom in on the review image. A well exposed tube has colour across its width, perhaps with a slightly paler core. A white tube with a coloured outline is clipped.
A correct frame looks too dark on the screen. That is expected. If you prefer to meter, spot metering on the tube places it as a mid-tone, and zero to plus one stop from that reading is a sound first frame. Highlight-weighted metering, where a camera offers it, is designed to protect bright areas and gets close without help.
For the surroundings you have three choices. Let them go black, which suits a single sign. Shoot at blue hour, when the sky and street are bright enough to sit within a few stops of the tubes. Or work on a tripod at the lowest ISO and either lift the shadows from one raw file or blend two frames taken two to three stops apart.
White balance: there is no correct setting, so choose one
Neon has no correct white balance. The light does not come from the sun or a hot filament, and a red tube is supposed to be red, so there is nothing neutral to aim for. Auto white balance sees a frame washed in one colour and tries to cancel it, which dulls the sign and changes from frame to frame as you recompose.
- Daylight preset, roughly 5000 to 5500 K. Consistent from frame to frame and close to how the signs look to the eye. A sound default.
- A lower Kelvin value, about 3200 to 4000. Cools the whole picture: orange street lighting calms down and a twilight sky turns a deeper blue.
White balance also moves the camera’s histogram, which is built from the processed preview and not from the raw data. A warmer setting raises the red channel, so a red sign can read as clipped at one setting and safe at another. Set white balance first, then judge exposure.
Flicker and banding: shutter speed against mains frequency
Signs on mains power do not glow steadily. Alternating current reverses 50 or 60 times a second, and a gas tube on a traditional transformer lights on each half of the cycle, so it pulses 100 times a second on 50 Hz mains and 120 times on 60 Hz. Glowing gas responds almost instantly, unlike a hot filament, so the dips between pulses are deep. Your eye smooths them out. A fast shutter does not.
| Mains frequency | Light pulses | Shutter speeds that span whole pulses |
|---|---|---|
| 50 Hz (Europe, Australia, most of Asia and Africa) | 100 per second | 1/100, 1/50, 1/25 and slower |
| 60 Hz (North America and some other regions) | 120 per second | 1/120 or the nearby 1/125, 1/60, 1/30 and slower |
At those speeds every frame, and every row of the sensor, collects the same amount of light. At faster speeds the exposure catches only part of a pulse, so brightness changes from one frame to the next. Shutters that expose the sensor a strip at a time add a second fault: different rows catch different moments, which shows as dark bands or a gradient across the frame. A mechanical shutter does this only at its fastest speeds. An electronic shutter reads the sensor more slowly and can band at almost any speed that is not in the table.
Signs on electronic power supplies, and LED signs, pulse at rates unrelated to the mains, often far faster. Many cause no trouble; some band at speeds that should be safe. Take one frame at the speed you intend to use and zoom in. If you see bands, switch to the mechanical shutter and lengthen the exposure a step at a time, since a longer exposure averages more pulses.
Why does the colour of a light sometimes shift between frames as well as its brightness? Flicker and banding under artificial light explains why lights flicker at twice the mains frequency, anti-flicker modes for fast shutter speeds, colour shifts and fixing flicker afterwards.
Handheld settings that work at night
Because the tubes are so bright, a sign that fills the frame can be photographed handheld at a low ISO. The settings climb only when you want the street, a passer-by or a face to register as well.
| Situation | Aperture | Shutter speed | ISO |
|---|---|---|---|
| Sign fills the frame, exposed for the tubes | f/2.8 | 1/60 to 1/125 | 100 |
| Sign with shopfront and pavement | f/2 to f/2.8 | 1/60 | 400 to 1600 |
| People walking past, lit by the sign | f/1.8 to f/2.8 | 1/100 or 1/125 | 1600 to 6400 |
| Wet street, camera on a tripod | f/8 | 1 to 8 seconds | 100 |
Treat every row as a first frame to check, not a recipe. In the last three rows the tubes will be near or past clipping, so decide whether the sign or the scene matters more. Manual mode with Auto ISO works well: pick the aperture, pick a shutter speed from the flicker table, and use exposure compensation to hold the highlights. Stabilization steadies your hands at 1/30 or slower for a still sign, but it does nothing for people who are moving.
Reflections in wet streets and windows, and signs behind glass
Rain doubles a neon scene. Smooth puddles give a mirror image, while wet asphalt and paving stretch each sign into a long streak that runs toward the camera. Get low: a surface reflects more at a shallow viewing angle, and the reflection grows in the frame. Take off any polarizing filter, which exists to remove exactly this. The reflection is dimmer than the sign, so an exposure that suits the puddle will clip the tubes. Either frame the sign out and photograph the reflection alone, or expose for the tubes and lift the ground later. In a puddle, focus on the reflected sign and not on the water’s surface, since the reflection behaves as if it were as far away as the sign.
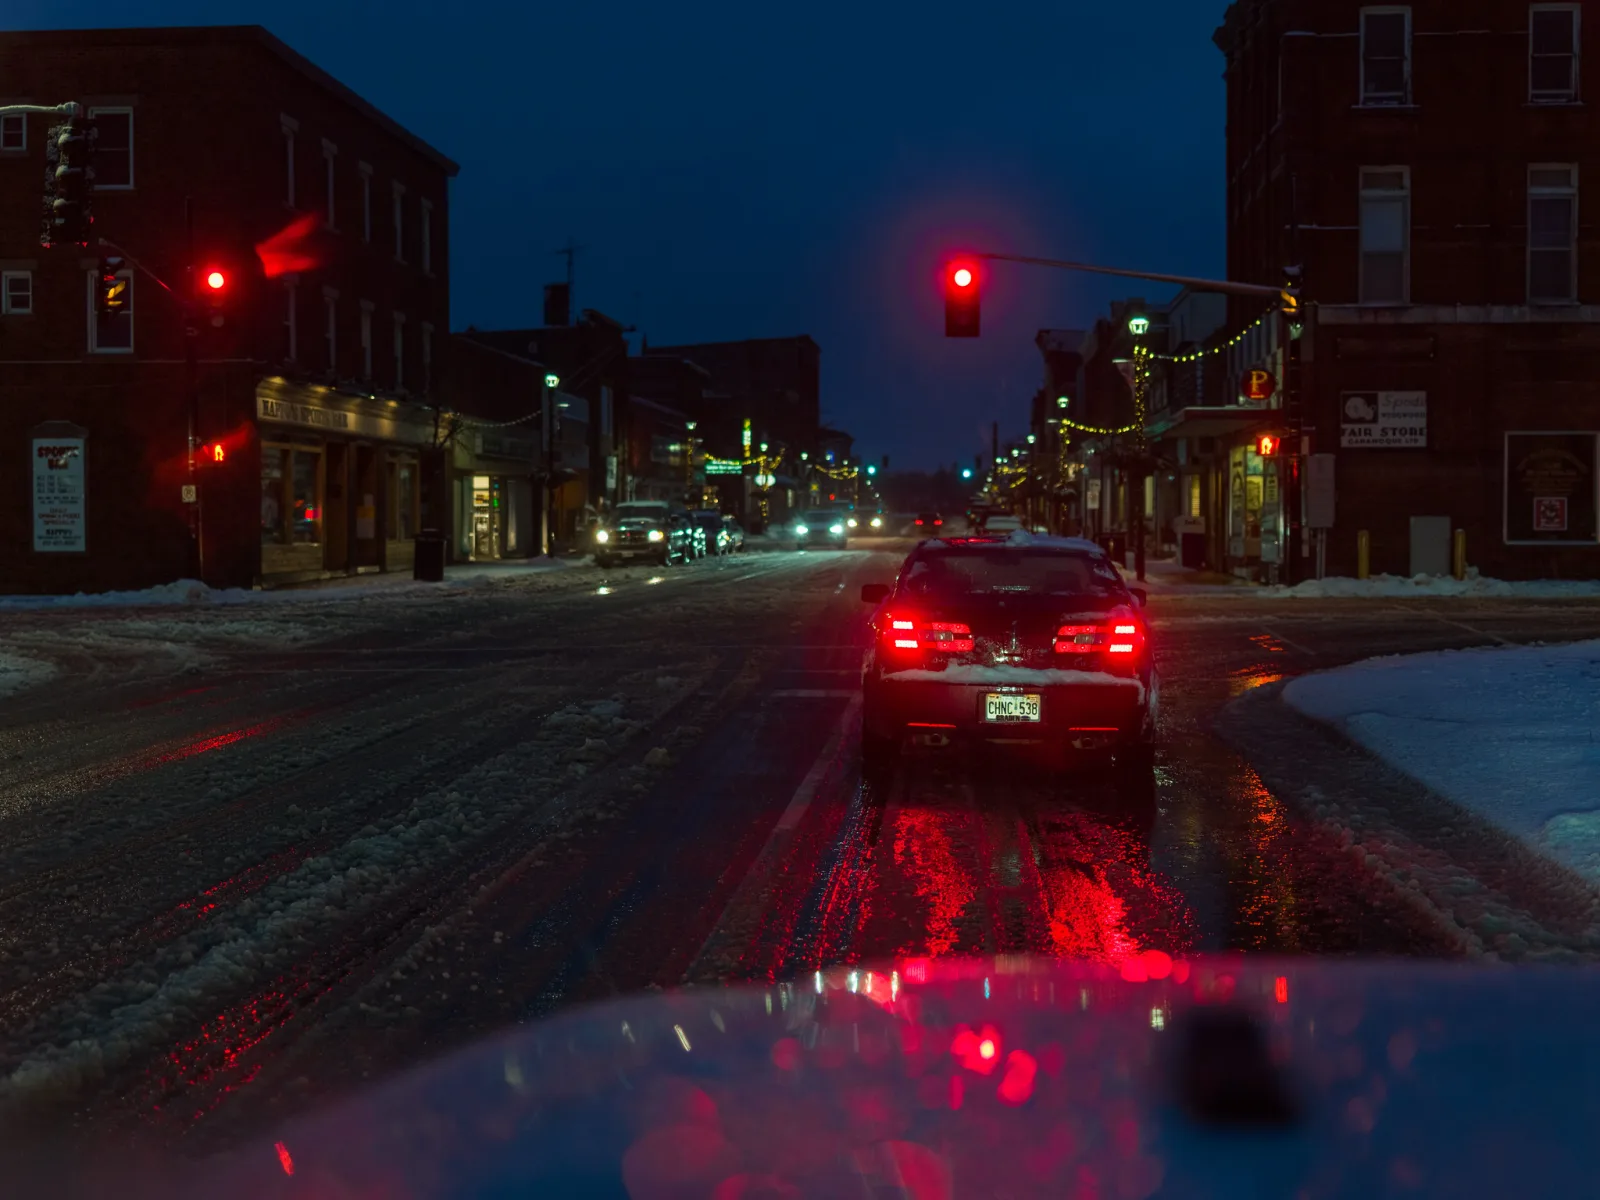
Glass works the same way. Car windows, bus shelters and the shop window opposite all carry a second copy of the sign, and it shows best where whatever lies behind the glass is dark.
A sign hung inside a window has the opposite problem: the street reflects in the glass in front of it. Move close and square to the window, bring the lens up to the glass, and shade it with a hand or a dark sleeve. If a street lamp still sits on top of the lettering, a step sideways usually moves it off. A polarizer helps only at an angle to the glass, not straight on, and costs one to two stops that you can ill afford at night.
Is there a way to stop reflections completely? How to photograph through glass without reflections explains the brightness rule behind every fix, sealing the lens to the glass with hoods, hands and a dark cloth, and shop windows and museum cases.
Flare and ghost images from bright tubes
A bright tube against black is a severe flare test. Two faults appear. Ghosts are faint, displaced copies of the sign, often tinted green or magenta. Veiling flare is a glow that lifts the dark areas near the sign and washes out contrast.
- Take off the filter. A flat filter in front of the lens is a common cause of ghosts at night. Light bounces off the sensor, then off the back of the filter, and returns as an upside-down copy on the opposite side of the frame centre.
- Clean the front element. A fingerprint or a film of drizzle smears every tube into a haze.
- Move the sign in the frame. Ghosts shift as the source moves, and a sign near the centre tends to hide its own ghost.
- Do not rely on the hood. A hood blocks light from outside the frame. It cannot help when the source is in the picture.
What is the difference between a ghost, a glow and a starburst? Lens flare explains where flare comes from inside the lens, why veiling flare, ghosting and starbursts are three different things, what makes flare worse and how to prevent it.
Neon as a light source for portraits
A neon sign is a ready-made coloured light, and the same signs that are hard to photograph are easy to use. The method is to bring the person to the light.
- Stand close. Light from a small source falls away quickly with distance. Within about a metre of the sign a face is well lit; a few steps back it is nearly dark. The same falloff turns the background black and separates the subject from it.
- Turn the face toward the tubes. A sign beside the subject gives shape, with one cheek lit and the other in shadow. A sign in front lights the face evenly and puts its outline into the eyes as a catchlight.
- Expose for the skin and watch the channel. Skin under red neon overloads the red channel just as the tube does. Check the RGB histogram and err on the dark side.
- Look for two colours. A face lit by one saturated colour is recorded almost entirely in one channel and loses detail. A second sign of another colour on the other side, or cooler street light as fill, gives it form.
- Keep a fixed white balance. No setting will turn skin neutral under pure red light, because the other colours are missing from the light itself.
With the subject about a metre from the sign, f/1.8 to f/2.8, 1/60 to 1/125 and ISO 800 to 3200 are typical. Use a flicker-safe shutter speed, focus on the nearer eye, and ask before you occupy a shop doorway.
Composing with signs
- Decide the sign’s role. It can be the subject, a marker of place within a wider street, or an unseen light source. Each calls for a different distance and exposure.
- Face lettering squarely, or commit to an angle. Shot from below at close range, a sign leans back and its letters taper. Step away and use a longer focal length to keep the lettering true.
- Check the edges. A whole word works, and so does a fragment cropped so boldly that it becomes abstract shape. A word missing its last letter looks like an accident.
- Use the dark. One sign in a large black frame is a composition in itself. Place it off centre and let the darkness be the space around it.
- Wait for a figure. Frame the sign, then wait for someone to walk through its light or pass in front of it as a silhouette.
- Limit the palette. Two colours, such as red against blue, read more strongly than six. Blue hour supplies the second colour free: a deep blue sky behind a warm sign.
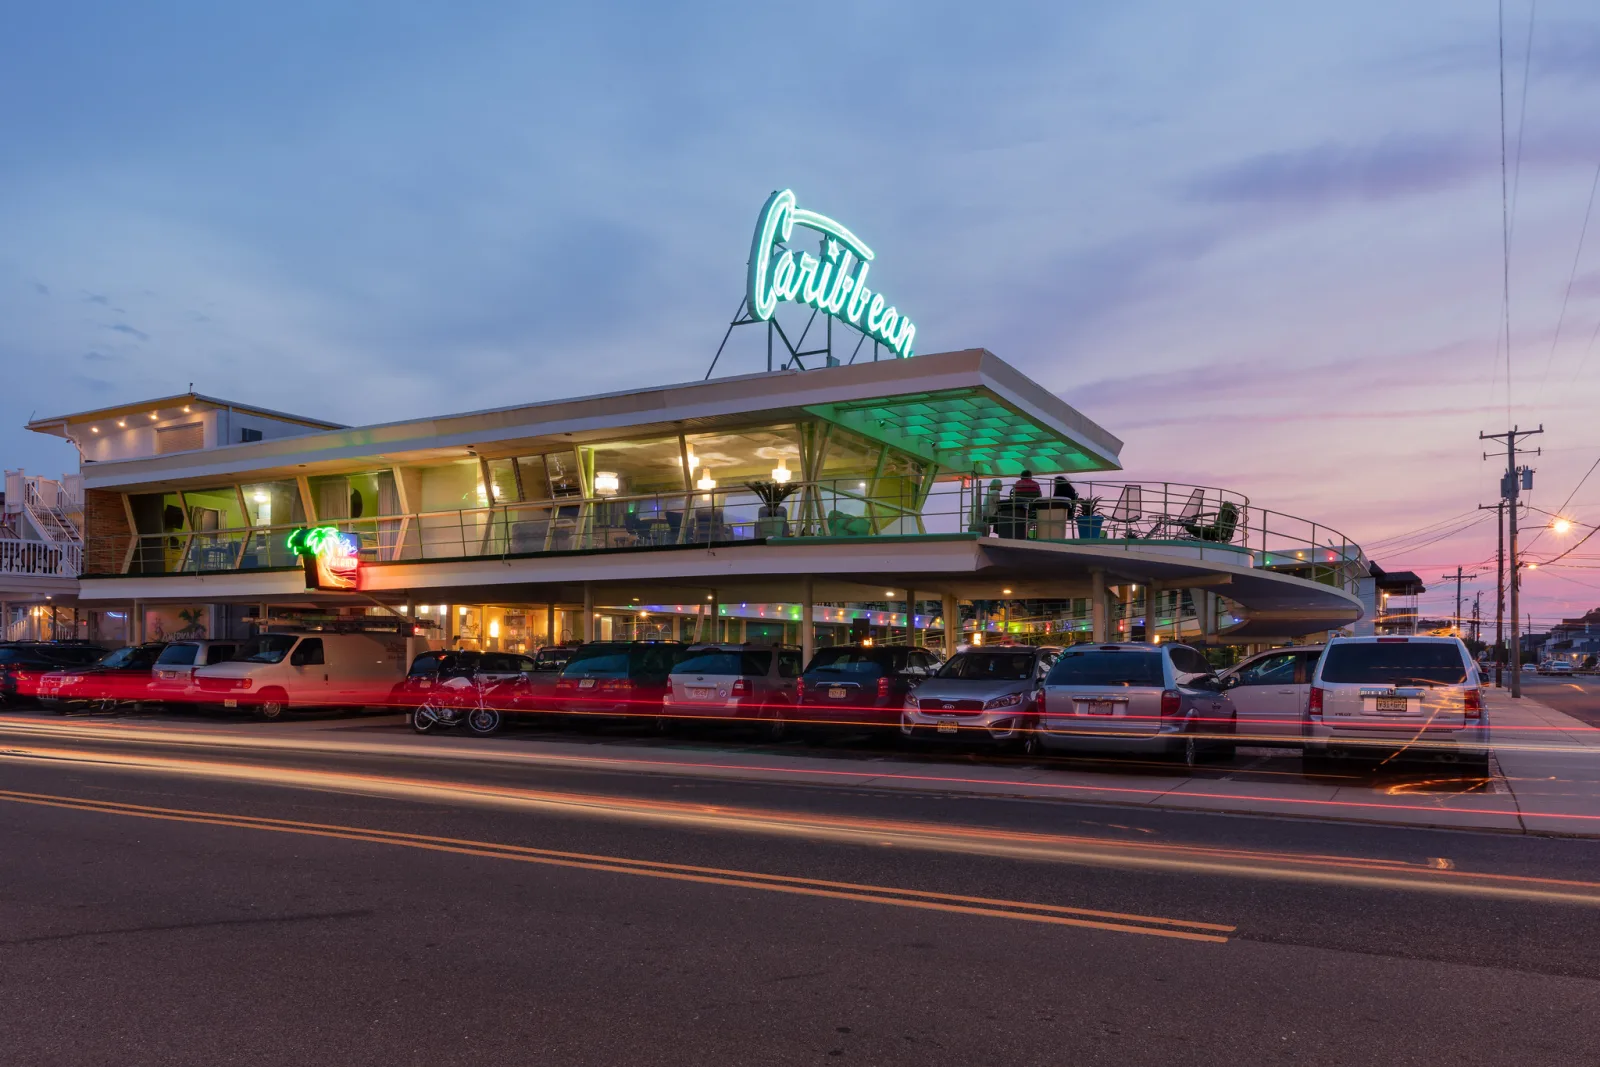
Signs carry business names and trademarks. Personal and editorial pictures are one thing and commercial use is another, so check local rules before selling such images.
Editing saturated colour without clipping a channel
Editing neon is mostly a matter of not undoing a careful exposure. Work in this order.
- Set white balance and a neutral colour profile first. Both change the balance between channels, so everything after depends on them.
- Turn on the clipping warning and bring the tubes inside it with the exposure and highlights controls. Highlight recovery works where at least one channel still holds detail. Where all three are full there is no colour to recover, and the tube comes back grey or white.
- Lift the surroundings with a mask, not with a global shadows move that also brightens the glow around every tube.
- Leave the saturation slider alone. The colour is already at the limit, and more saturation pushes a channel into clipping. To make a sign richer, lower the luminance of its colour range instead, and prefer vibrance, which acts less on colours that are already saturated.
- Look at the glow. The halo round a tube should fade smoothly into the dark. A hard step or stripes mean a clipped channel, or too much contrast, clarity or dehaze.
- Check the export. Saturated neon colours can lie outside sRGB, the colour space most screens and websites use, and converting can flatten a tube into one flat patch. If that happens, reduce the saturation of that colour range slightly until detail returns.
Which control deepens one colour without touching the rest? How to use hue, saturation and luminance covers the eight colour ranges and their three properties, the targeted adjustment tool, and the artefacts to watch: halos, banding and noise.
Common mistakes
- White tubes with a coloured outline. The meter exposed for the dark street. Fix: expose for the tubes with manual settings or strong minus compensation.
- Trusting the single histogram. It looked fine while red was clipped. Fix: use the RGB histogram and watch the channel that matches the sign.
- Auto white balance. Colours come out dull and differ between frames. Fix: set Daylight or a fixed Kelvin value.
- Dark bands across the sign. The shutter was faster than the light’s pulses, or electronic. Fix: use a flicker-safe speed and the mechanical shutter.
- A faint second sign elsewhere in the frame. It is a ghost, often from a filter. Fix: remove the filter and reframe.
- Adding saturation in editing. The tubes turn into flat patches. Fix: lower the luminance of that colour instead.
Try this
Find one lit sign after dark and spend fifteen minutes on it. From one spot, in manual mode at f/2.8 and ISO 100, shoot at 1/15, 1/30, 1/60, 1/125 and 1/250. Compare the RGB histograms on the camera and zoom in on the tube in each frame to find the brightest exposure that still holds colour from edge to edge. Then keep that exposure and change only the white balance: Auto, Daylight, then about 3500 K. You will come away with your own exposure for neon and a preferred colour setting.
Frequently asked questions
Why do neon signs look white in my photos?
The camera exposed for the dark surroundings, and the channel that matches the sign’s colour overloaded. Once that channel is full, the other two catch up and the colour turns to white. Darken the exposure until the tube shows colour across its width.
What camera settings should I use for neon signs?
For the sign itself, try f/2.8, 1/60 to 1/125 and ISO 100 in manual mode, with white balance on Daylight, and adjust from the RGB histogram. Raise the ISO only when you want the street or people to show as well.
Why are there dark bands across my neon sign photos?
The sign pulses with the mains supply and the shutter caught different rows of the sensor at different moments. Use 1/50 or 1/100 where the mains is 50 Hz, or 1/60 or 1/125 where it is 60 Hz, and switch from the electronic to the mechanical shutter.
How do I photograph neon signs with a phone?
Tap the sign so the phone focuses and meters there, then drag the exposure control down until the tubes show colour. If a night mode brightens the scene until the tubes go white, turn it off or lower its exposure.
Related guides
- Night photography: gear, settings and focusing after dark.
- Blue hour photography: when it happens and settings for twilight.
- Creative reflection photography: puddle technique, glass buildings and rain as an opportunity.
- How to photograph rain: protecting gear and using wet surface reflections.
- Mechanical vs electronic shutter: readout time and banding under artificial light.
- Street portraits: approaching strangers and directing them in under a minute.
- RGB colour explained: channels, the RGB histogram and colour spaces.
- Cityscape photography: blue hour, city lights and exposure at night.