To photograph a meteor shower, put a wide, fast lens on a tripod under a dark, moonless sky and let the camera take back-to-back exposures for hours. Start at your widest aperture (f/1.4 to f/2.8), ISO 1600 to 6400 and 10 to 25 seconds, focus manually on a bright star, and set an intervalometer to leave about one second between frames. Meteors arrive at random, so the more sky-time you record, the more you catch.
General night-sky method (equipment, focusing, finding dark sites) is covered in how to photograph stars and the Milky Way and the astrophotography guide. This page goes further on what is specific to meteors: why exposure works differently for a streak that lasts half a second, which showers to plan for, where to aim, how to run a camera all night, how to find the meteors afterwards, and how to combine them without misleading anyone.
Why meteors are hard to catch on camera
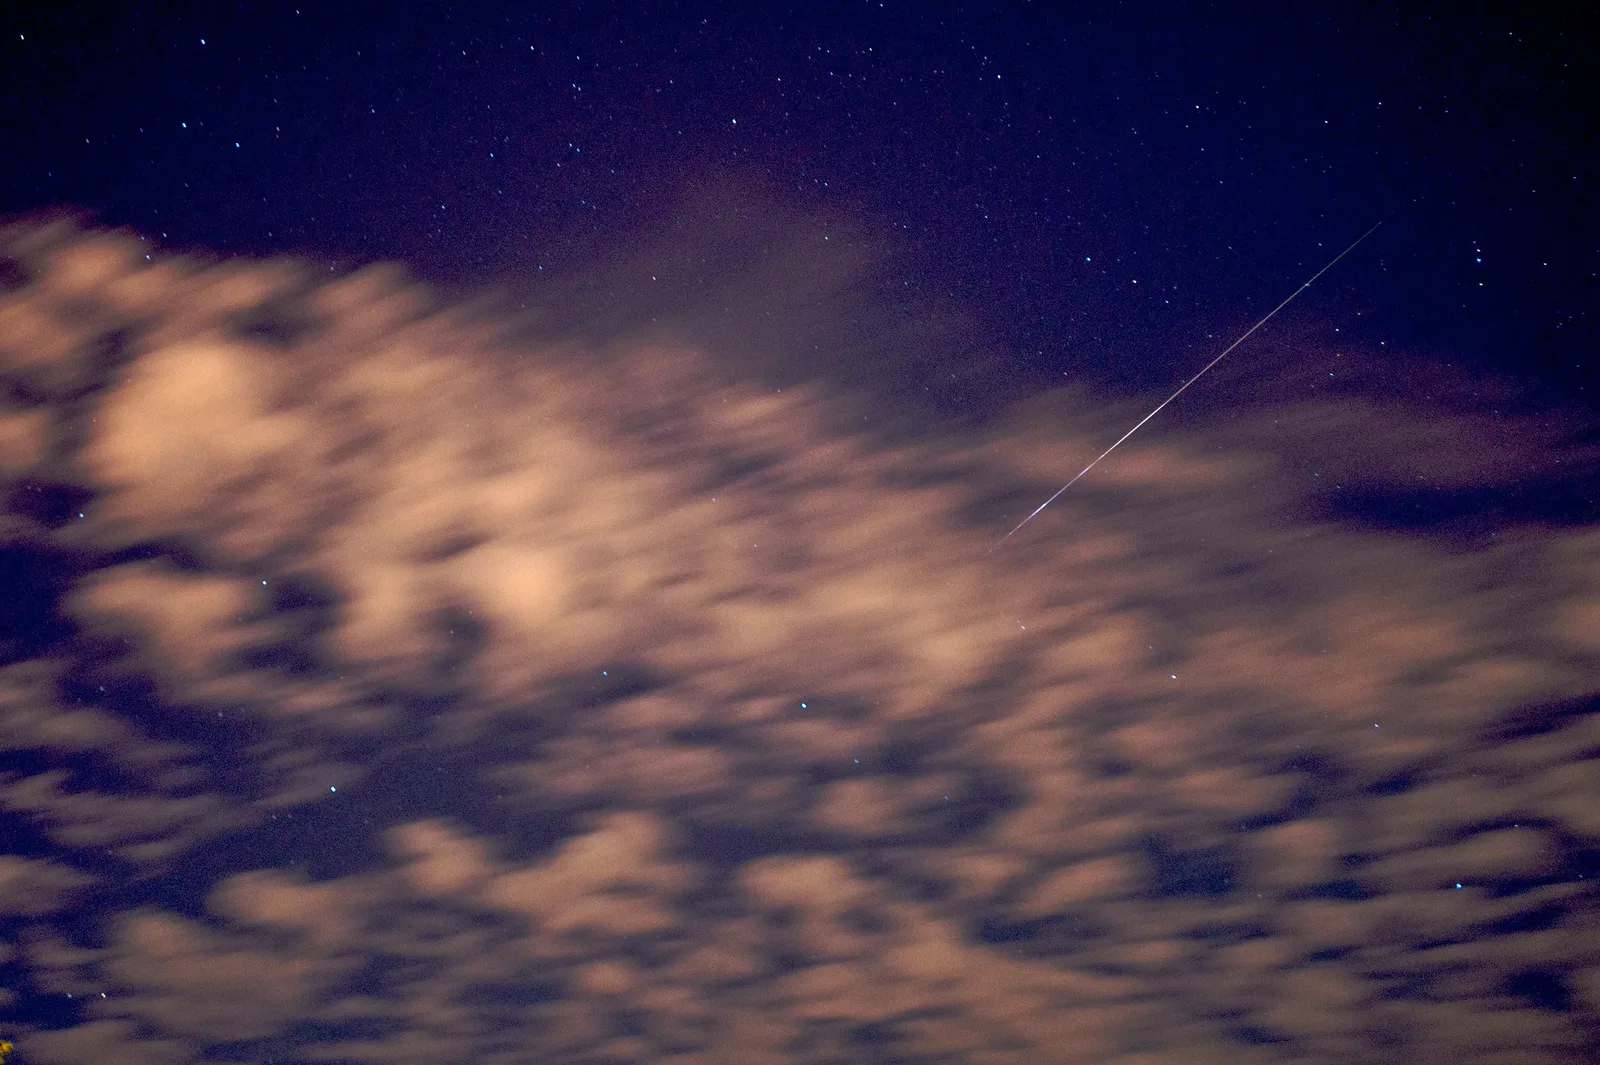
A meteor is the streak of light made when a grain of comet or asteroid dust, usually no bigger than a grain of sand or a small pebble, hits the upper atmosphere at between 11 and 72 kilometres per second. It is normally gone in less than a second. Three things follow.
- A longer exposure does not make a meteor brighter. Stars keep adding light to the same pixels for the whole exposure. A meteor crosses each pixel in a tiny fraction of a second and never comes back. Opening the shutter for 30 seconds instead of 10 brightens the sky and the stars, but the streak stays exactly as bright as it was. Only a wider aperture and a higher ISO make a meteor record more strongly.
- You cannot react to one. By the time you see it, it is over. The shutter has to be open already, which means shooting continuously and accepting that most frames will be empty.
- The camera sees fewer meteors than you do. Your eyes take in most of the sky. On a full-frame camera a 14mm lens covers roughly a third of the sky above the horizon, and a 24mm lens about a sixth, before any of the frame goes to the ground. The lens also records only the brighter streaks.
So if you count 40 meteors in an hour by eye, one camera might hold only a handful. A good night is often 5 to 20 usable meteors from several hundred frames. That is normal, and the rest of this page is about raising the odds.
The annual showers worth planning around
A shower happens when the Earth passes through a stream of debris left along the orbit of a comet or, in a few cases, an asteroid. The Earth returns to the same point of its orbit each year, so each shower comes back at nearly the same time. The exact night and hour of the peak shift a little from year to year, so check an astronomy calendar for the current one.
| Shower | Usual peak | Approximate peak rate in ideal conditions | What to know |
|---|---|---|---|
| Quadrantids | Early January | Up to about 100 an hour | The peak lasts only a few hours, so it is easy to miss. Favours the northern hemisphere. |
| Lyrids | Late April | 15 to 20 an hour | Modest, with occasional bright meteors. |
| Eta Aquariids | Early May | Up to about 50 an hour | Best from the southern hemisphere and the tropics, before dawn. |
| Perseids | Mid August | Up to about 100 an hour | The most watched northern shower: mild nights and fast, bright meteors, many leaving glowing trains. |
| Orionids | Late October | About 20 an hour | Visible from both hemispheres. |
| Leonids | Mid November | About 15 an hour | Among the fastest meteors of the year. |
| Geminids | Mid December | Up to about 150 an hour | Usually the strongest of the year. Slower, bright meteors, and the radiant is up by mid-evening. |
The rate in the table is the zenithal hourly rate, or ZHR: what one observer would count in an hour if the shower’s radiant were directly overhead under a very dark sky. Real counts are almost always lower. Treat a ZHR of 100 as perhaps 40 to 60 an hour by eye from a good rural site near the peak, and far fewer from a suburb.
Picking the night: peak, moon phase and dark sky
Three conditions decide how many meteors there are to catch, and you need all three.
- Go near the peak, and stay late. Most showers are active for days or weeks but produce most of their meteors within a night or two of the peak. Within a night, rates climb as the radiant rises and are generally highest between midnight and dawn. After midnight your side of the Earth faces the direction the planet is travelling, so it meets the debris head-on, the way a windscreen collects more rain than a rear window.
- Avoid the moon. A bright moon hides all but the brightest meteors and forces you to cut the exposure to stop the sky turning grey. The best years for any shower are those when the peak falls within a few days of new moon. Otherwise work in the hours before moonrise or after moonset. Planning around the sun, moon and tides shows how to find them.
- Get away from lights. Sky brightness limits how long you can expose and how faint a meteor will show. Drive until the Milky Way is plainly visible to the eye. If you cannot get clear of a town, put it behind you: the glow is always worst low in the sky toward the lights.
Where to point: the radiant and your foreground
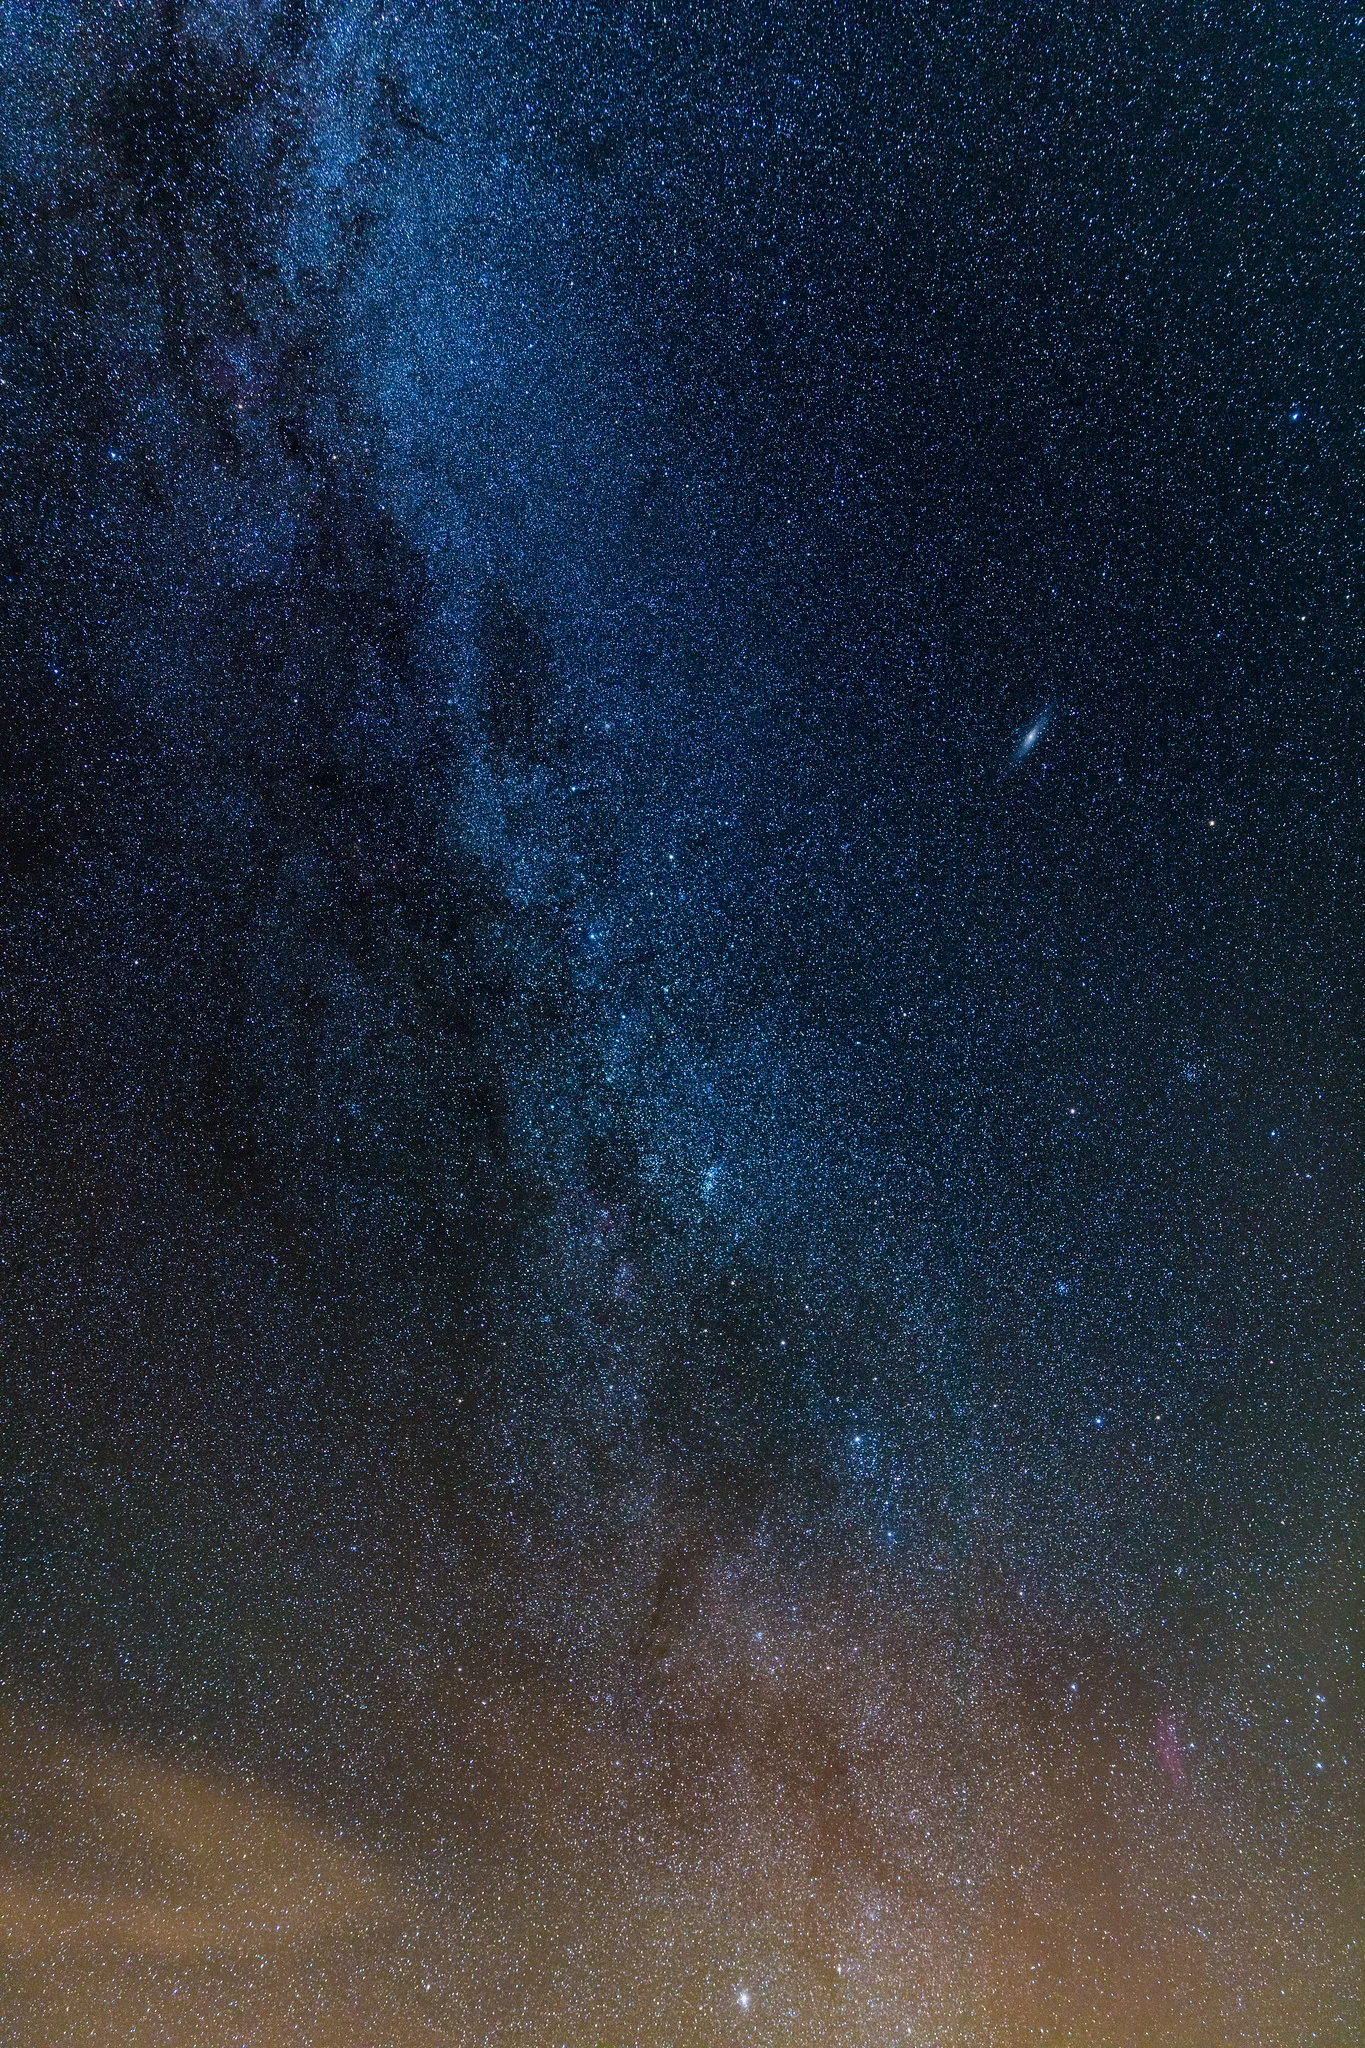
Shower meteors travel on parallel paths, and perspective makes them seem to spread from one point in the sky, as parallel railway lines seem to meet in the distance. That point is the radiant, and the shower is named after the constellation it sits in: Perseus for the Perseids, Gemini for the Geminids. A planetarium app shows where it is at any hour.
Meteors can appear anywhere in the sky. What changes with distance from the radiant is how they look:
- Close to the radiant they are coming almost straight toward you, so the streaks are short stubs.
- 30 to 60 degrees away the streaks are longer and make better pictures.
- Very low in the sky you are looking through far more air and haze, so meteors are dimmed and often lost in skyglow.
A reliable choice is to centre the frame 30 to 45 degrees to one side of the radiant and about halfway up the sky. With a very wide lens you can instead put the radiant near an edge so the streaks fan across the frame. To judge angles, hold your arm straight out: a clenched fist covers about 10 degrees.
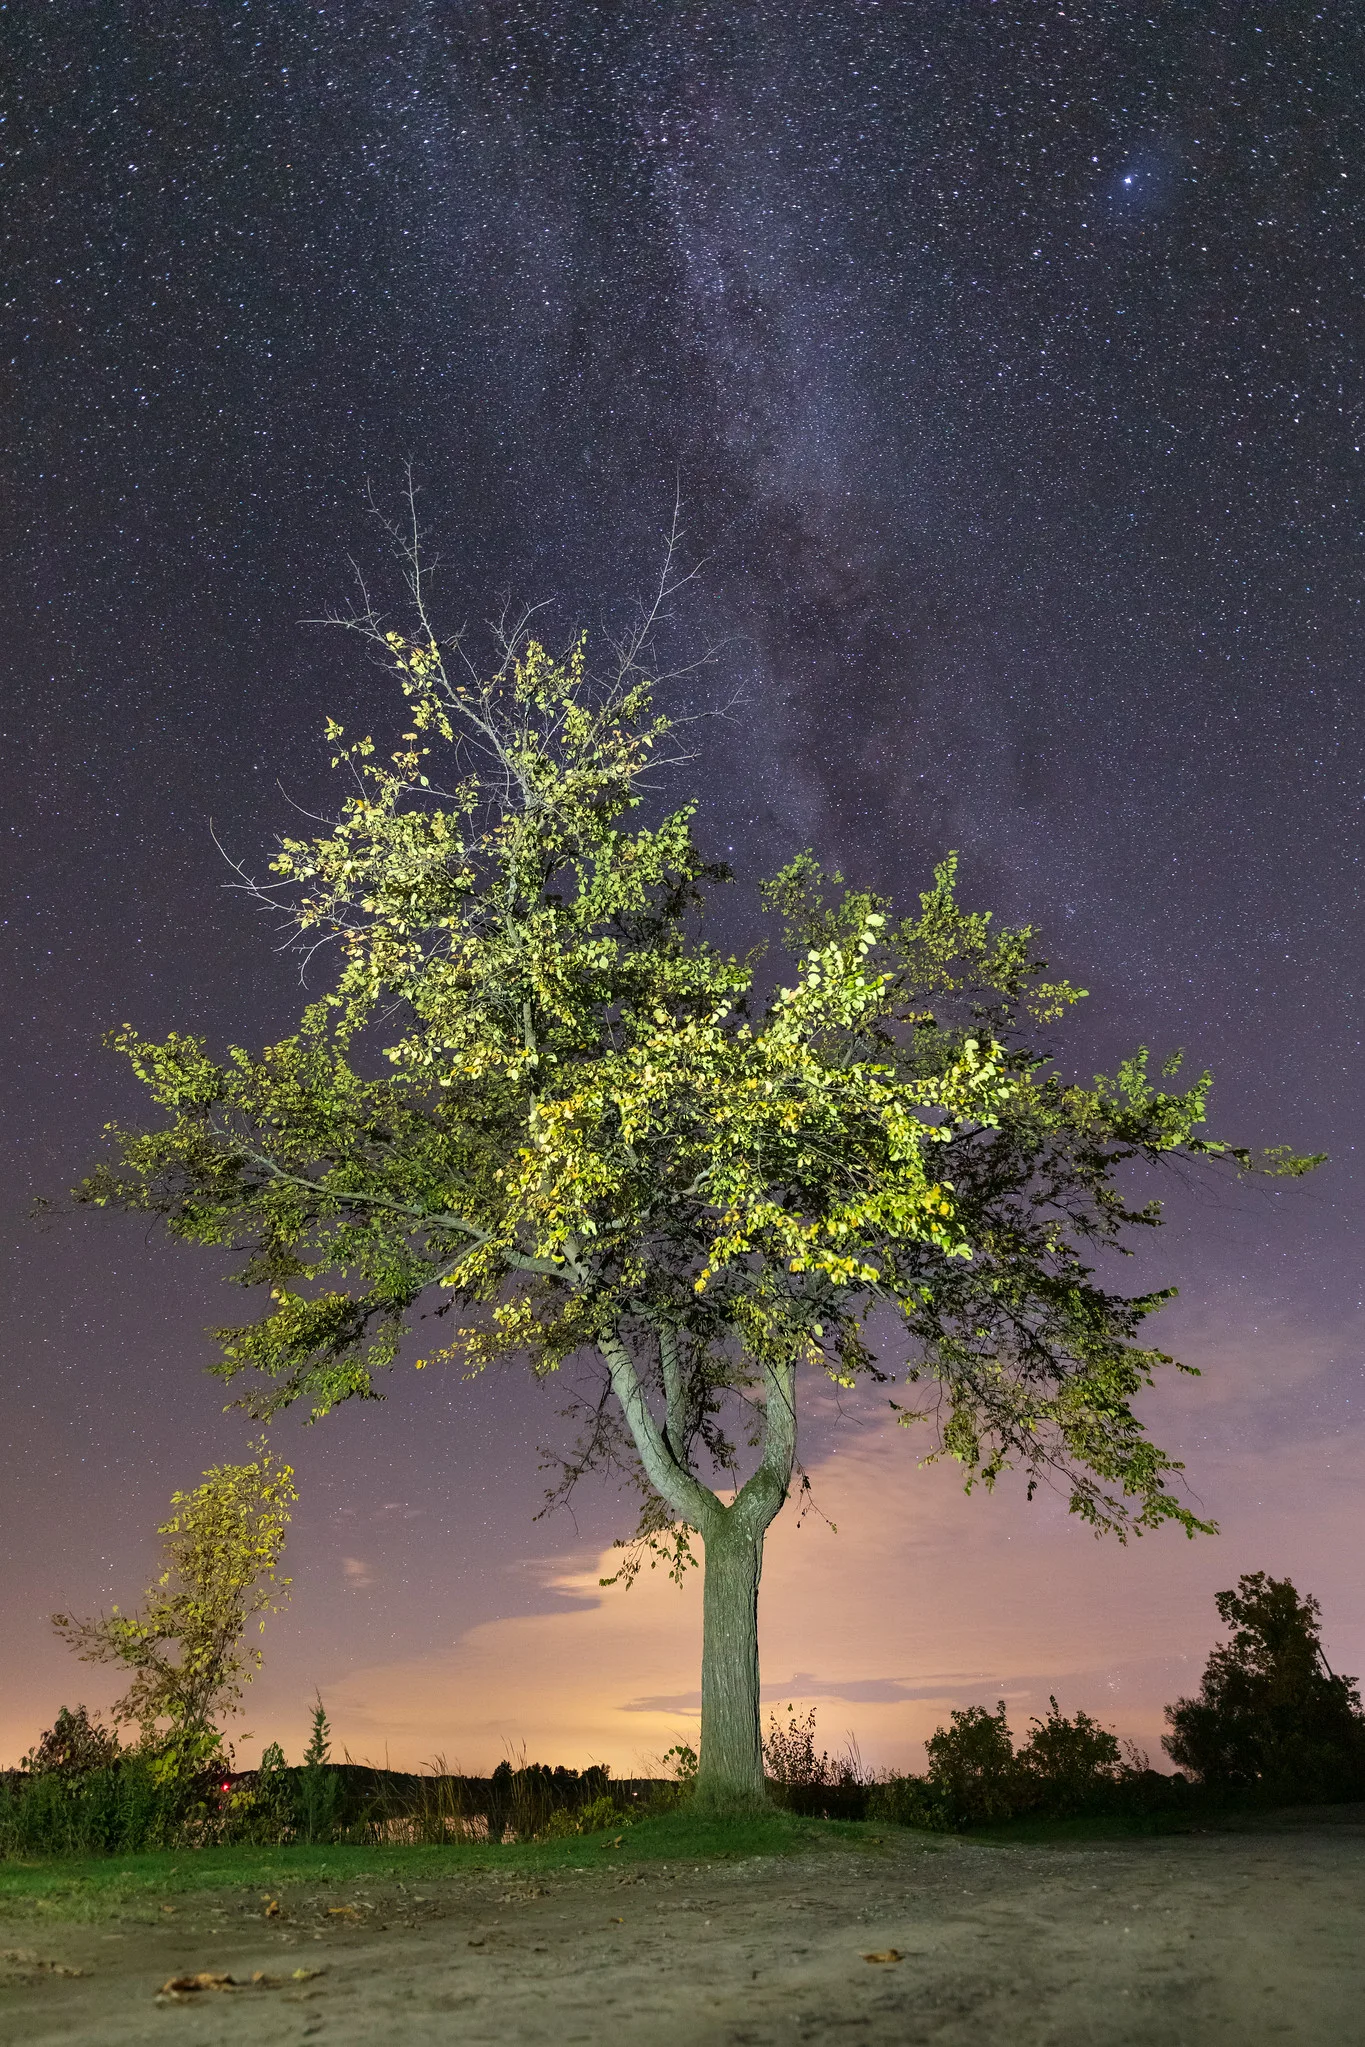
Then choose a foreground, because plain sky with one thin line in it is rarely a strong picture. The approach is the same as in astro-landscape photography, with two extra rules. Keep the foreground to the bottom fifth or quarter of the frame, since any area given to the ground is sky you are not watching. And prefer one that will not change during the night, so that any frame can serve as the base of the final picture.
Settings that give each meteor the best chance
Because exposure time does nothing for the meteor itself, set aperture and ISO for the meteor first. Then use the shutter speed to place the sky background where you want it.
| Setting | Starting point | Reason |
|---|---|---|
| Mode | Manual | Every frame must match so the set can be compared and combined |
| Aperture | Widest available, f/1.4 to f/2.8 | The main control over how faint a meteor will record |
| ISO | 1600 to 6400 | Lifts faint streaks above the noise |
| Shutter | 10 to 25 seconds | A well exposed sky without heavy star trailing |
| Focus | Manual, on a bright star at full magnification | Autofocus cannot lock on a dark sky |
| File type | Raw | Room to lift faint streaks later |
| Long exposure noise reduction | Off | It blinds the camera for as long as each exposure lasts |
Aperture and lens. Shoot wide open. This is the night a fast lens earns its place. The useful number is the physical width of the lens opening: focal length divided by f-number. A 14mm lens at f/2.8 has an opening 5mm across. A 24mm lens at f/1.4 has one about 17mm across, which collects close to twelve times as much light from the same meteor. The price is coverage: the 24mm sees about half as much sky. A very wide-angle lens catches more of the bright meteors; a moderately wide, very fast lens catches fainter ones in a smaller area. Anything from 14mm to 24mm on full frame (about 10mm to 16mm on a crop sensor) works.
ISO and shutter. Start at ISO 3200 and take a 15 second test frame. On the histogram, the big hump is the sky. You want it clear of the left edge, roughly a quarter to a third of the way across. If it is jammed against the left, lengthen the exposure or raise the ISO. If it has drifted to the middle, the sky is too bright (moonlight or light pollution), so shorten the exposure. Do not close the aperture to fix a bright sky, because that costs you meteors. Longer exposures mean fewer files and fewer gaps; their limit is star trailing, which the star guide above explains. Slight trailing that only shows at full magnification is an acceptable trade here.
Focus. Use magnified live view on the brightest star or planet and turn the ring until the point is as small as it gets. Tape the ring, and check a frame again after an hour, because focus can shift as the lens cools. The marked infinity position is rarely exact enough to trust.
Running the camera all night without gaps
The camera only catches meteors while the shutter is open. A 20 second exposure followed by a 1 second pause is open for 95 percent of the session. The same exposure with long exposure noise reduction on is followed by a 20 second dark frame, so the camera is blind half the time and you lose half your meteors.
There are three common ways to run a sequence:
- Built-in interval timer. On many cameras the interval is counted from the start of one exposure to the start of the next, so it must be longer than the shutter time. For 20 seconds, set 21 or 22. Set it shorter and the camera may skip every second frame.
- External intervalometer. Use bulb mode and let the remote time both the exposure and a 1 second gap.
- Continuous drive with a locked release. Set 30 seconds or less, switch the drive mode to continuous, and lock the button on a simple cable release. The camera fires again the instant each exposure ends, which gives the smallest gaps of all.
Run ten test frames to confirm none are skipped, then deal with the things that end sessions early:
- Card space. Three hours of 20 second frames is a little over 500 pictures, which in raw can be 15 to 30 gigabytes depending on the camera. Start with an empty card.
- Power. One battery rarely lasts a full night of continuous long exposures, and cold shortens its life. Use external power if your camera accepts it, or swap at a planned time and keep the spare in an inside pocket. Turn off image review.
- Dew. On a still, clear night the front element cools below the dew point and fogs, and every later frame is ruined. A low-power heater strap around the front of the barrel prevents it, and a lens hood delays it. Check the glass with a dim red light every half hour. If it fogs, warm it gently instead of wiping, which smears and fogs again in minutes.
- Movement and stray light. Keep the centre column down and hang nothing that can swing (see how to use a tripod). Keep phone screens and white torches out of the scene.
Then leave it alone and watch the sky. Note the time of any really bright meteor in the camera’s direction so you can find that frame later. The same sequence can also become a night sky timelapse, so a quiet night is not wasted.
Finding meteors in hundreds of frames, and telling them from satellites
Step through the sequence one frame at a time with the whole frame visible. A meteor is a line that is there in one frame and gone in the next. Flag every candidate, then examine each at full magnification. Most straight lines in night frames are not meteors.
| Streak | How it looks | The giveaway |
|---|---|---|
| Meteor | A straight line that swells and fades, often thicker in the middle or toward one end, sometimes with a bright burst. Often coloured, commonly green shading to orange, red or white | It appears in one frame only, and starts and ends inside that exposure |
| Satellite | An even, thin line of constant width and steady brightness | It carries on in the next frame where the last one stopped, often for several frames |
| Aircraft | A line with regular dots or dashes from flashing lights, often red and green | Dotted pattern, continuing across many frames |
Two further checks help. Extend the streak backwards: a shower meteor points back to the radiant, while one that points elsewhere may be a real but unrelated meteor (a sporadic). And consider the hour. Satellites are visible only while they are in sunlight and you are in darkness, so they are most common in the first hours after dusk and the last before dawn.
After a very bright meteor, look at the frames that follow. Fireballs (meteors brighter than Venus) can leave a faint glowing train that twists in the high-altitude winds for many seconds or even minutes.
Combining several meteors into one honest image
Almost every picture showing a dozen meteors over a landscape is a composite: meteors from many frames layered onto one base frame. That is fine if you build it accurately and say what it is.
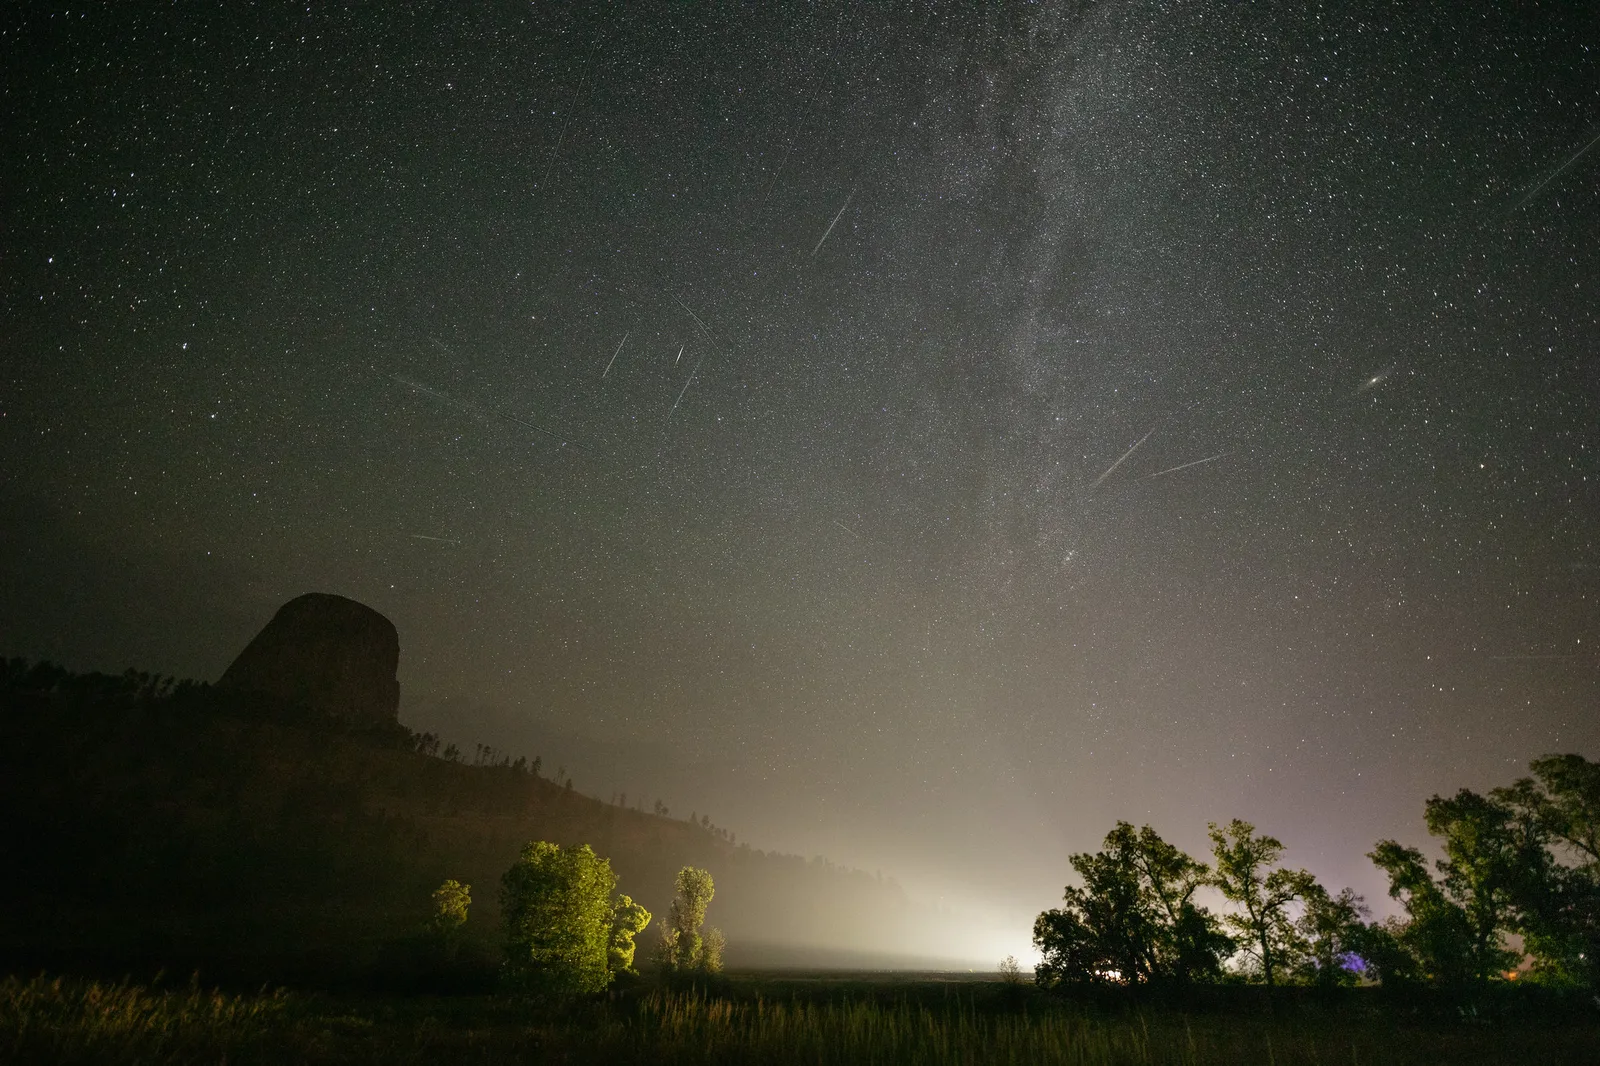
The complication is that the sky turns about 15 degrees an hour while the tripod stays put. Pile the frames up as shot and each meteor lands against a star field from a different moment, so the streaks no longer point back to one radiant. To keep the geometry true, move each meteor to where it happened relative to the stars.
- Choose a base frame with a good sky and foreground. Process it and apply the same raw settings to every meteor frame.
- Stack the meteor frames above it in an editor that supports layers and masks.
- Align each meteor layer to the base frame’s stars. Lower its opacity, then move and rotate it until the stars around the meteor sit on the same stars in the base. Wide lenses distort toward the edges, so match the stars near the meteor and ignore the rest.
- Show only the meteor. Set the layer to Lighten (see Photoshop blend modes), add a black mask and paint white over the streak with a small soft brush.
- Keep the foreground from the base frame only, and check that no rotated layer has dragged horizon or trees into the sky.
Then caption it honestly: say it is a composite, how many meteors it holds and over what span of time, for example “composite of 14 meteors recorded over three hours”. Do not add meteors from another night or place, and do not duplicate one. Competitions and publications have their own rules on composites, so read them first. Photography ethics sets out the wider principles.
Common mistakes
- Stopping down for sharper corners. Each stop halves the light from every meteor. Fix: shoot wide open and accept slightly soft corners.
- Using a longer shutter to “collect more meteor”. Only the sky gets brighter. Fix: raise ISO or open the aperture for the meteor, and use shutter time to place the sky on the histogram.
- Leaving long exposure noise reduction on. The camera is blind half the time. Fix: turn it off before the sequence starts.
- An interval shorter than the exposure. The camera skips frames without warning. Fix: interval equals shutter time plus 1 to 2 seconds, tested with ten frames.
- Aiming a narrow view straight at the radiant. Streaks there are short stubs. Fix: aim 30 to 45 degrees to one side.
- Leaving at midnight. For most showers the best rates come later. Fix: plan for the hours before dawn, or choose the Geminids, whose radiant is up earlier.
Try this
You do not need a shower to rehearse. On any clear evening, spend 20 minutes on this:
- Set up on a tripod outdoors, even under a suburban sky. Fit your widest, fastest lens and focus on a bright star with magnified live view.
- Set manual mode, widest aperture, ISO 3200, 15 seconds. Take one frame and adjust the shutter time until the sky hump sits a quarter to a third of the way from the left of the histogram.
- Turn off long exposure noise reduction and image review.
- Program the interval (shutter time plus 1 second) or lock a cable release in continuous drive. Run exactly 30 frames.
- Check the result: 30 files, evenly spaced time stamps, the last frame as sharp as the first, a dry front element.
- Step through the frames, find every line, and decide whether each is a satellite, an aircraft or a sporadic meteor.
Frequently asked questions
What are the best camera settings for a meteor shower?
Manual mode, the widest aperture your lens has (f/1.4 to f/2.8), ISO 1600 to 6400 and 10 to 25 seconds, shot continuously in raw with about one second between frames. Adjust the shutter time, not the aperture, to control sky brightness.
Can I photograph a meteor shower with a phone?
Sometimes. Fix the phone to a tripod, use its night or astrophotography mode (or a manual app at its longest shutter time and a high ISO), and repeat the shot many times. The small lens only records bright meteors, so expect one or two on a good night. See night photography with a smartphone.
How many photos do I need to take to catch a meteor?
Plan in hundreds, not dozens. Near the peak of a strong shower under a dark sky, one wide camera might record a usable meteor every 25 to 100 frames. On a weak shower, or near a town, it can be far fewer.
Related guides
- How to photograph stars and the Milky Way: focusing at night and how long you can expose before stars trail.
- Astrophotography for beginners: the wider field, from nightscapes to tracked deep-sky work.
- Star trail photography: stack the same all-night sequence into arcs around the pole.
- Astro-landscape photography: choosing and lighting a foreground under the night sky.
- How to photograph a lunar eclipse: another night-sky event that rewards a rehearsed plan.
- Raw versus JPEG: why faint streaks need the extra data in a raw file.