For safari photography, cover roughly 24mm to 400mm (full-frame equivalent), ideally on two cameras so you never change lenses in the dust. Shoot at 1/1000 second or faster with auto ISO, rest the lens on a beanbag, and ask for the engine to be switched off before you press the shutter. Plan your serious photography for the first and last ninety minutes of daylight, when the animals are active and the light is low and warm.
This guide is about the part of animal photography that is specific to a game drive: working from a seat you cannot leave, in a vehicle you do not control, in dust and hard light. General fieldcraft is covered in wildlife photography and exposure recipes for every kind of animal in camera settings for wildlife. Here you get the vehicle technique, the focal length planning, the drive-by-drive settings and the etiquette those pages leave out.
What a game drive is really like for a photographer
A typical safari day has two drives. The morning drive leaves before sunrise and lasts three to four hours. The afternoon drive leaves a couple of hours before sunset and returns at or after dark. The middle of the day is spent in camp, because the animals rest in shade and the light is at its worst. That rhythm gives you two short windows of good light per day, so everything should be ready before the vehicle moves: batteries charged, cards empty, settings already dialled in.
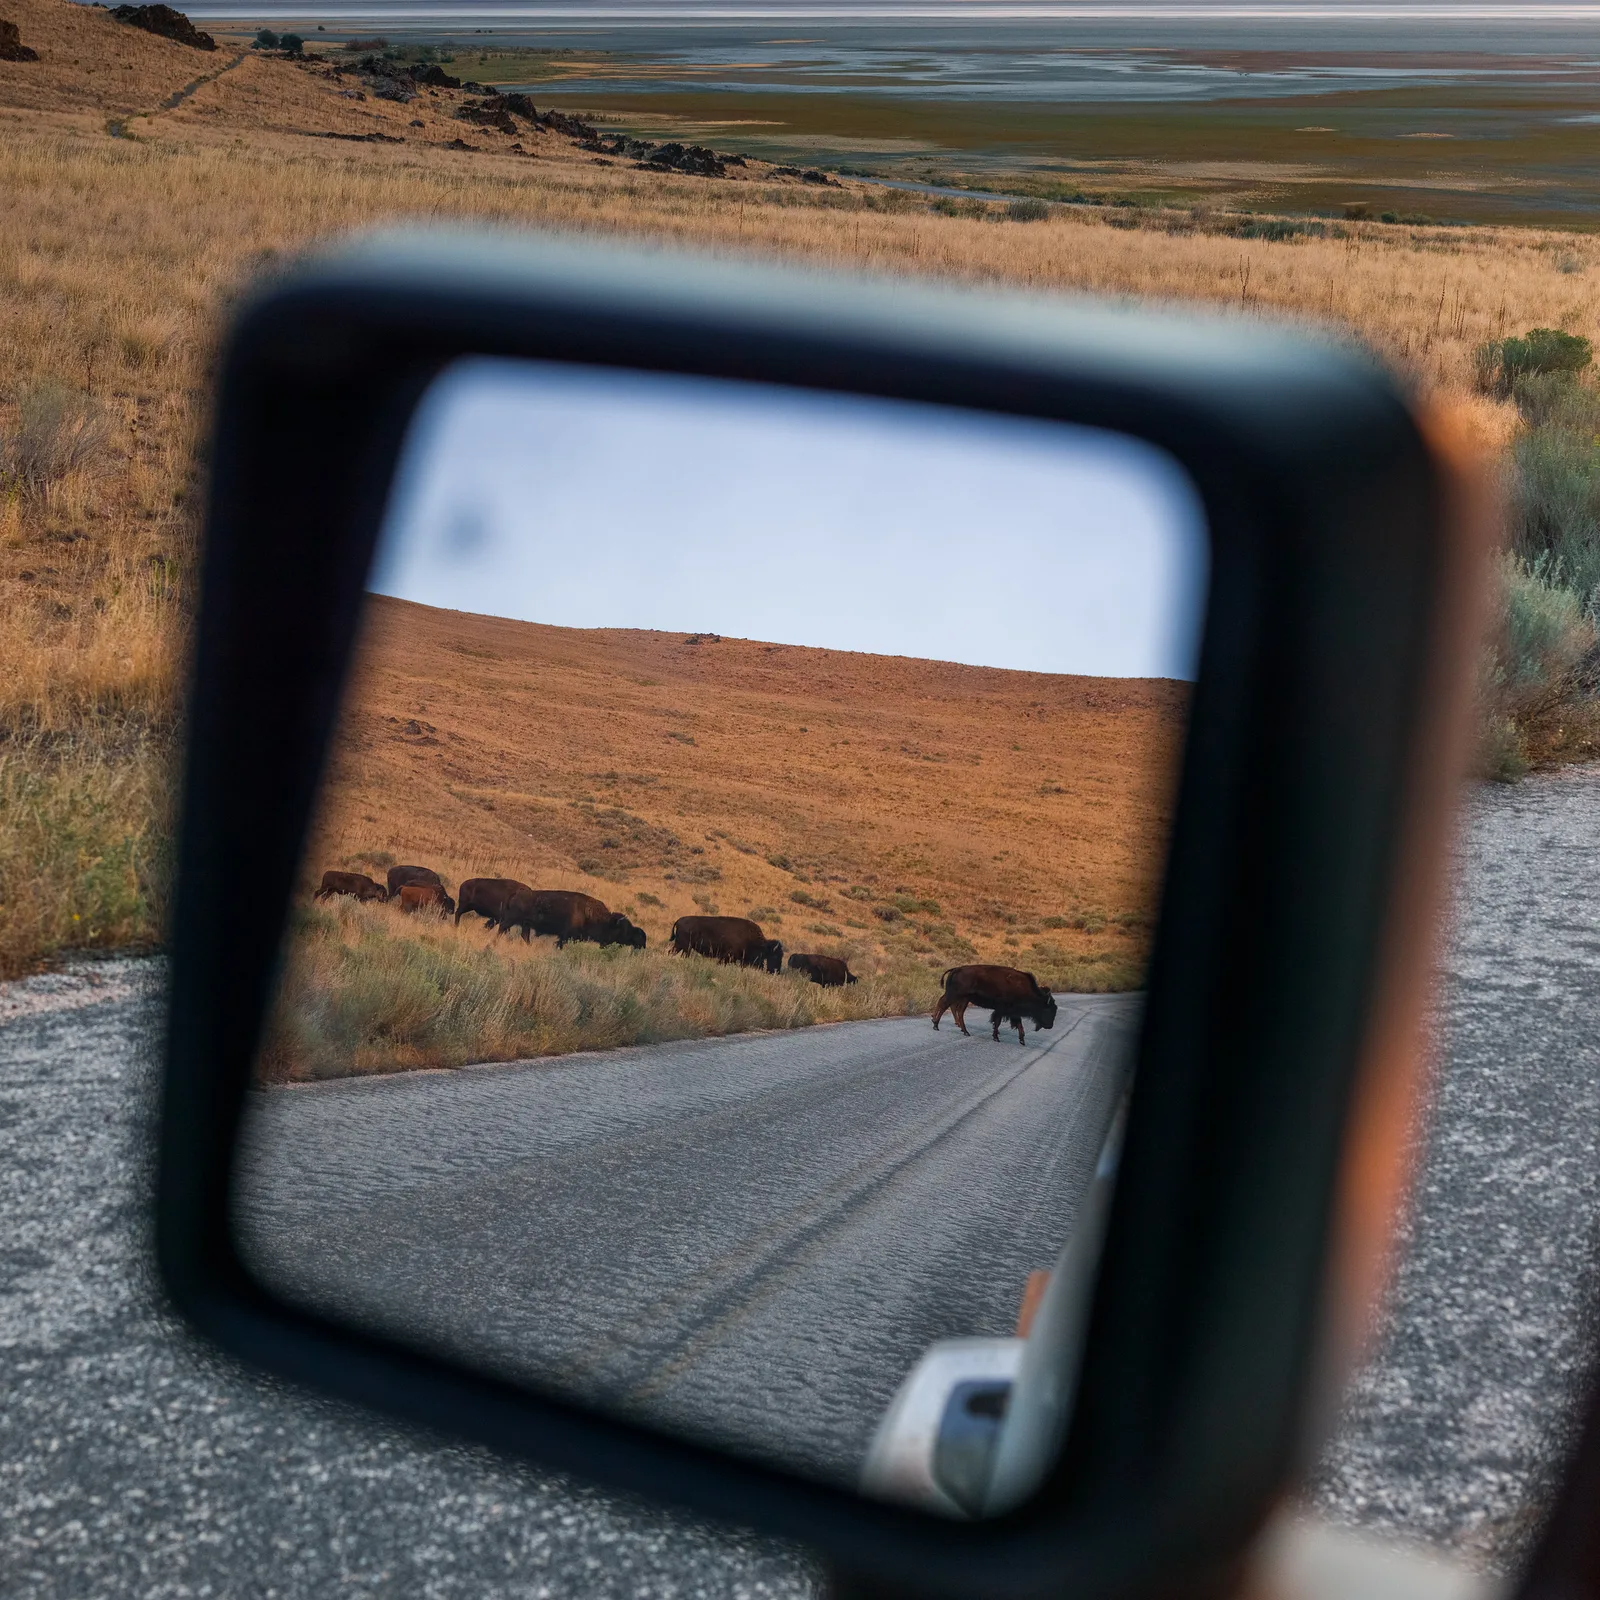
In most parks and reserves you may not leave the vehicle, and in many national parks the vehicle may not leave the road. You cannot walk closer, step left to clean up a background or kneel for a lower angle. The driver’s choice of position is your composition, which is why communicating with the guide is a photographic skill and not only good manners.
Distances swing from 300 metres to arm’s length, and a cat crossing the track gives you perhaps ten seconds. There is no time to change lenses, dig in a bag or scroll through menus.
Vehicle types and where to sit
- Open-sided vehicles have tiered rows of seats and no windows. Every seat has a clear view to both sides. The front row is lowest, which gives the most natural angle on animals. The back row is highest, bumpiest and dustiest, but it lets you turn and shoot behind.
- Closed vehicles with a pop-up roof are common where long road transfers are part of the trip. You stand and shoot from the roof opening, or sit and shoot through an open window. The roof gives a 360 degree view but a high viewpoint. The window is lower and usually makes the better picture.
- Shared or private. In a shared vehicle you get one seat, and other guests may want to move on after two minutes. A private vehicle, or one booked by a group of photographers, lets you wait an hour for a yawn. If photography is the main purpose of the trip, this matters more than any piece of equipment.
Briefing your guide
Before the first drive, tell the guide in one or two sentences what you care about: light behind you in the morning, a lower angle where possible, time to wait at a promising scene, and the engine off when you are shooting. Good guides often park where the animal is going, not where it is. Follow their rules at once: stay seated, keep limbs inside, keep your voice down. Animals treat a vehicle as one large harmless shape, and a person standing up or leaning out breaks that shape.
Focal lengths for safari and why reach is not everything
You cannot zoom with your feet from a vehicle, so the lens has to do all the framing. The table shows what each range is for. Numbers are full-frame equivalents. On a smaller sensor, multiply the lens’s focal length by the crop factor to see where it lands: a 300mm lens on a 1.5x body frames like 450mm.
| Range (full-frame equivalent) | What it does on a game drive | Limits |
|---|---|---|
| 16 to 35mm | Big skies, storms, the vehicle and the landscape together, an elephant that has walked up to the bonnet | Animals more than a few metres away become dots |
| 24 to 105mm | Animals in their setting, herds, trees at sunset, anything close to the vehicle | Too short for portraits of anything wary |
| 70 to 200mm | Elephants, giraffes and relaxed cats near the road; groups and interactions; low light, because lenses in this range are often faster | Short for small or distant subjects |
| 100 to 400mm | The workhorse: most mammals at typical viewing distances, with room to zoom out when they approach | Modest maximum aperture, so high ISO at dawn and dusk |
| 500 to 600mm | Birds, small or shy animals, parks where vehicles must stay on the road | Heavy, awkward in a shared vehicle, and the most affected by heat haze |
A practical kit is one telephoto zoom reaching about 400mm and one standard zoom starting around 24mm, on two bodies. With one body, fit the long zoom and keep a phone in a pocket for wide scenes. Where vehicles can drive off-road to approach a sighting, 300 to 400mm is usually plenty. Where they must stay on the road, 500mm or more earns its place, so ask the operator before you pack.
Three reasons more reach does not always help
- Heat haze. Once the sun has warmed the ground, the air between you and a distant animal shimmers, and fine detail turns to mush. A longer lens magnifies the shimmer along with the subject. Only getting closer or shooting in the cool hours helps.
- Animals come close. Elephants and lions regularly pass within a few metres of a parked vehicle. With only a long lens you get an ear or an eye and nothing else.
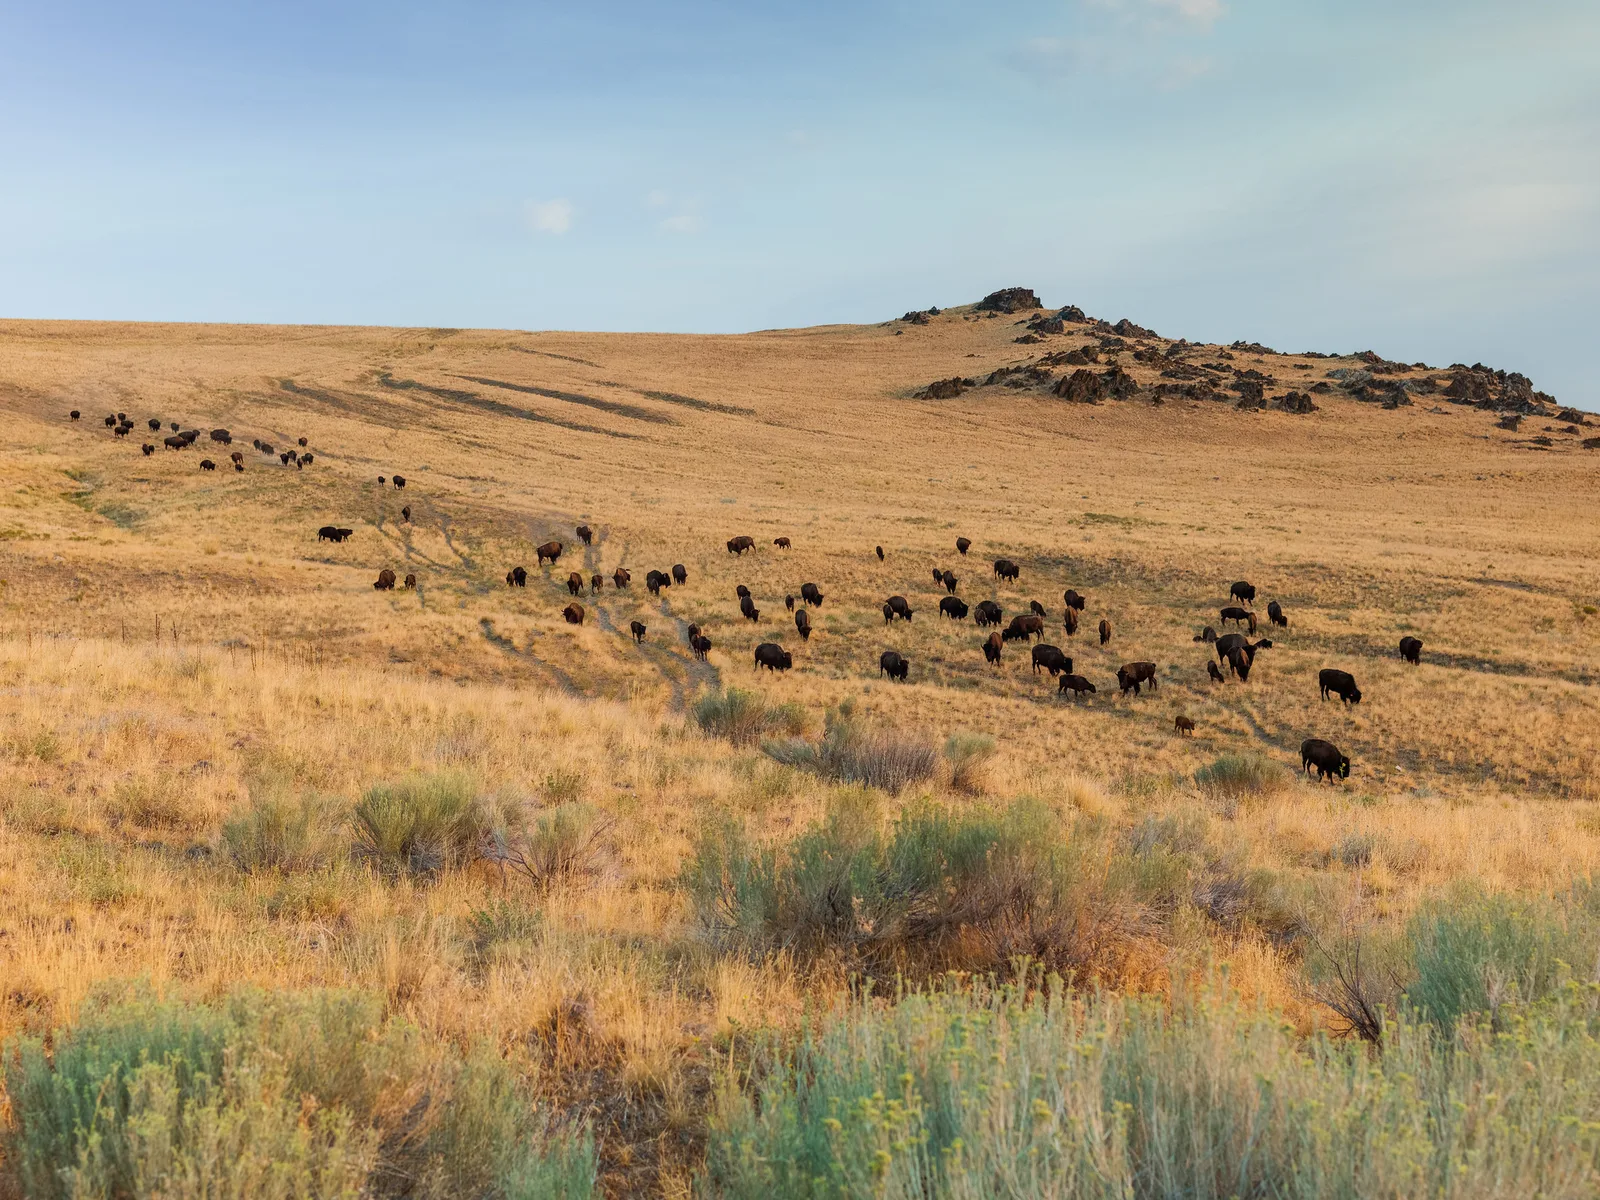
- Tight portraits look the same everywhere. A lion’s face filling the frame could have been taken in a zoo. A smaller lion in tall grass under a storm sky could only be a wild place.
A teleconverter adds reach at a cost in light: a 1.4x converter loses one stop and a 2x converter loses two. At dawn that loss often matters more than the magnification. The guide to telephoto photography covers long-lens handling in general.
Shooting from a vehicle: support, angles and vibration
A tripod is useless in a vehicle seat. What works is a beanbag: a fabric bag filled with something that settles around the lens. Lay it on the door, the window sill, the roof edge or the bar in front of you and press the lens barrel into it. It damps vibration, costs almost nothing and can be repositioned in a second. Travel with it empty and fill it at your destination with rice, dried beans or whatever the camp can supply.
- Rest the lens barrel or the lens foot on the bag, never the zoom ring, or you will not be able to reframe.
- In an open vehicle with no rail near your seat, a monopod standing on the floor between your feet takes the weight of a long lens through a whole drive.
- Never rest the lens on bare metal, which transmits every vibration. With no beanbag, fold a jacket over the rail.
The engine and your fellow passengers
An idling engine shakes the whole chassis at a frequency that blurs long-lens pictures even at fairly fast shutter speeds. Ask the guide to switch off as soon as the vehicle is in position.
The second source of shake is other people. Someone shifting in their seat or standing up rocks the vehicle on its suspension for a second or two. Agree a simple habit with the group: move, settle, then shoot. Keep image stabilization switched on for everything handheld or on a beanbag. It deals with small, slow movements, although it cannot freeze an animal that is itself moving.
Getting a lower angle
Sitting in a vehicle puts the camera about two metres above the ground, so you look down on most animals, and the background becomes dirt and grass instead of distance and sky. Two things flatten the angle:
- Height. Choose the lowest seat, and shoot from the window, not the roof, when the subject is close.
- Distance. From two metres up, an animal ten metres away is seen about 11 degrees downward. At forty metres the angle is under 3 degrees, close to eye level. So ask the guide to hold back and use the long end of the zoom instead of driving in close. You get a better angle and a more relaxed animal at the same time.
Settings and autofocus from dawn to dusk
Light on a game drive changes by six or seven stops between the first sighting and mid-morning, and action starts without warning. The safest setup is manual exposure with auto ISO: you choose the shutter speed and aperture, the camera sets the ISO, and exposure compensation shifts the result brighter or darker. Shutter priority with auto ISO works nearly as well. Shoot RAW, because contrast is high and colour shifts fast.
| Part of the drive | Shutter speed | Aperture | ISO to expect | Notes |
|---|---|---|---|---|
| Before sunrise, after sunset | 1/250 to 1/500 for resting animals | Widest available | 3200 to 12800 | Brace on the beanbag and wait for the animal to pause. Try slow pans of walking animals at 1/15 to 1/30. |
| First and last hour of sun | 1/1000, or 1/2000 for running and fighting | f/5.6 to f/8 | 400 to 1600 | The best light of the day. Watch for backlit dust and rim-lit fur. |
| Mid-morning and afternoon sun | 1/1600 to 1/2500 | f/7.1 to f/8 | 200 to 800 | Plenty of light, so use the extra speed. Shadows are getting hard. |
| Vehicle moving | 1/2000 or faster | f/5.6 to f/8 | Whatever it takes | Expect a low success rate. Ask to stop whenever you can. |
Between sightings, leave the camera at 1/1000, f/5.6 to f/8 and auto ISO, with the lens zoomed to its middle. That default handles a leopard stepping onto the track.
Exposure for dark and light animals
The meter assumes an average scene, and safari scenes are rarely average. A dark animal that fills much of the frame, such as a buffalo, fools the camera into overexposing, so dial in about minus two-thirds of a stop. A white bird, or an animal against bright sky or pale dry grass, comes out too dark, so add two-thirds to one stop. Check the histogram after the first frame of every sighting and correct before the action starts.
Making midday light work
Overhead sun puts animal eyes in shadow and flattens colour. Look for animals in open shade, scenes that convert well to black and white, and waterholes where light bounces up from the surface. Cloudy days let you photograph all day. The page on shooting in harsh daylight covers the general problem.
Autofocus for animals in grass and behind branches
Use continuous autofocus (AF-C) for everything, because even a resting animal lifts its head. Subject detection that finds animal eyes is excellent in the open and unreliable in cover. When grass stems or twigs cross the animal, the camera prefers them: they are nearer and have more contrast than fur.
- Switch to a single small focus point and place it on the eye or on a clear patch of the face. Assign that switch to a custom button so it takes one press.
- Use the focus limiter. If your lens has a focus limiter switch, set it to the far range so the lens ignores grass close to the vehicle.
- Find a window. Ask the guide to move a metre forward or back. A small shift often opens a clear gap to the face.
- Separate focusing from the shutter. Back button focus lets you stop focusing when a branch swings across and keep shooting at the distance already set.
Stop down a little for groups. Two lions side by side are rarely at the same distance, and at 400mm and f/5.6 the depth of field on a subject twenty metres away is under a metre. At f/8 or f/11 both faces have a chance.
Composition: environment, behaviour and eye contact
Most first safaris produce hundreds of centred, frame-filling animals and very little else. A set of pictures that feels like the place needs variety, and it helps to think of each sighting as a short sequence with four kinds of frame:
- The place. Zoom out until the animal is a tenth of the frame or less. Include the tree line, the weather and the horizon.
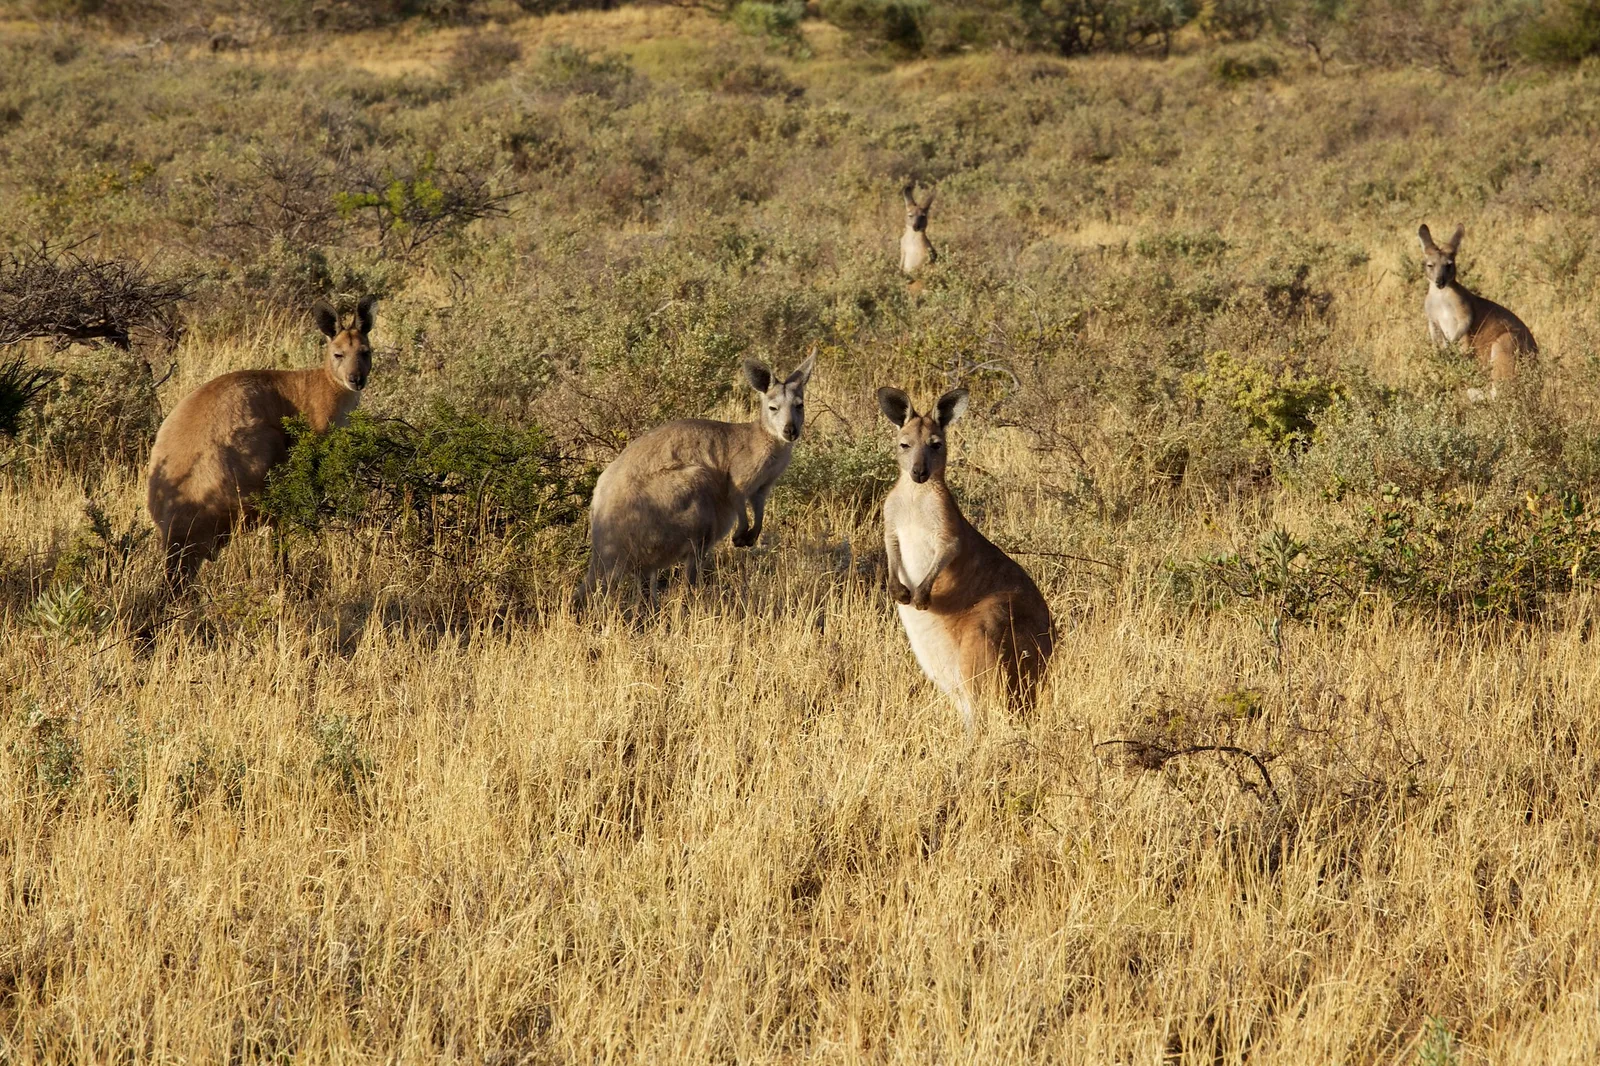
- The portrait. Head and shoulders with a clean background. Wait for the head to turn so that the near eye catches the light.
- The behaviour. Feeding, grooming, yawning, greeting, play between young animals, a twitch of the ears before a charge. These are the frames people remember.
- The detail. Stripes, a tail, tusks, a paw on a branch, tracks in the sand.
Eye contact is the strongest single ingredient in a portrait, and it lasts a moment. Animals look at a vehicle when it arrives and then ignore it, so be ready on arrival, and keep the camera up afterwards: a glance toward a sound is over in under a second.
Watch the background as carefully as the subject: another vehicle, a road sign or a bright patch of sky behind the head will spoil a good moment. Since you cannot move, ask the guide to. Half a vehicle length is often enough.
Shooting into the light works well in the first and last half hour. Dust kicked up by a herd glows gold when the sun is behind it, and fur picks up a bright rim. Expose for the highlights and let the animal go dark, or let it become a full silhouette against the sky when its outline is clear and separate from other animals.
Dust, heat, batteries and cards
Dust is the main equipment problem. It gets into zoom mechanisms, onto the front element and, during lens changes, onto the sensor.
- Avoid changing lenses on a drive. This is the real argument for two bodies. If you must change, wait until the vehicle has stopped and its dust cloud has drifted past, point the camera downward and be quick.
- Cover the camera while driving. A pillowcase, a scarf or a dry bag over the camera on your lap keeps most of the dust off and comes away in a second.
- Clean every evening. Use a blower first, then a soft brush, and a lens cloth only once the grit is gone. Wiping a dusty lens grinds the dust into the coating.
Check for sensor spots by photographing plain sky at f/16 and looking at the result magnified. The guide to cleaning your camera’s sensor explains what to do if you find some. Broader field care is in camera care and maintenance.
Keep the camera and spare batteries out of direct sun on the seat. Morning drives often start cold enough to shorten battery life, so carry spares in an inside pocket until the day warms up.
Power in remote camps may run only at certain hours, and sockets can be shared. Bring at least three batteries per camera, a charger that can handle two at once, and enough cards that you never need to delete in the field. Copy cards to a second device every night. Backing up your photos when travelling explains simple routines.
Common mistakes
- Soft pictures with the engine running. Vibration travels through the seat and the beanbag. Fix: ask for the engine to be turned off, then wait a moment for the vehicle to settle.
- Every frame at the long end. The set looks like a zoo visit. Fix: at each sighting, deliberately zoom out for one frame that shows the habitat.
- Changing lenses in a dust cloud. Spots appear on every sky for the rest of the trip. Fix: two bodies, or change only when stopped and the air is clear.
- Shooting down from the roof at close animals. The background is bare ground and the animal looks small. Fix: drop to the window or ask the guide to back away, then zoom in.
- Autofocus locked on grass. The stems are sharp and the eye is not. Fix: use a single point on the eye, and use the focus limiter.
- Pressuring the guide to get closer. It stresses the animal, breaks park rules and can cost the guide a licence. Fix: ask for position and patience, not proximity.
Try this
You can rehearse vehicle technique at home in fifteen minutes. Park a car (as a passenger, or with the engine off and the handbrake on) where you can see birds, dogs in a park or livestock in a field. Rest your longest lens on a folded jacket or a bag of rice on the half-open window. Photograph one subject at the long end with the engine off, then, as a passenger, repeat with the engine idling at the same shutter speed, starting at 1/1000 and working down to 1/125. Compare the frames at full magnification to find the slowest speed that stays sharp each way.
Frequently asked questions
What focal length do I need for a safari?
A zoom reaching about 400mm (full-frame equivalent) covers most mammals at normal viewing distances. Add something wide, around 24 to 70mm, for scenery and animals close to the vehicle. Go to 500mm or 600mm mainly for birds or for parks where vehicles must stay on the roads.
What are the best camera settings for a game drive?
Start with manual exposure, 1/1000 second, f/5.6 to f/8, auto ISO and continuous autofocus. Raise the shutter speed to 1/2000 or more for action and birds in flight. In the dim light before sunrise, open the aperture fully and drop to 1/250 or 1/500 for animals that are resting.
Can I use a tripod on safari?
Not in a vehicle seat: there is no room and the legs pick up every vibration. A beanbag on the door, sill or roof edge is steadier and faster. A tripod is still worth packing for night skies and camp scenes.
Is a phone good enough for safari photos?
A phone is very good for wide scenes, close animals, video and the story of the trip itself. Its limit is distance: digital zoom on a far-off animal loses detail fast. A phone for wide views beside a camera with a long zoom is a strong combination.
Should I use flash on a night drive?
No. Flash at close range can startle animals and disturb their night vision, and many reserves forbid it. Guides normally use a spotlight, often with a red filter. Use the spotlight as your light source with a wide aperture and a high ISO, and follow the guide’s rules on which animals may be lit.
Related guides
- Wildlife photography: fieldcraft, hides and animal behaviour on foot.
- Camera settings for wildlife: shutter, aperture and ISO recipes by species and movement.
- Telephoto photography: handling long lenses and understanding compression.
- Bird photography: the small, fast subjects that fill the gaps between big sightings.
- Zoo and aquarium photography: practising on the same species close to home.
- Panning photography: slow-shutter motion for running animals in low light.
- Golden hour photography: making the most of the light on morning and evening drives.
- Travel photography: packing, planning and telling the rest of the trip’s story.