To take photos of the Milky Way, go to a dark site on a moonless night between March and October, when the bright galactic core is above the horizon. Use a tripod, a wide lens at f/2.8 or wider, manual focus on a star, and start at 15 seconds and ISO 3200 to 6400. Compose with the core over a foreground you chose in advance, and shoot RAW.
The general craft of sharp stars is covered in how to photograph stars, and the wider field in the astrophotography guide. This page deals only with the Milky Way: which months and hours the core is up in each hemisphere, how to place it over a landmark, how long the shutter can really stay open, how to handle the foreground, how to shoot the full arch, and how far to push the edit.
When and where the galactic core is visible
The Milky Way is a band that circles the whole sky, and some part of it is overhead on any night. The part people want is the galactic core: the brightest, widest section, cut by dark dust lanes, in the direction of the constellation Sagittarius. The core is seasonal for a simple reason. Around December the sun sits in front of it, so it is in the sky only during daylight. Six months later it is opposite the sun and up all night.
Core season by month
| Months | Northern mid-latitudes | Southern mid-latitudes |
|---|---|---|
| November to January | Core not visible in darkness | Core not visible in darkness |
| February to April | Rises in the south-east in the last hours before dawn. The band lies low and nearly flat along the horizon. | Rises in the east after midnight and climbs high before dawn |
| May to June | Rises in late evening and is up until dawn, moving from south-east to south | Up for most of the long winter night, passing nearly overhead |
| July to August | Already up at dusk, due south in the late evening, with the band standing tall. Sets after midnight. | High in the evening, setting in the west after midnight |
| September to October | In the south-west as soon as it is dark, leaning or vertical, and gone within two or three hours | In the west during the evening, setting earlier each week |
Latitude changes how high the core gets. The core sits about 29 degrees south of the celestial equator, so its highest point above your southern horizon is roughly 61 degrees minus your latitude. From 30 degrees north it reaches about 31 degrees up. From 45 degrees north it reaches only 16 degrees, and from 55 degrees north it barely clears the horizon. In the southern hemisphere the core passes high overhead, which is why southern skies show it so well. There is a second limit in the far north: above about 48 degrees latitude the sky never gets fully dark for several weeks around the June solstice, so the best northern months there are April, May, August and September.
Moon phase
Moonlight brightens the whole sky and hides the faint outer parts of the band. You have two kinds of usable night:
- Around new moon. From roughly five days before to five days after new moon, the moon is a thin crescent that is either below the horizon for most of the night or too dim to matter.
- Moon below the horizon. A first quarter moon sets around midnight, so the second half of the night is dark. A last quarter moon rises around midnight, so the first half is dark. Match that dark half to the hours the core is up for your month.
The full reasoning for rise and set times is in planning around the sun, moon and tides. Also wait for true night. The sky is fully dark only once the sun is 18 degrees below the horizon, which is often 90 minutes or more after sunset.
How dark the sky needs to be
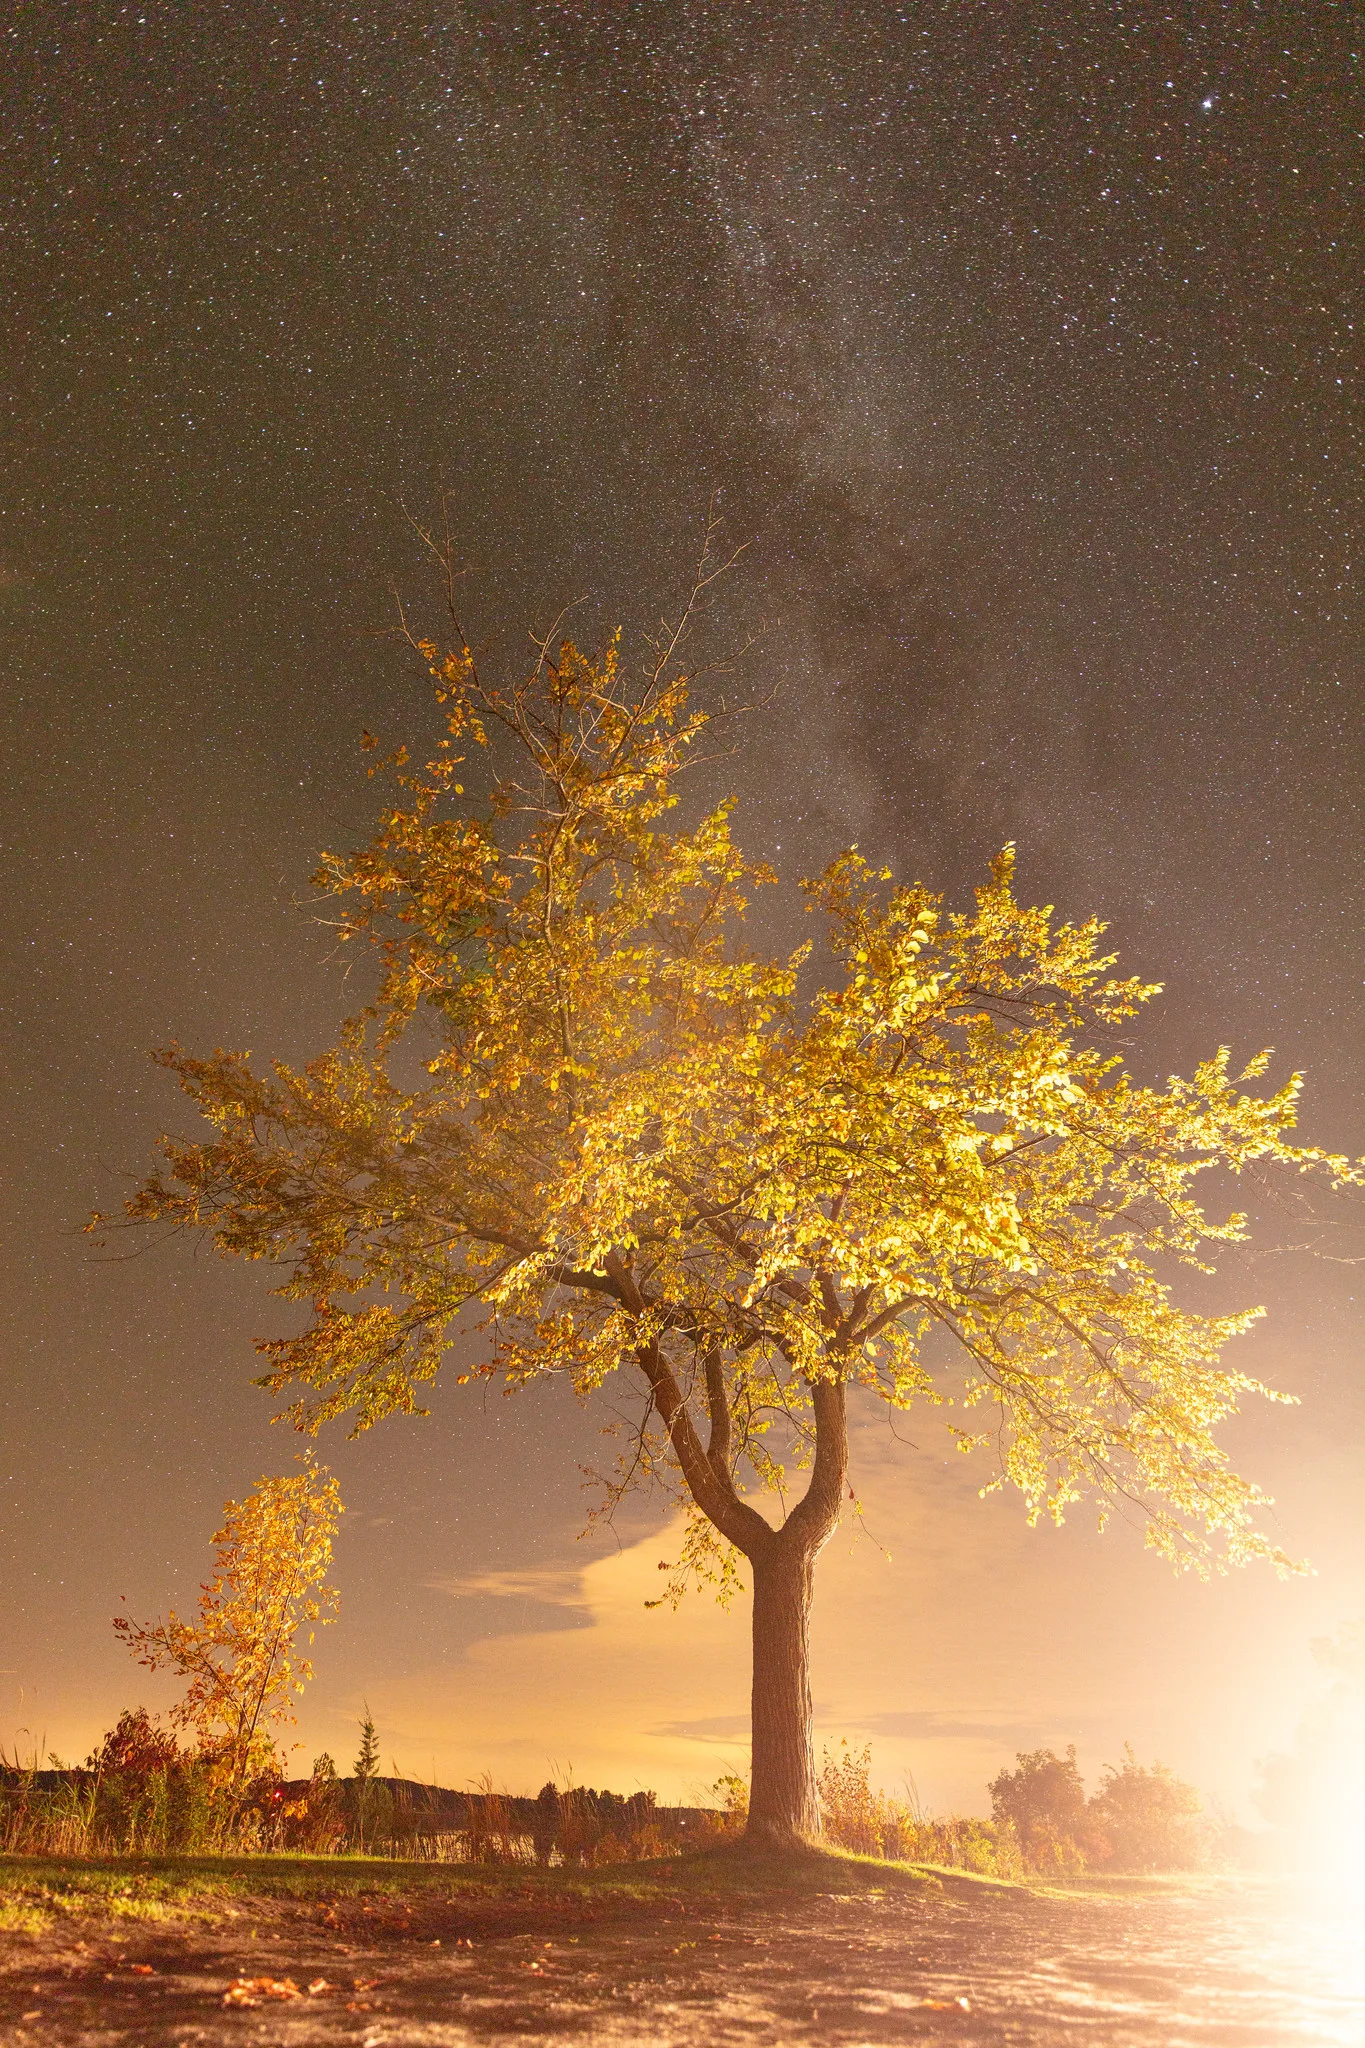
Sky darkness is commonly rated on a nine-step scale, where 1 is a pristine site far from any town and 9 is a city centre. Light pollution maps show the same thing as colour bands. As a working guide:
- Classes 1 to 3 (remote and rural): the core has visible structure to the naked eye and casts detail right down to the horizon. This is the target.
- Class 4 (rural edge): the band is obvious overhead but washed out low down, with glow domes over towns. Good pictures are possible if the glow is not in the direction of the core.
- Class 5 and brighter (suburbs and cities): the band is faint or invisible. A camera can record it, but the file needs heavy processing and looks flat.
Direction matters as much as the rating. In the northern hemisphere the core is always in the southern sky, so pick a site with the nearest town to your north and open country, sea or mountains to your south.
Planning the core’s position over a foreground
A strong Milky Way picture is a landscape with the galaxy in a chosen place. That place is predictable to the minute, so plan it at home.
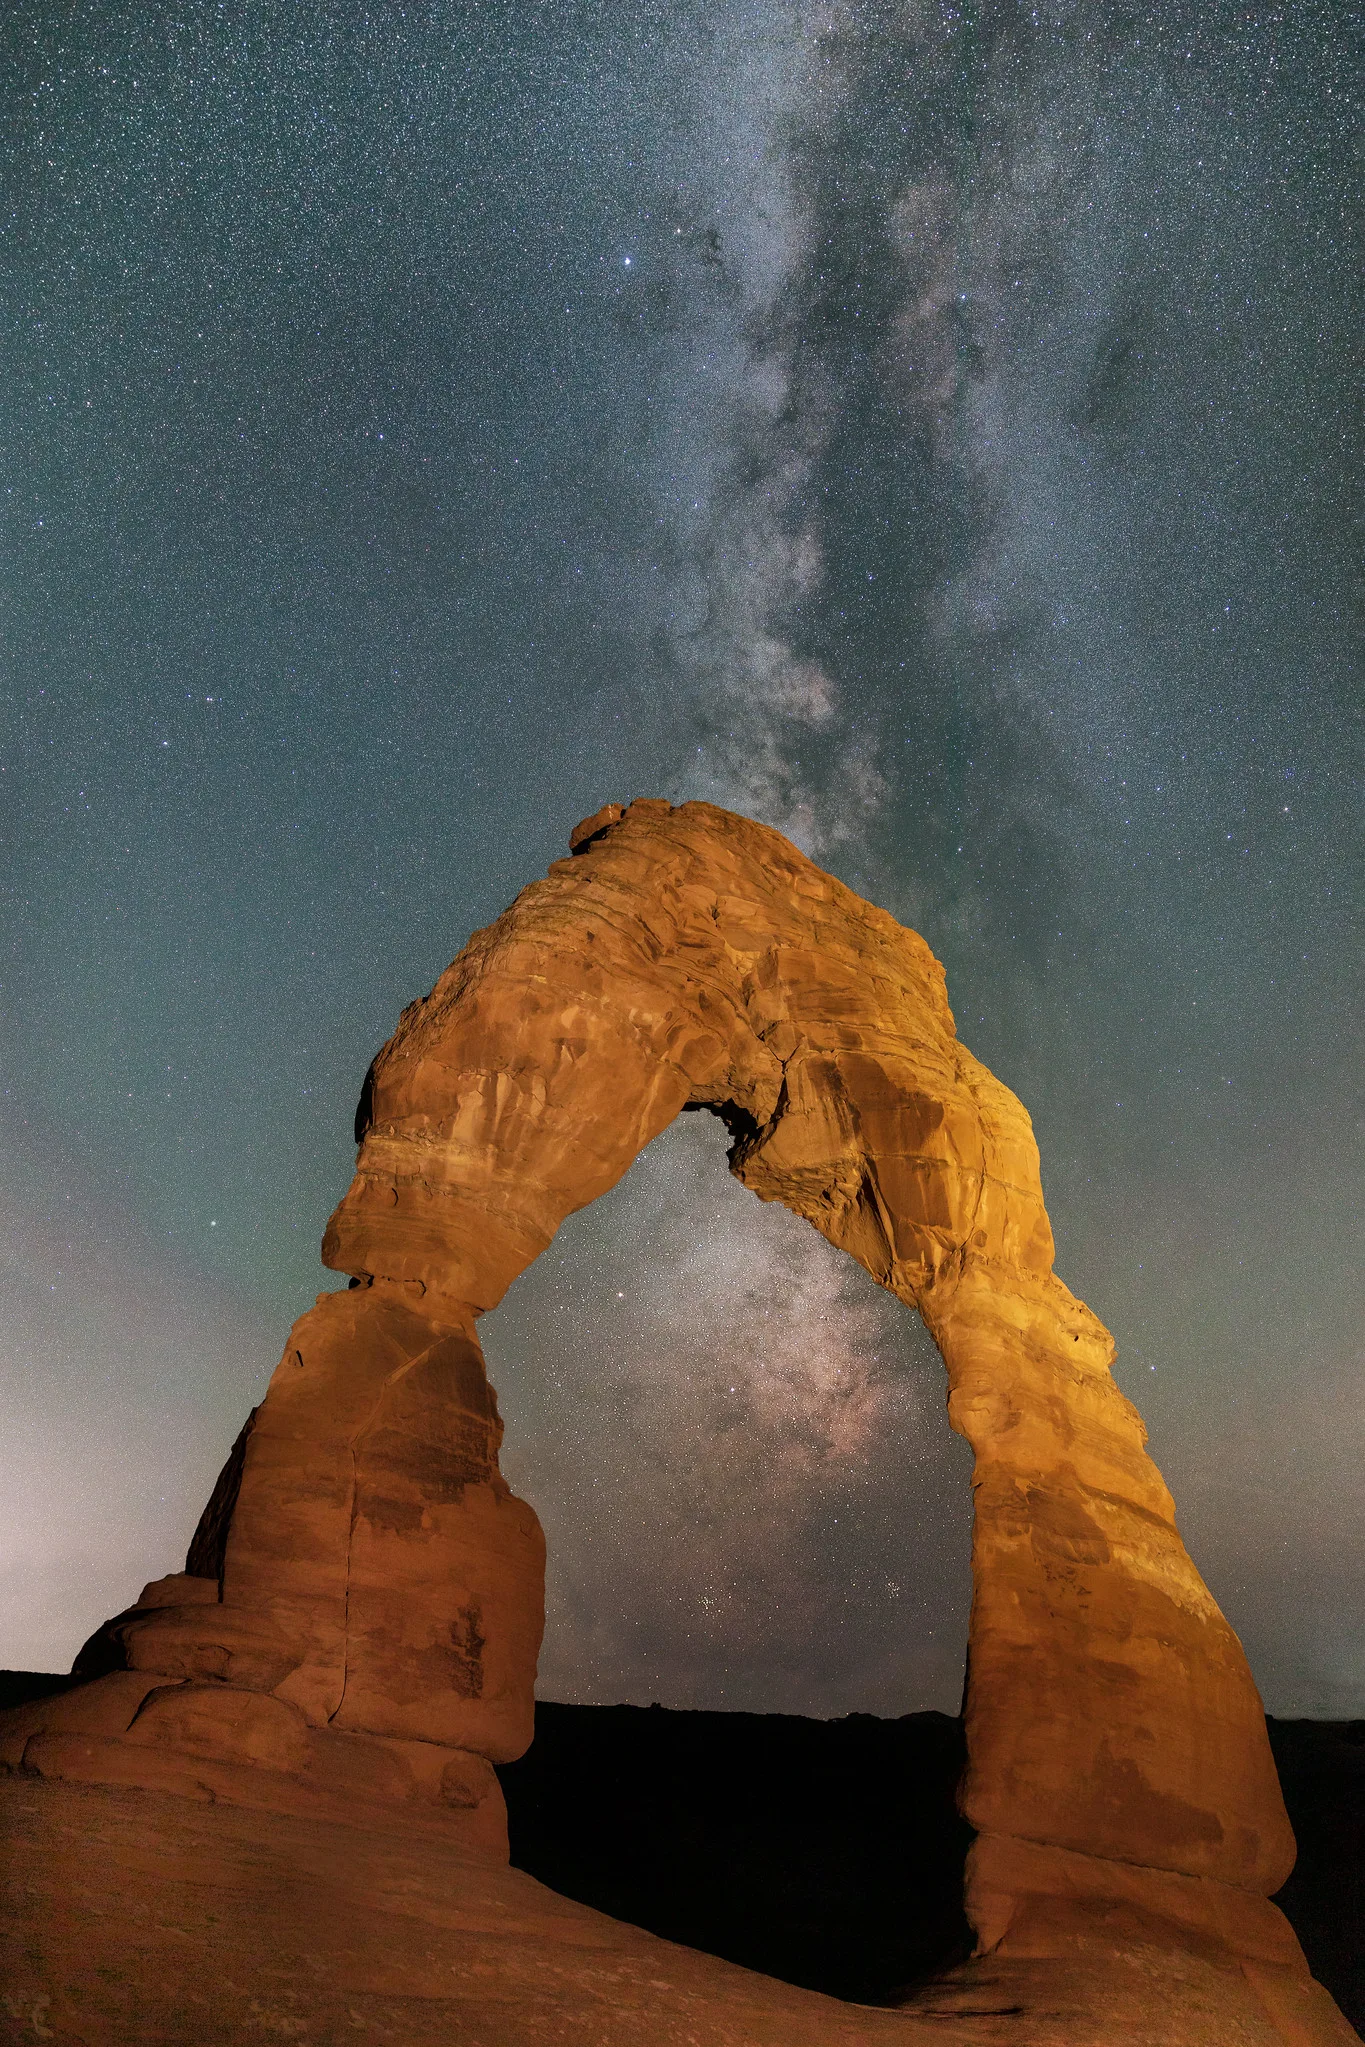
- Pick the foreground first. A rock arch, lone tree, lighthouse, ridge or still lake. It needs a clean outline against the sky, because at night it will be mostly shape. See foreground interest for what makes one work.
- Find which way you would face. A sky-planning app or planetarium program shows the core’s compass bearing (azimuth) and height (elevation) for any place, date and time. At 40 degrees north the core rises at a bearing of about 130 degrees, is highest due south at 180 degrees, and sets near 230 degrees. Your camera position has to put the subject between you and one of those bearings.
- Choose the month for the angle you want. In the north, spring before dawn gives a low, flat band (best for the arch). High summer gives the core upright over a subject to your south. Autumn evenings give a vertical band over a subject to your south-west.
- Check the height against your lens. A 14mm lens on a full frame camera held vertically sees about 104 degrees from bottom to top, and 81 degrees held horizontally. A 24mm lens sees about 74 and 53 degrees. If the core is 20 degrees up and your subject fills the bottom third of a vertical 24mm frame, the core sits just above it. If the subject is tall and close, the core may be hidden behind it: back away or wait for the core to rise.
- Scout in daylight. Walk the route, find the tripod spot, note hazards, and take a phone photo of the composition with a compass app open. Finding a composition in the dark wastes the best hour.
The sky turns about 15 degrees an hour. An alignment that is perfect at 11 pm has drifted well to the right by midnight in the northern hemisphere, so arrive early, set up, and shoot through the window instead of arriving at the planned minute.
Lenses, shutter limits and starting settings
The Milky Way is faint, so the lens matters more than the camera. You want a wide focal length, to take in the band and allow a longer shutter, and a large maximum aperture, to gather light. On full frame, 14mm to 24mm at f/1.4 to f/2.8 is the working range. On a crop sensor, 10mm to 16mm gives a similar view. An f/1.8 lens collects more than twice the light of an f/2.8 lens in the same time. Many fast wide lenses smear corner stars into small wings when wide open, and closing down by a third to two thirds of a stop often cleans that up.
The 500 rule versus the NPF idea
The earth’s rotation drags the stars across the sensor during the exposure. The 500 rule says the longest shutter time before stars trail is 500 divided by the full frame equivalent focal length: 25 seconds at 20mm. It is easy to remember, and it dates from film and low resolution sensors. On a sensor with small pixels, a star crosses several pixels in that time and records as a short dash when you zoom in.
The NPF rule is stricter because it accounts for what the 500 rule ignores: the aperture (N), the pixel pitch of the sensor (P) and the real focal length (F). A widely used simplified form is:
Seconds = (35 x aperture + 30 x pixel pitch in microns) / focal length in mm
Pixel pitch is the sensor width divided by the number of pixels across it. A 24 megapixel full frame sensor is about 6 microns, a 45 megapixel full frame sensor about 4.4, and a 24 megapixel crop sensor about 3.9.
| Lens and sensor | 500 rule | Simplified NPF |
|---|---|---|
| 14mm f/2.8, full frame, 6 micron pixels | 36 s | 20 s |
| 20mm f/1.8, full frame, 4.4 micron pixels | 25 s | 10 s |
| 24mm f/2.8, full frame, 6 micron pixels | 21 s | 12 s |
| 16mm f/2.8, crop sensor, 3.9 micron pixels | 21 s | 13 s |
Which to use depends on how the picture will be seen. For a phone screen or a small print, 500 rule times look fine and give a cleaner file. For a large print or a tight crop, stay near the NPF time. A sensible middle is to halve the 500 rule figure, then zoom to 100 percent on the first frame and shorten the time if stars are dashes.
Starting exposure settings
Use manual exposure, RAW, and a two second self-timer or a remote. Turn stabilisation off on the tripod. These are starting points for a dark, moonless sky. Adjust ISO after checking the histogram: the main hump should sit clear of the left edge, around a quarter to a third of the way across.
| Situation | Aperture | Shutter | ISO | Notes |
|---|---|---|---|---|
| 14mm f/2.8 lens, full frame | f/2.8 | 20 s | 6400 | The classic baseline |
| 20mm f/1.8 lens, full frame | f/2 | 10 to 13 s | 3200 to 6400 | Stopped down slightly for cleaner corners |
| Kit zoom at 18mm f/3.5, crop sensor | f/3.5 | 15 s | 6400 to 12800 | Noisy in one frame: shoot 10 or more to stack |
| Rural-edge sky with some glow | Widest | NPF time | 1600 to 3200 | The sky is brighter, so lower the ISO to protect it from washing out |
| On a star tracker | f/2.8 to f/4 | 60 to 240 s | 400 to 1600 | Sky only. The foreground needs its own frame. |
| Phone on a tripod | Fixed | Longest night or astro mode | Auto | Use the main camera, not the ultra-wide, and a timer |
Set white balance to about 4000K so the preview looks neutral. RAW lets you change it later. Leave long exposure noise reduction off, since it doubles the wait for every frame.
Focusing on stars
Switch to manual focus, open magnified live view on a bright star or planet, and turn the ring until the star is the smallest possible point. Take a frame and check it at full magnification before you commit to a composition. The step-by-step methods are in the stars guide linked above. Two points are specific to a long Milky Way session: recheck focus whenever the temperature drops noticeably or you change focal length on a zoom, because both shift it, and wipe the front element if stars start to look soft with halos, which is dew, not focus.
Foreground options: blends, low-level light and tracking
At a sky exposure of 15 seconds, an unlit foreground is a black shape. That is fine for a bold outline. For detail you have four honest options, in rough order of effort. The wider subject is covered in astro-landscape photography.
A long foreground exposure on the same night
Without moving the tripod, shoot one frame for the land at a low ISO and a long time, for example 2 to 4 minutes at ISO 1600 and the same aperture, using bulb mode. The stars trail in that frame, which does not matter because you keep only the ground. Blend it with the sky frame along the horizon. This is the cleanest method when the horizon is simple.
A blue hour blend
Set up before dark and shoot the foreground during blue hour at base ISO and f/8, when there is soft light and plenty of detail. Leave the tripod exactly where it is, wait for full darkness and the core to arrive, and shoot the sky. Combined, the two frames give a clean foreground and a real sky from the same viewpoint. Darken and cool the foreground so it reads as night. Say that the image is a blend if you publish it, and do not place a sky over a view it could never be seen from.
Low-level light
Low-level lighting uses a dim, constant light on a stand, well off to one side, left on for every frame. It differs from light painting, where you sweep a torch during the exposure and get a different result each time. The light should be so weak that you can barely see its effect by eye: a small panel at its lowest setting, 20 to 50 metres from the subject, often covered with a warm filter or a layer of cloth. Place it 45 to 90 degrees from the camera so it rakes across the surface and shows texture. Check whether lighting is allowed, as some parks and reserves prohibit it, and switch it off if other photographers are working nearby.
Stacked or tracked sky
Noise is the limit of a single frame. Two methods collect more light for the sky:
- Untracked stacking. Shoot 10 to 20 identical frames in a row. Stacking software aligns the stars and averages the frames, and random noise falls with the square root of the frame count, so 16 frames give about a quarter of the noise. The ground blurs when the stars are aligned, so it is masked and taken from one frame or stacked separately.
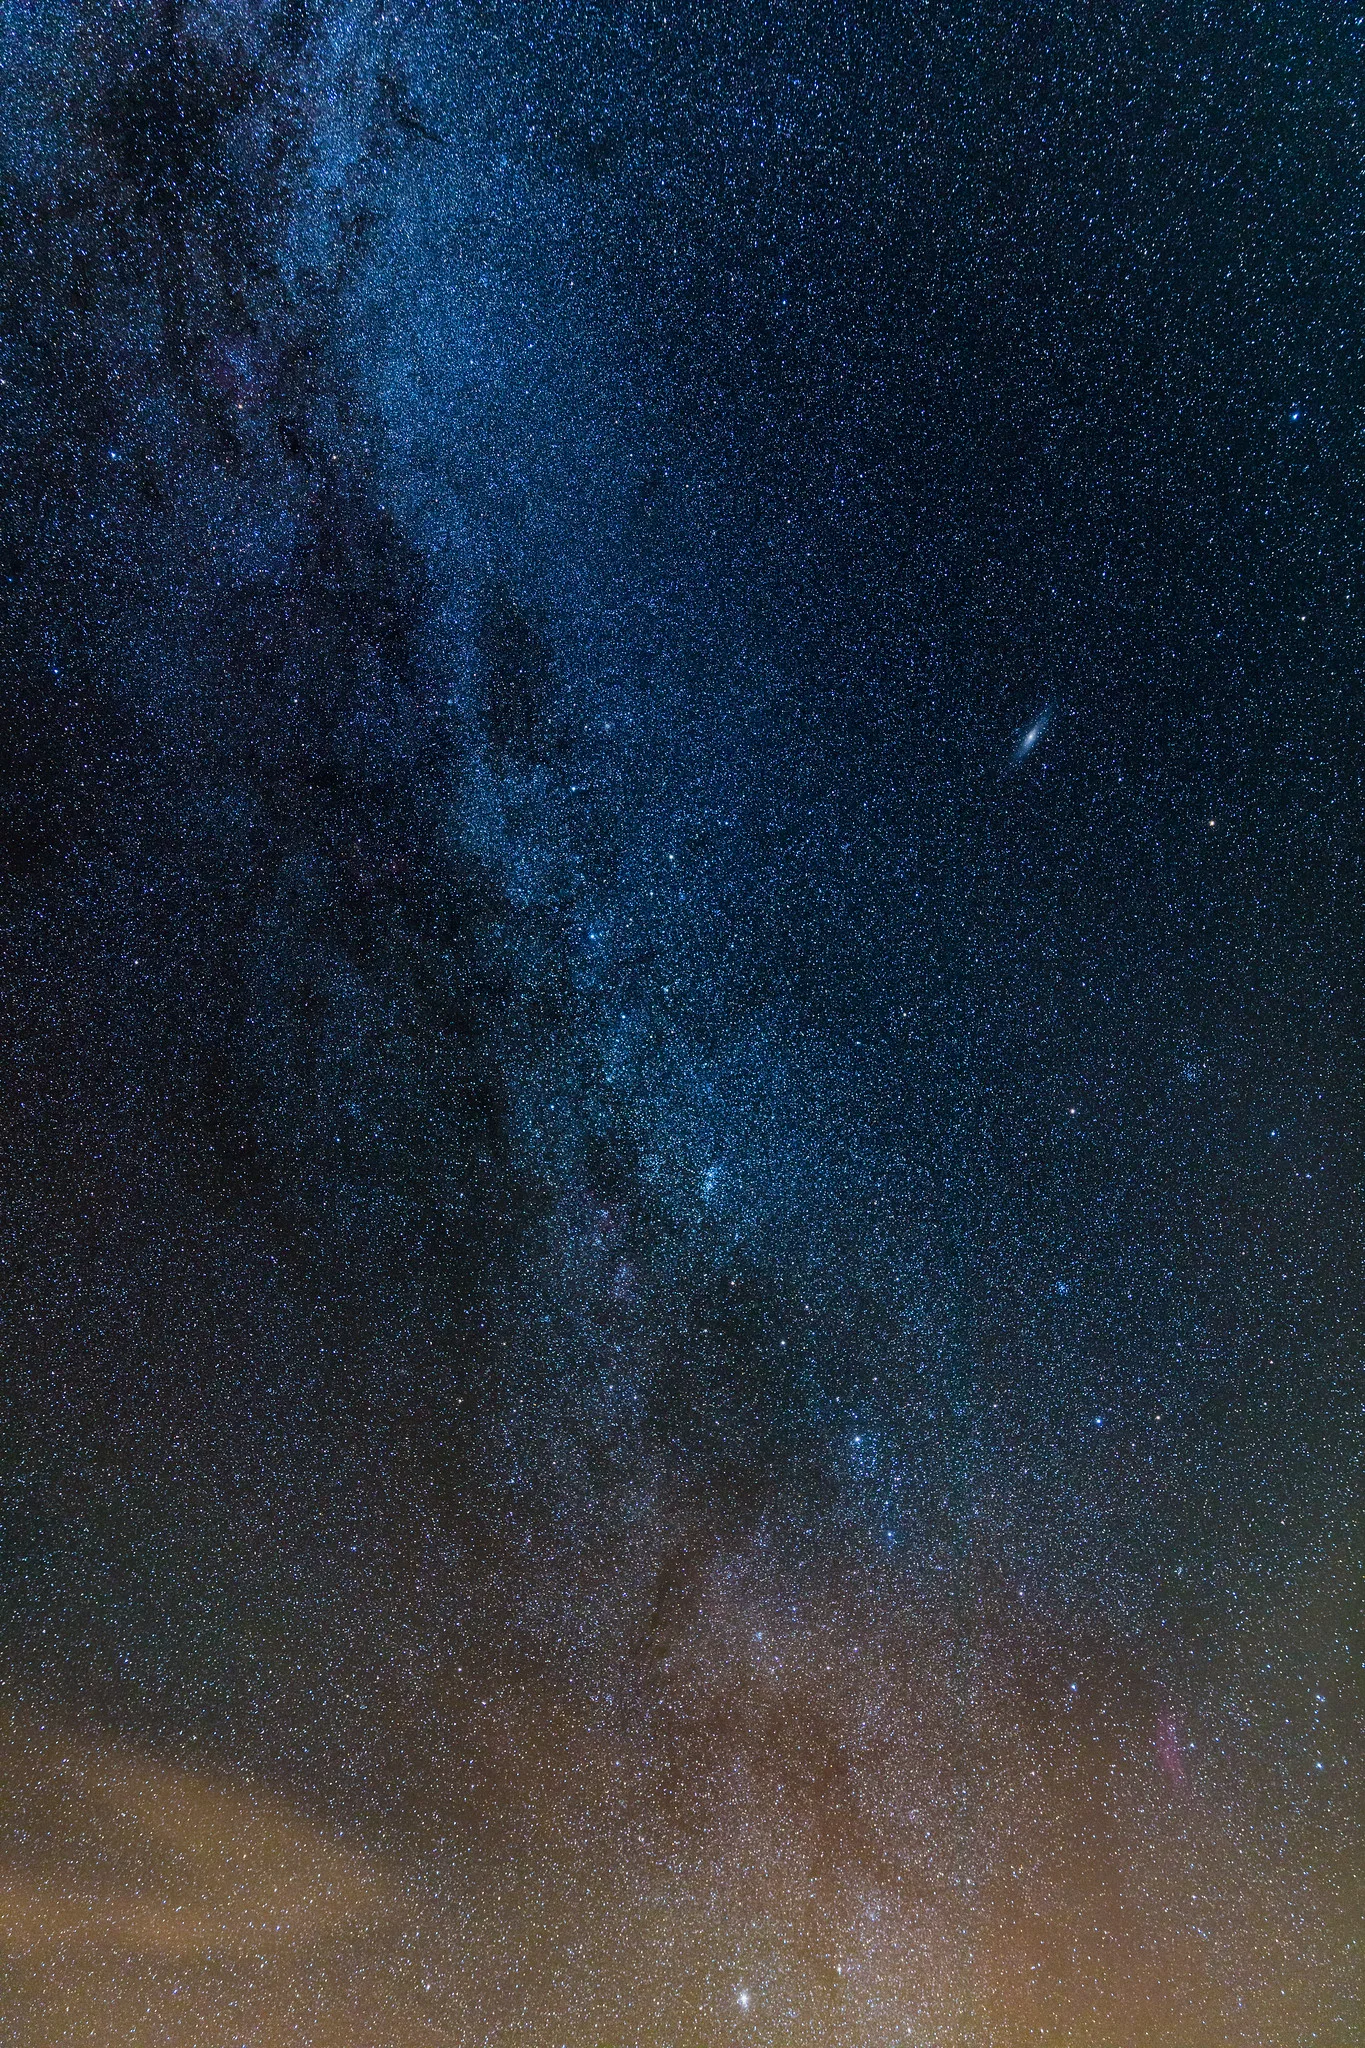
- Tracking. A star tracker is a small motorised mount that turns the camera at the same rate as the sky, around an axis you point at the celestial pole. Stars stay as points for minutes, so you can use ISO 800 and one to four minutes. The light pollution photo earlier on this page was exposed for 247 seconds at 24mm, which is only possible with points for stars because the camera followed the sky. The ground smears instead, so you turn the tracker off and shoot the foreground separately from the same spot.
Panoramas of the full arch
The whole band reaches from horizon to horizon, far wider than any single lens. A panorama captures it as an arch. The general method is in panorama photography, and these points are specific to the night sky.
- Choose the season for a low arch. In the northern hemisphere the band lies lowest in spring before dawn, stretching from north-east round to the south with the core at the right-hand end. By midsummer evenings it passes overhead and will not fit a tidy arch. In the southern hemisphere, look for the hours soon after the core rises, or as it sets.
- Turn the camera vertical and use 14mm to 24mm. Level the tripod base so the horizon stays straight as you turn.
- Overlap frames by 40 to 50 percent. Night frames have few sharp features for stitching software to match, and wide lenses distort toward the edges. With a 20mm lens that means a new frame every 25 to 30 degrees, about 7 to 9 frames for a half circle.
- Add a second row if needed. If the top of the arch is cut off, shoot one row along the horizon and a second row tilted up, overlapping the first by a third.
- Lock everything. Same focus, exposure and white balance for every frame.
- Work fast. The sky moves between frames. Use a short self-timer, shoot the row in one pass without reviewing, and finish in a few minutes. Start at the end nearest any fading twilight or rising moon.
Stitch with a spherical or cylindrical projection. If the software struggles, apply lens corrections to the frames first and try again.
A restrained edit
The camera records more than the eye sees at night, so some processing is normal. The aim is a sky that still looks like night. Work in this order in any RAW editor. Panel names vary between programs and versions.
- Lens corrections first. Turn on the profile correction to remove vignetting and distortion, so the sky has even brightness before you add contrast.
- White balance. Aim for a neutral to slightly cool sky, usually 3800K to 4500K. If the sky looks green or magenta, correct the tint. The white balance page explains the two sliders.
- Exposure and contrast. Lift exposure only until the band is clear. Add contrast with a gentle curve. The sky background should stay dark grey-blue, not pure black: clipping the blacks throws away the faint outer band.
- Local contrast on the band only. Brush or mask the Milky Way and add a small amount of clarity or dehaze. Applied to the whole frame, these tools exaggerate noise, vignetting and any horizon glow.
- Horizon glow. Use a graduated mask from the horizon upward to cool and darken light pollution a little. Leave some. It is part of the place.
- Noise. Apply moderate noise reduction and check at 100 percent that small stars survive. Sharpen lightly with masking so only stars are sharpened.
- Colour last. A few points of vibrance is plenty. Stars have real, subtle colours, and the core is a warm yellow-white against cooler outer sky.
Common mistakes
Going in the wrong month. A dark, clear December night has no core at all. Fix: check the core’s rise and set times for your date before you plan anything else.
Ignoring the moon’s position. A half moon in the sky cuts the visible band to a faint smudge. Fix: shoot near new moon, or in the half of the night when the moon is below the horizon.
Trusting the 500 rule on a high resolution sensor. Stars look sharp on the rear screen and turn into dashes on a monitor. Fix: use the NPF time or half the 500 rule time, and check the first frame at 100 percent.
Blasting the foreground with a torch. The subject burns out and the sky looks weak beside it. Fix: use a much dimmer light from the side, or a long ambient exposure for the ground.
Editing until the sky is neon. Heavy dehaze and saturation produce purple and teal skies, bright halos and blotchy noise. Fix: mask the band, use small amounts, and keep the background sky dark and close to neutral.
Try this
A 15 minute planning drill at a desk, on any day of the year. Open a free planetarium program or sky-planning app and set it to a dark place you could reach.
- Set the date to the next new moon between March and October. Step the time forward until it shows the centre of the galaxy at least 10 degrees above the horizon in full darkness. Write down the time, compass bearing and height.
- Step forward two hours and write down the new bearing and height.
- Open a map of the site. Find one landmark and mark where you would have to stand for it to sit on the first bearing.
- Work out your shutter limit both ways for your widest lens: 500 divided by the equivalent focal length, and the simplified NPF formula.
- Write the plan on one line: date, arrival time, standing spot, bearing, lens, aperture, shutter, starting ISO.
Frequently asked questions
What is the best month to photograph the Milky Way?
In the northern hemisphere, June to August puts the core in the evening sky at a convenient hour, while April and May before dawn give the low arch for panoramas. In the southern hemisphere, May to August is best, with the core high for most of the long winter night.
Can you photograph the Milky Way with a phone?
Yes, from a truly dark site. Put the phone on a tripod, use its night or astro mode at the longest setting with the main camera, and trigger it with a timer. The result will be noisier and less detailed than a large-sensor camera, but the band and core will show. More in night photography on a smartphone.
Why does my Milky Way photo look washed out?
Usually the sky was too bright: moonlight, light pollution in the direction of the core, twilight, or thin cloud and haze. Less often the frame is overexposed. Check the moon and the sky rating first, then lower the ISO if the histogram is past the middle.
Related guides
- How to photograph stars: equipment, star focusing methods and star trails in detail.
- Astrophotography: the wider field, from nightscapes to tracked deep-sky work and planets.
- Astro-landscape photography: focus stacking and blending sky and land.
- How to shoot a Milky Way timelapse: turning a night of frames into moving footage.
- How to photograph meteor showers: the same dark-sky skills applied to a sky full of streaks.
- Star trail photography: using the sky’s rotation on purpose.