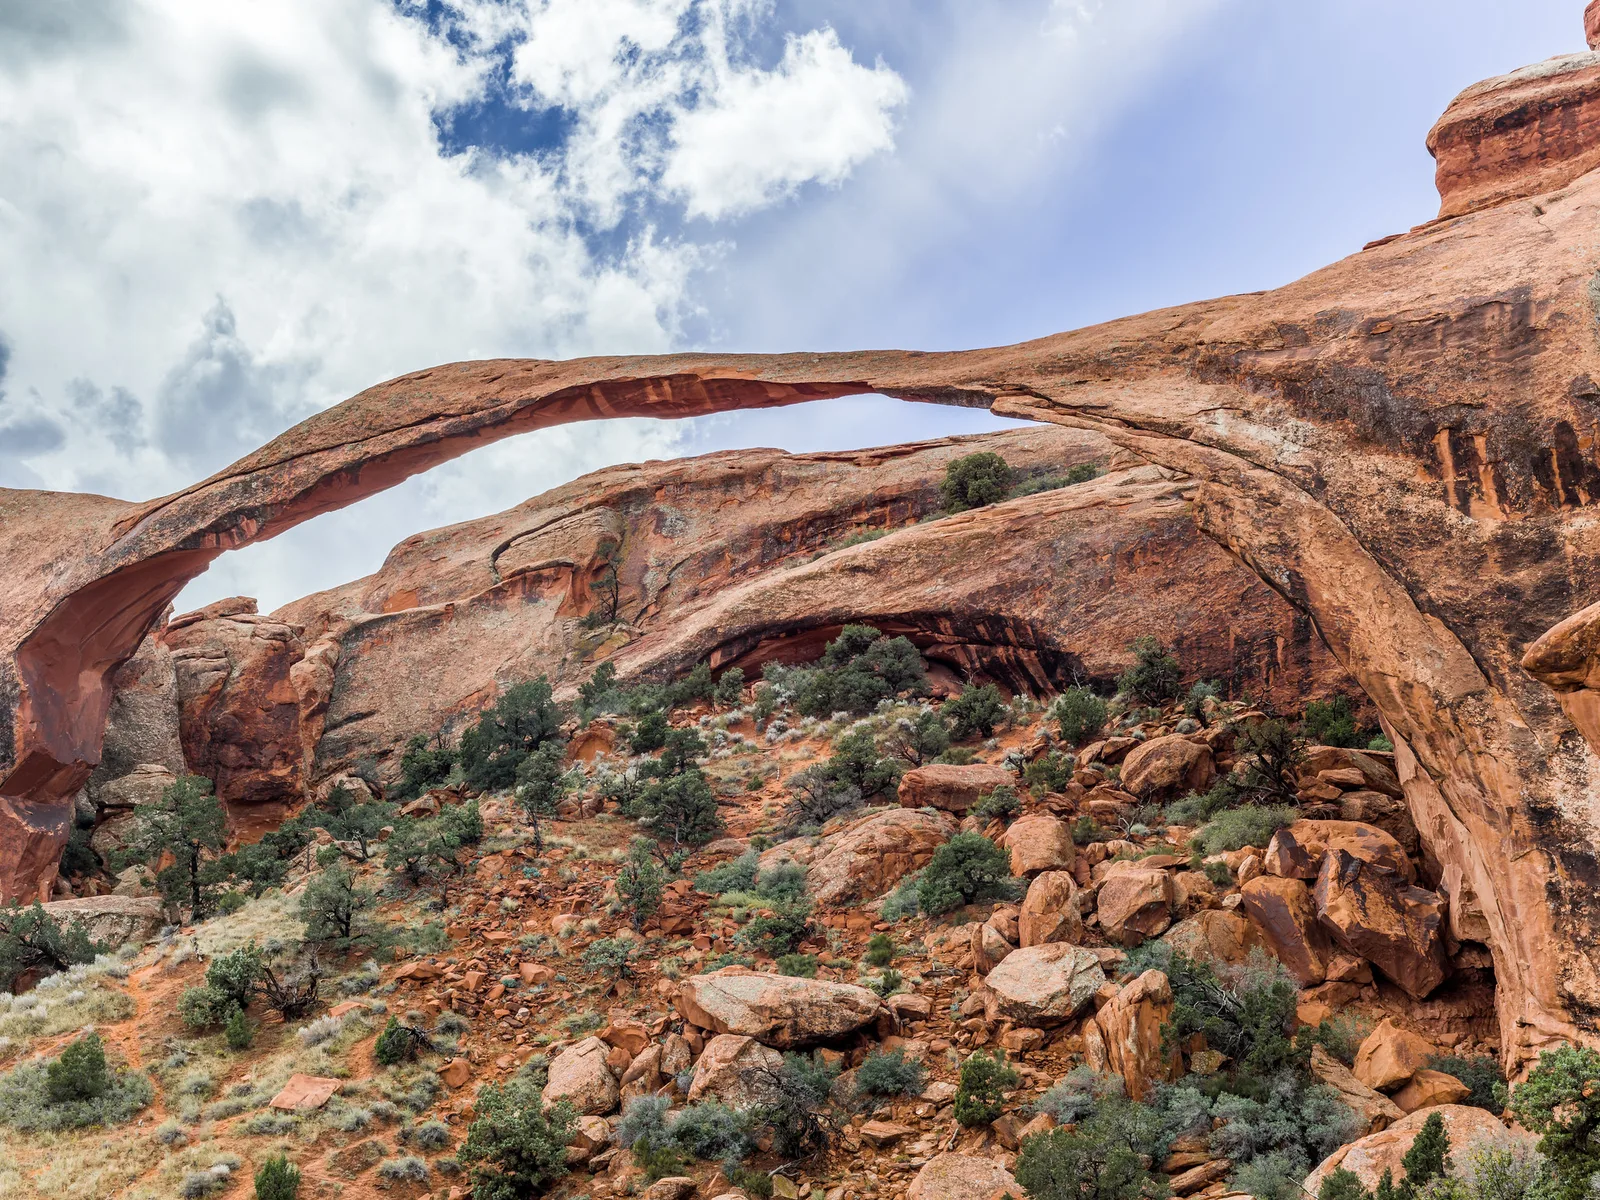
Rock formations are sculptures made by time. Wind, water, ice and gravity carve arches, spires, hoodoos, balanced boulders and towering cliffs over thousands or millions of years, and each one has a shape found nowhere else. They are some of the most dramatic subjects in landscape photography, and they change color and mood through the day as light moves across them.
This guide covers the main kinds of rock formations, how to find the best viewpoints, how to show scale, the light that suits rock, how to bring out texture and color, photographing formations at night and how to visit fragile places with care. For the wider settings where many of these formations are found, see the guides to desert photography and canyon photography.
Why rock formations make great subjects
Rock formations give a landscape a clear focal point and a strong sense of place.
- Bold shapes. Arches, towers and balanced rocks have outlines that read instantly, even as small shapes in a big scene. The page on shape explains why outlines matter so much.
- Color. Sandstone glows red, orange and gold; granite turns pink at dawn; volcanic rock is dark and dramatic. Low light makes these colors sing.
- Texture. Layers, cracks, ripples and weathered surfaces reward close inspection and side light.
- Time. Rocks carry the story of how a place formed. Layers record ancient seas and deserts, and arches show the slow work of erosion.
- Stillness. Rocks do not move, so you can return again and again for better light.
Rock formations are found in deserts, mountains, coasts and even city parks. Some are famous, but many of the most rewarding are small, quiet places known mainly to locals.
Rock formations are also patient teachers. Because they never move, you can try a composition, study the result, change one thing and try again. That slow, careful process builds an eye for shape and light that serves every kind of landscape photography.
Kinds of formations
Knowing what you are looking at helps you decide what to emphasize.
| Formation | What it is | What to show |
|---|---|---|
| Arches and bridges | Openings worn through rock fins or walls | The span, the opening and the sky or view framed through it |
| Hoodoos and spires | Tall, thin columns of rock, often capped with harder stone | Height, groups and the play of light along their sides |
| Fins | Narrow walls of rock standing in parallel rows | Rhythm, shadows between them and glowing edges |
| Balanced rocks | Boulders resting on narrow bases | The improbable balance, best side on against the sky |
| Buttes and mesas | Flat-topped hills with steep sides | Their shape on the horizon and their size in the landscape |
| Boulders and outcrops | Large rocks scattered or piled across the land | Texture, groups and foregrounds for wider views |
| Sea stacks and coastal rocks | Pillars and arches carved by waves | Their relationship with the sea and tides |
Whatever the formation, ask what makes it special: its height, its thinness, its color or its setting. Build the picture around that one quality.
Finding the best viewpoint
The view from the trail sign is rarely the best. Spend time walking around a formation before you set up.
- Walk around it. A rock that looks like a lump from one side may show a perfect arch or a striking profile from another.
- Step back for the whole shape. Seeing a formation against the sky, with nothing overlapping its outline, makes its shape clear. The arch at the top of this page needed distance to show its full span.
- Get close for drama. A wide lens close to the base makes towers soar and arches loom overhead.
- Look through. Arches and gaps between rocks make natural frames for distant mountains, other formations or the sky. The guide to framing explains how.
- Find a high point. A ridge or overlook shows groups of formations and the landscape that surrounds them.
Stay on marked trails where they exist. Many rock areas have fragile soil and plants that take decades to recover from footprints.
Want to use arches and gaps to frame a view? The guide to framing in photography explains frames within the frame.
Arches deserve special care. Their thin spans are easy to lose against busy backgrounds. Look for a position where the opening frames clean sky, a distant mountain or another formation, and where the span itself is lit by low sun while the background is darker, or the other way around. That contrast is what makes an arch read clearly.
Showing scale
Without a familiar object for comparison, viewers cannot tell whether a rock is the size of a car or a skyscraper. Showing scale makes formations feel as big as they really are.
- Include a person. A hiker on a trail or standing safely near the base instantly shows size. A small figure in bright clothing stands out against rock.
- Include trees. Trees at the foot of a cliff or among hoodoos give a sense of height.
- Include a road or car for formations seen from a distance.
- Use a longer lens from a distance to compress a small person against a huge rock face, making the rock tower over them. See lens compression.
The page on scale explains how size comparisons work in a picture. When you include a person, place them where they look natural, such as walking on the trail, rather than posed awkwardly, and keep them small enough that the rock remains the subject.
Light on rock
Light transforms rock more than almost any other subject. The same formation can look flat at noon and glow like fire an hour before sunset.
- Golden hour. Low, warm sun deepens the colors of sandstone and granite and casts shadows that show shape and texture. The second photo on this page shows fins glowing in low sun. See golden hour photography.
- Side light. Light from one side brings out layers, cracks and curves. Front light flattens rock; side light carves it.
- Reflected light. In canyons and between fins, sunlight bouncing off one rock wall onto another creates a warm glow in the shadows.
- Overcast light. Soft light shows color and detail evenly, which suits close views and texture studies.
- Storm light. Dark clouds behind sunlit rock make dramatic contrast. The guide to storm photography covers safety in bad weather.
- Blue hour. After sunset, rocks take on soft, cool tones and the sky glows above them.
Note which way a formation faces. An east-facing cliff glows at sunrise; a west-facing arch glows at sunset. Plan your visit for when the light falls on the side you want.
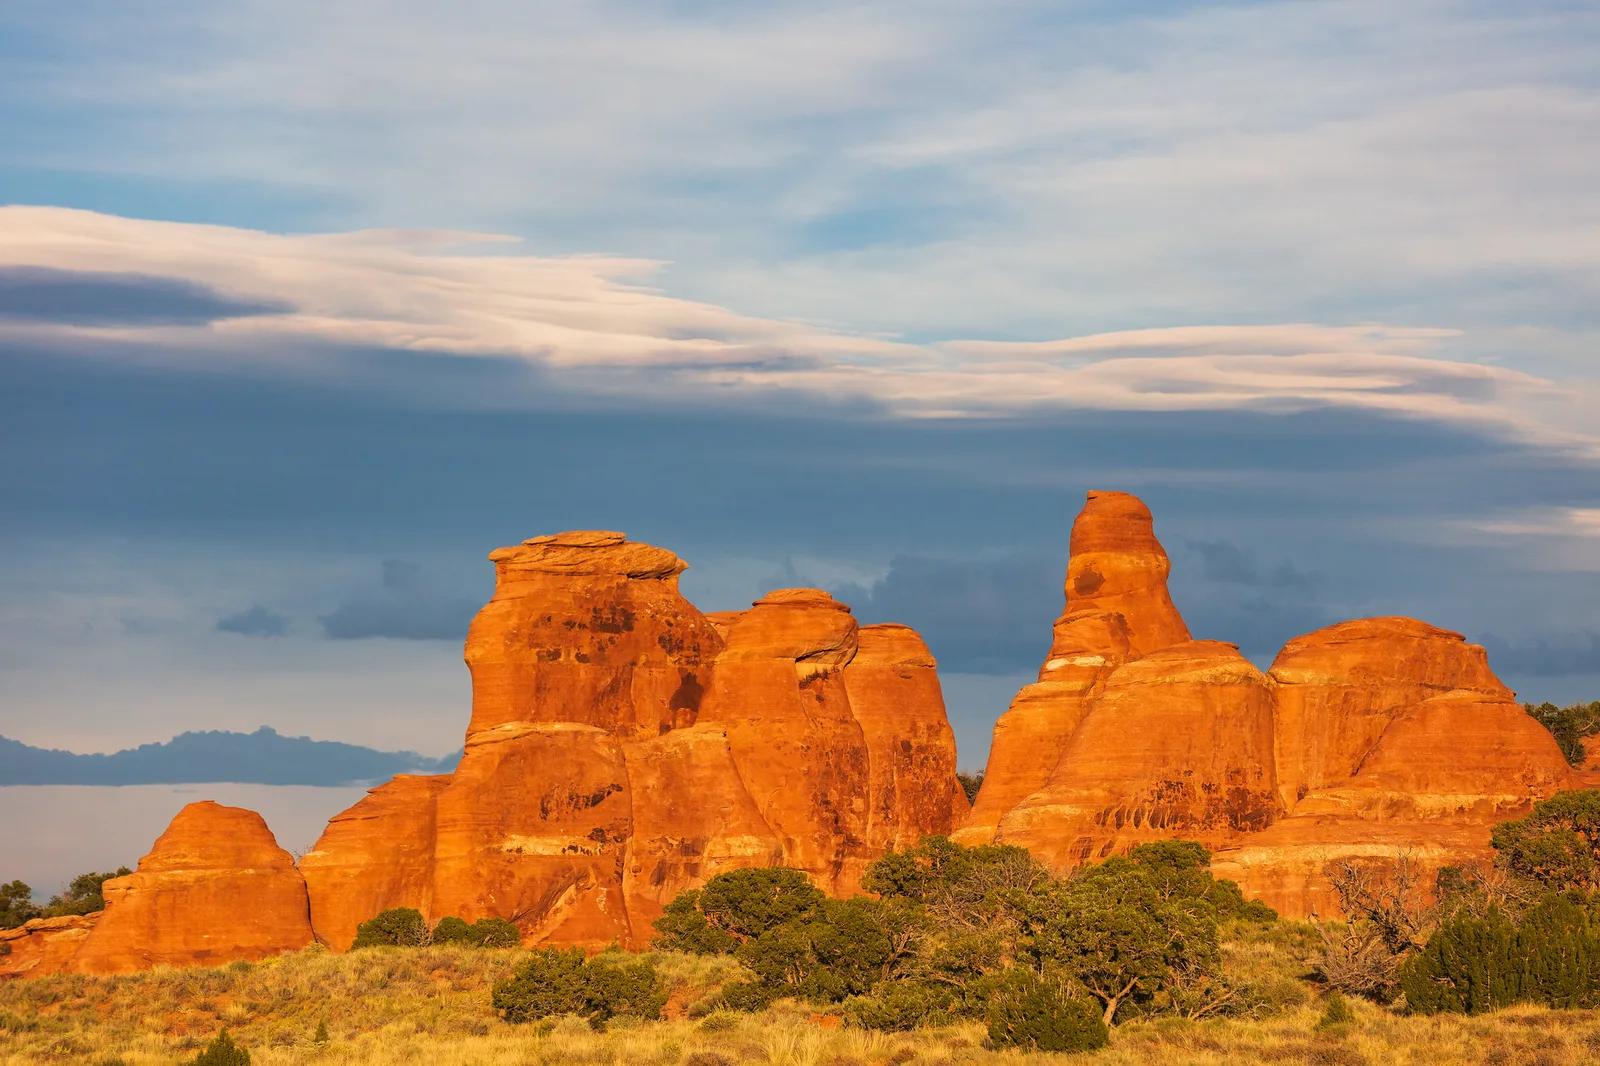
If the light is wrong when you arrive, do not give up. Make notes, check the direction of the sun and plan to come back. Many of the best rock pictures are taken on a second visit, once you know exactly where the light will fall.
Texture, layers and detail
Move closer and rock becomes a world of patterns.
- Layers. Bands of different colored rock show how a landscape formed. Fill the frame with them for an abstract picture.
- Cracks and patterns. Weathered surfaces form cracks, pits, ripples and honeycomb shapes.
- Lichen and plants. Bright lichen on dark rock, or a single plant growing from a crack, adds life and color.
- Desert varnish. Dark streaks running down cliff faces make graphic vertical lines.
Low side light is essential for texture. The page on texture explains why, and the guide to abstract photography has more ideas for close-ups of natural surfaces.
Rocks close to home make good practice. A boulder in a park, an outcrop on a local hill or the stones of an old wall all have texture and form, and they let you practice side light and close framing before you travel to famous formations.
Composition ideas
- Use a foreground. Smaller rocks, plants or patterns in the ground lead the eye toward the main formation. See foreground interest.
- Place it with space. A lone spire placed off center with open sky around it feels dramatic.
- Use groups. Rows of fins or clusters of hoodoos create rhythm. The guide to patterns and repetition covers this.
- Use the sky. Clouds add interest above formations, while a clear deep blue sky makes warm rock stand out. A polarizing filter deepens the blue.
- Try vertical frames for towers, spires and tall arches.
Rock formations at night
Formations make superb foregrounds for night skies, especially in remote desert areas with dark skies.
- Scout in daylight. Find your composition, check where the stars or the Milky Way will be and note a safe route.
- Use the moon. Moonlight lights rock gently, so formations show detail against a starry sky.
- Frame stars through an arch. An arch framing the night sky is a classic picture.
- Use a wide, fast lens and a sturdy tripod. The guide on how to photograph stars covers settings and focus.
Never shine bright lights on formations in places where others are photographing, and follow park rules on night access. If you want to light a rock, use a dim, warm light very briefly, or wait for moonrise and let natural light do the work. Carry a headlamp with a red setting so you can see the trail without spoiling your night vision or other people’s pictures.
Coastal formations add the tide to your planning. Sea stacks and rock arches look completely different at low and high water, and waves moving around them can be frozen with a fast shutter or smoothed with a long exposure. The guide to seascape photography covers tides and moving water.
Settings for rock formations
- Aperture: f/8 to f/11 for sharp detail from foreground to formation.
- ISO: as low as possible in daylight for clean color.
- Tripod: useful in low light and for careful compositions.
- Exposure: bright rock against a dark sky, or dark rock against a bright sky, can fool the meter. Check the histogram.
- Bracketing: in high contrast scenes, take several exposures and blend them. See bracketing.
Visiting fragile places with care
Rock formations can look indestructible, but many are fragile, and the land around them often more so.
- Stay on trails and durable surfaces such as rock and gravel. Fragile desert soils take decades to recover.
- Do not climb on arches or delicate formations, and follow local rules.
- Watch your footing on steep or loose rock, and stay away from cliff edges.
- Carry water and protection from sun in desert areas. The guide to hot weather photography covers heat safety.
- Leave no trace. Carry out everything you bring in.
Exploring the dry country where many formations stand? The guide to desert photography covers light, heat and safety.
Editing rock photos
Rock is one of the easiest subjects to overdo in editing. Warm sandstone can turn radioactive orange with only a little extra saturation, and heavy clarity makes every crack look harsh.
- Set white balance first. Warm light on red rock is beautiful, but an overall orange cast hides the real variety of color. Adjust until shadows look neutral or slightly cool. See white balance.
- Adjust colors one at a time. Lower the saturation of oranges and reds a little if they look too strong, and keep blue skies natural.
- Bring out texture locally. Add texture or clarity only to the rock, not the sky, so clouds stay soft.
- Recover highlights. Sunlit rock against a bright sky can lose detail. Lower highlights and use a graduated adjustment on the sky.
- Try black and white. Formations with strong shapes and textures often make striking monochrome images. See black and white photography.
Want to learn when to adjust the whole picture and when to adjust just part of it? The guide to global and local adjustments explains both.
Common mistakes
- Flat midday light. Fix: return at golden hour or when side light falls on the rock.
- No sense of scale. Fix: include a person, tree or road.
- Overlapping shapes. The formation merges with rocks behind it. Fix: move until its outline is clear against the sky.
- Oversaturated color. Fix: keep reds and oranges natural in editing.
- Leaving the trail. Fix: stay on durable surfaces to protect fragile soil.
- Only wide views. Fix: add close-ups of texture and layers.
Try this: a 10-minute rock study
- Minutes 1 to 2: Walk around a rock or boulder and pick its best side.
- Minutes 3 to 4: Make a picture showing its whole shape against the sky.
- Minutes 5 to 6: Add something for scale.
- Minutes 7 to 8: Move close and photograph its texture in side light.
- Minutes 9 to 10: Find a foreground and make a wider picture leading to it.
Frequently asked questions
What is the best time to photograph rock formations?
Golden hour, when low sun deepens color and shows shape. Overcast days suit texture and detail.
How do I show how big a rock formation is?
Include a person, tree or vehicle for comparison, or use a longer lens from a distance.
What lens is best for rock formations?
A wide lens for close, dramatic views and a telephoto lens for isolating formations and compressing scale.
Can I photograph rock formations with a phone?
Yes. Use the wide lens up close, tap to expose for bright skies and try the zoom for distant formations.
How do I photograph the glow inside a canyon or arch?
Look for places where direct sun hits one rock wall and bounces onto a shaded wall nearby. Expose for the glowing area, keep the bright sunlit rock out of the frame and use a tripod, because the light is often dim.
How do I make a famous formation look different?
Visit at an unusual time, such as blue hour, after rain or in winter snow. Walk away from the main viewpoint, try a longer lens to isolate a detail or include a foreground others overlook.
Is it safe to photograph rock formations alone?
Short, busy trails are usually fine, but remote areas carry risks of heat, getting lost and falls. Tell someone your plans, carry water and a map and turn back if conditions change.
For terms such as texture, scale, bracketing and lens compression, see the photography glossary.