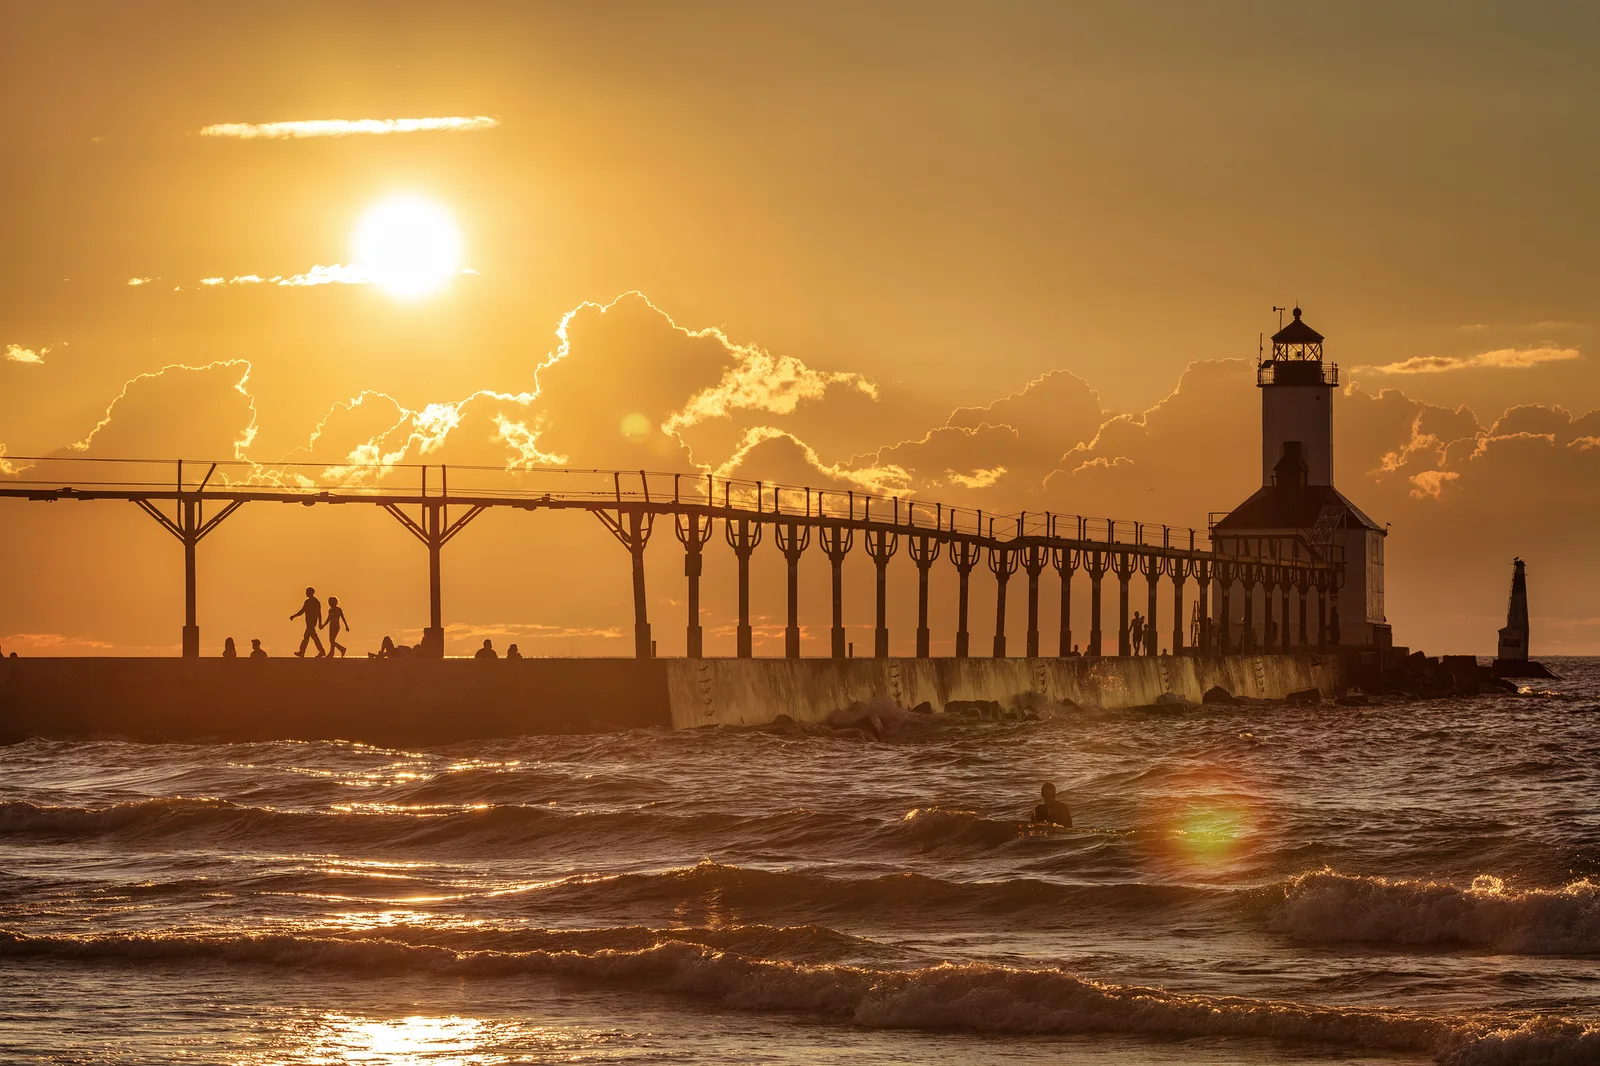
Piers are made for photographers. A long wooden walkway stretching into the sea, a stone jetty leading to a lighthouse, a simple dock on a quiet lake or a grand amusement pier glowing at dusk all offer strong lines, open water and wide skies. Piers connect land and water, and they invite the eye to follow them out toward the horizon. Few subjects give beginners such reliable compositions in so many kinds of light.
This beginner guide covers why piers are rewarding subjects, kinds of piers, leading lines and symmetry, sunrise and sunset, silhouettes, long exposures, views from beneath, fog and moody weather, piers at night, people and life on the pier, waves and storms, settings, phones, editing, safety, common mistakes and a short practice exercise. It pairs well with the guides to seascape photography and lake photography.
Why piers are rewarding subjects
- Built in leading lines. Rails, boards and pilings draw the eye toward the horizon.
- Simplicity. A pier, water and sky make clean, uncluttered pictures.
- Light. Open views to the east and west catch sunrise and sunset.
- Atmosphere. Fog, storms and calm all change the mood dramatically.
- Life. Anglers, walkers, gulls and boats add story and scale.
A pier can be photographed again and again, and it will look different every time. That makes it a perfect local subject to return to through the seasons.
Kinds of piers
- Wooden piers. Long boardwalks on tall pilings, often with lamps and railings.
- Stone jetties and breakwaters. Solid walls of rock or concrete, often ending at a light.
- Lighthouse piers. Piers with a light at the end and sometimes an elevated catwalk.
- Pleasure piers. Piers with rides, shops and restaurants, bright at night.
- Fishing piers. Simple structures lined with anglers at dawn.
- Lake docks. Small wooden docks reaching into still lakes.
- Ruined piers. Old pilings standing alone in the water.
Each type suits a different approach. A long wooden pier invites a symmetrical view down its length, while a lake dock suits a calm, minimal picture and ruined pilings suit long exposures.
Seeing a pier in a fresh way
Famous piers have been photographed countless times, so it is worth looking for a personal view. Walk the full length and back, then along the beach on both sides. Look down at the boards, up at the lamps and through gaps in the railings. Notice small things: a coil of rope, a bench worn smooth, chipped paint on a post, a sign about fishing rules, a gull standing on one leg. Then think about the big picture: how the pier sits between town and sea, how it looks from far away and how its mood changes with the weather. Mixing wide and close views gives a set of pictures that feels complete and personal.
Leading lines and symmetry
- Center view. Stand in the middle of the pier and let the boards and rails converge toward the end.
- Low angle. Lower the camera close to the boards to exaggerate the lines.
- Off center. Shoot from the beach so the pier runs diagonally across the frame.
- Vanishing point. Place the end of the pier on a third line or at the center.
- Level horizon. Keep the horizon straight, especially in symmetrical views.
The guides to leading lines and vanishing points explain how converging lines guide the eye.
Foreground on the beach
When photographing a pier from the shore, the beach gives you plenty of foreground interest. Ripples in the sand, rocks, shells, seaweed, footprints and tide pools can all lead the eye toward the pier. Get low and close to the foreground with a wide lens, then let the pier stretch out behind. Wet sand left by a retreating wave mirrors the pier and sky, especially at sunrise and sunset. Time your shot as the water spreads smoothly, and watch your feet as the next wave arrives. The guide to beach photography has more ideas for working with sand and surf.
Sunrise and sunset
- Check the direction. Piers facing east suit sunrise, those facing west suit sunset.
- Arrive early. Color often peaks before sunrise and after sunset.
- Expose for the sky. Keep highlights in the sun and clouds.
- Sun stars. Use f/16 and catch the sun partly hidden behind a post or lamp.
- Reflections. Wet sand and calm water double the color.
The guides to sunset photography and sunrise photography cover planning and exposure.
Planning with sun and tide apps
A little planning goes a long way with piers. Sun planning apps show exactly where the sun will rise and set relative to the pier on any date, so you can find the days when the sun lines up with the end of the pier or sits beside a lighthouse. Tide tables tell you when the beach beneath is exposed for views under the pilings and when wet sand will give reflections. Weather apps show cloud cover, which often makes the most colorful skies when it is high and broken. The guide to planning with sun, moon and tides explains these tools.
Silhouettes
Piers make outstanding silhouettes because of their strong outlines.
- Shoot into the light. Place the pier between you and the bright sky.
- Clean outlines. Make sure lamps, railings and people are separated against the sky.
- Figures. Walkers and anglers in silhouette add story without revealing identities.
- Pilings. Rows of legs make rhythmic patterns against bright water.
See the guide to silhouette photography for exposure tips.
Lenses and focal lengths
A wide lens on the pier itself exaggerates converging lines and makes the walkway seem to rush toward the horizon. A standard lens gives a natural view and works well for symmetrical compositions. A telephoto lens from the beach compresses rows of pilings into dense patterns and stacks the pier against a distant headland or the setting sun. With a long lens from far away, the sun can appear huge behind the end of the pier, a dramatic effect that takes careful planning. The guide to lens compression explains how distance changes the view.
Long exposures
- Smooth water. Exposures of several seconds or longer turn waves into mist around pilings.
- Moving clouds. Very long exposures streak clouds across the sky.
- Tripod. Set up on solid ground, since wooden piers can vibrate as people walk.
- Filters. Neutral density filters allow long exposures in daylight.
- Minimal style. A pier in smooth gray water makes calm, simple art.
The guide to long exposure photography covers filters and timing.
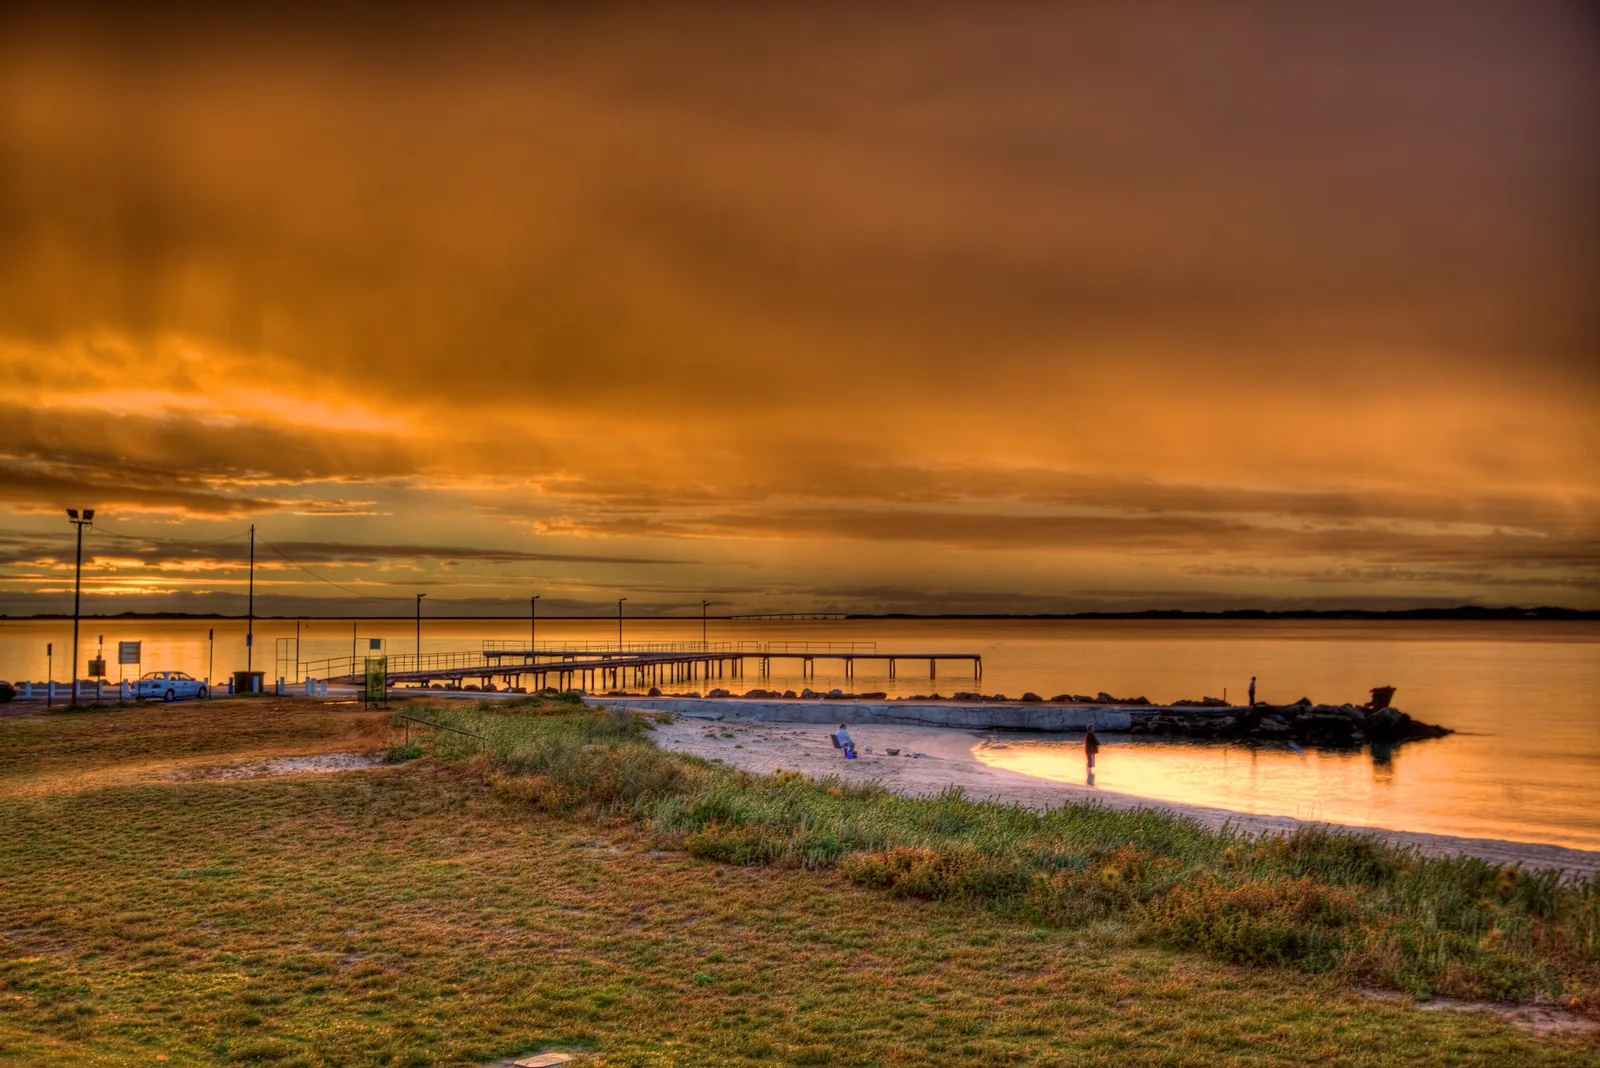
Ruined piers and old pilings
Some of the most beautiful pier pictures show piers that no longer exist. Lines of old wooden pilings standing in the water, the remains of storms or simple old age, look wonderful in long exposures, where smooth water isolates each post. Fog and calm twilight suit these ghostly structures. Iron skeletons of burned or collapsed piers also have a haunting quality. These remains are often fragile and unsafe, so photograph them from the shore and never climb on them.
Views from beneath and beside
- Under the pier. Rows of pilings create tunnels, symmetry and patterns of light.
- Beside the pier. From the beach, the full length of the pier stretches across the frame.
- From the end. Looking back toward land shows the shoreline and town.
- From above. High bluffs and buildings reveal the shape of the pier.
Under pier views work best at low tide and in soft light, when bright openings between pilings frame the sea. Watch the tide and stay safe.
Docks on quiet lakes
Small docks on lakes are among the most peaceful subjects in photography. On calm mornings, mist rises from the water and the dock leads toward a mirror of trees and sky. Shoot from the shore so the dock runs into the frame, or stand at the base and look down its length. A canoe tied alongside, a pair of chairs or a ladder into the water adds a human touch. These quiet scenes suit square crops, soft colors and minimal compositions.
Fog and moody weather
- Fog. A pier fading into mist is a classic minimal picture. See the guide to fog photography.
- Overcast. Soft gray light suits black and white and quiet moods.
- Rain. Wet boards shine and reflect lamps.
- Snow. A snowy dock on a frozen lake is calm and graphic.
Bad weather often makes the best pier pictures, as long as you stay safe from high waves.
Seasons on the pier
Piers change with the seasons. Summer brings crowds, color and activity, with families, ice cream and bright umbrellas. Autumn storms bring dramatic skies and big waves. Winter can coat railings with ice and turn lake docks into snowy lines across frozen water. Spring brings soft light and returning seabirds. Visiting the same pier through the year makes an excellent long term project and teaches you how light and weather change a place.
Piers at night
- Blue hour. Lamps glow against a deep blue sky soon after sunset. See the guide to blue hour photography.
- Pleasure piers. Rides and lights reflect in the water.
- Stars. Rural piers and docks make strong foregrounds for the night sky.
- Light trails. Boats moving past leave streaks in long exposures.
Drawn to lights at the end of the pier? The guide to lighthouse photography covers beacons, beams and coastal light.
People, life and waves
- Anglers. Lines of fishing rods at dawn make lovely scenes from behind.
- Walkers. A single figure at the end of the pier shows scale and solitude.
- Gulls and pelicans. Birds perch on posts and railings.
- Surfers. Piers are popular surf spots, giving action from above.
- Storm waves. Waves crashing over breakwaters are dramatic, but only from a safe distance.
Respect people’s privacy. Silhouettes and views from behind keep the focus on the scene. The guide to surf photography covers waves and surfers.
Telling the story of a pier
Many piers are part of a town’s history, built for steamships, fishing fleets or seaside holidays. Some have survived fires and storms and been rebuilt several times. A series that shows the pier through a full day, from anglers at dawn to families at midday and lights at night, tells a rich story of how people use it. Old postcards and local museums can inspire pictures that echo the past. Shared together, these pictures become a portrait of a place.
Settings, phones and editing
- Aperture. f/8 to f/11 for sharpness, f/16 for sun stars.
- ISO. Low on a tripod.
- Shutter. Fast for waves and people, long for smooth water.
- Lenses. A wide lens on the pier, a telephoto from the beach to compress pilings.
Using a phone
Turn on the grid for straight horizons and centered lines. Tap on the bright sky and lower exposure for silhouettes. Night mode works well for lit piers at dusk, and some phones offer long exposure modes for smooth water.
Editing pier photos
Straighten the horizon first. Lower highlights to keep sunset color, lift shadows gently on boards and pilings, and add a little contrast. Black and white suits fog, long exposures and pilings. See the guide to black and white photography.
Black and white and minimal piers
Piers are natural subjects for minimal photography. A thin line of boards reaching into an empty expanse of gray water and pale sky can be deeply calming. Long exposures, fog and overcast days remove distractions, and black and white strips the scene to line and tone. Place the pier low or off center and leave plenty of empty space. The guide to minimalist photography explores this quiet style.
Safety
- Waves. Never walk on breakwaters or piers during storms or high surf.
- Slippery surfaces. Wet boards and algae on concrete are slick.
- Edges. Watch your step when looking through the viewfinder.
- Tides. Check tides before going under piers.
- Rules. Some piers close at night or ban tripods, so check signs.
Details worth noticing
Close details tell the story of a pier as well as wide views. Look for weathered boards with rusted nails, rope tied around a cleat, barnacles on pilings, peeling paint on railings, old lamps, lifebuoys, bait buckets and benches with memorial plaques. Photograph them in soft light to show texture and color. A small set of details alongside a wide view makes a satisfying gallery. The guide to texture has more ideas.
Common mistakes
- Crooked horizons. Level the camera carefully.
- Off center symmetry. Stand exactly in the middle for symmetrical views.
- Blown out skies. Expose for the brightest part.
- Shaky long exposures. Avoid vibrating boards or wait for walkers to pass.
- Midday only. Return at sunrise, sunset or in fog.
- Ignoring waves. Stay off breakwaters in rough seas.
Try this: a 10-minute pier study
Visit a pier, jetty or dock and make five pictures in ten minutes.
- A centered view down the length of the pier.
- A view from the beach with the pier crossing the frame.
- A silhouette of the pier against the bright sky.
- A detail of pilings, rope, a lamp or a bench.
- A picture with a person or bird for scale.
Frequently asked questions
What is the best time to photograph a pier?
Sunrise or sunset, depending on which way the pier faces, plus blue hour.
How do I make the water smooth around a pier?
Use a tripod on solid ground and a shutter speed of several seconds.
How do I photograph a pier symmetrically?
Stand exactly in the center, keep the camera level and use the grid.
Is it safe to photograph from a jetty in waves?
No. Stay off breakwaters in rough seas and photograph from a safe distance.
Can I use a tripod on a pier?
Usually, but wooden piers vibrate when people walk. Wait for still moments or set up on solid ground.
Love the harbor scene too? The guide to boat and harbor photography covers boats, docks and working waterfronts.
For terms such as leading lines, long exposure and silhouette, see the photography glossary.