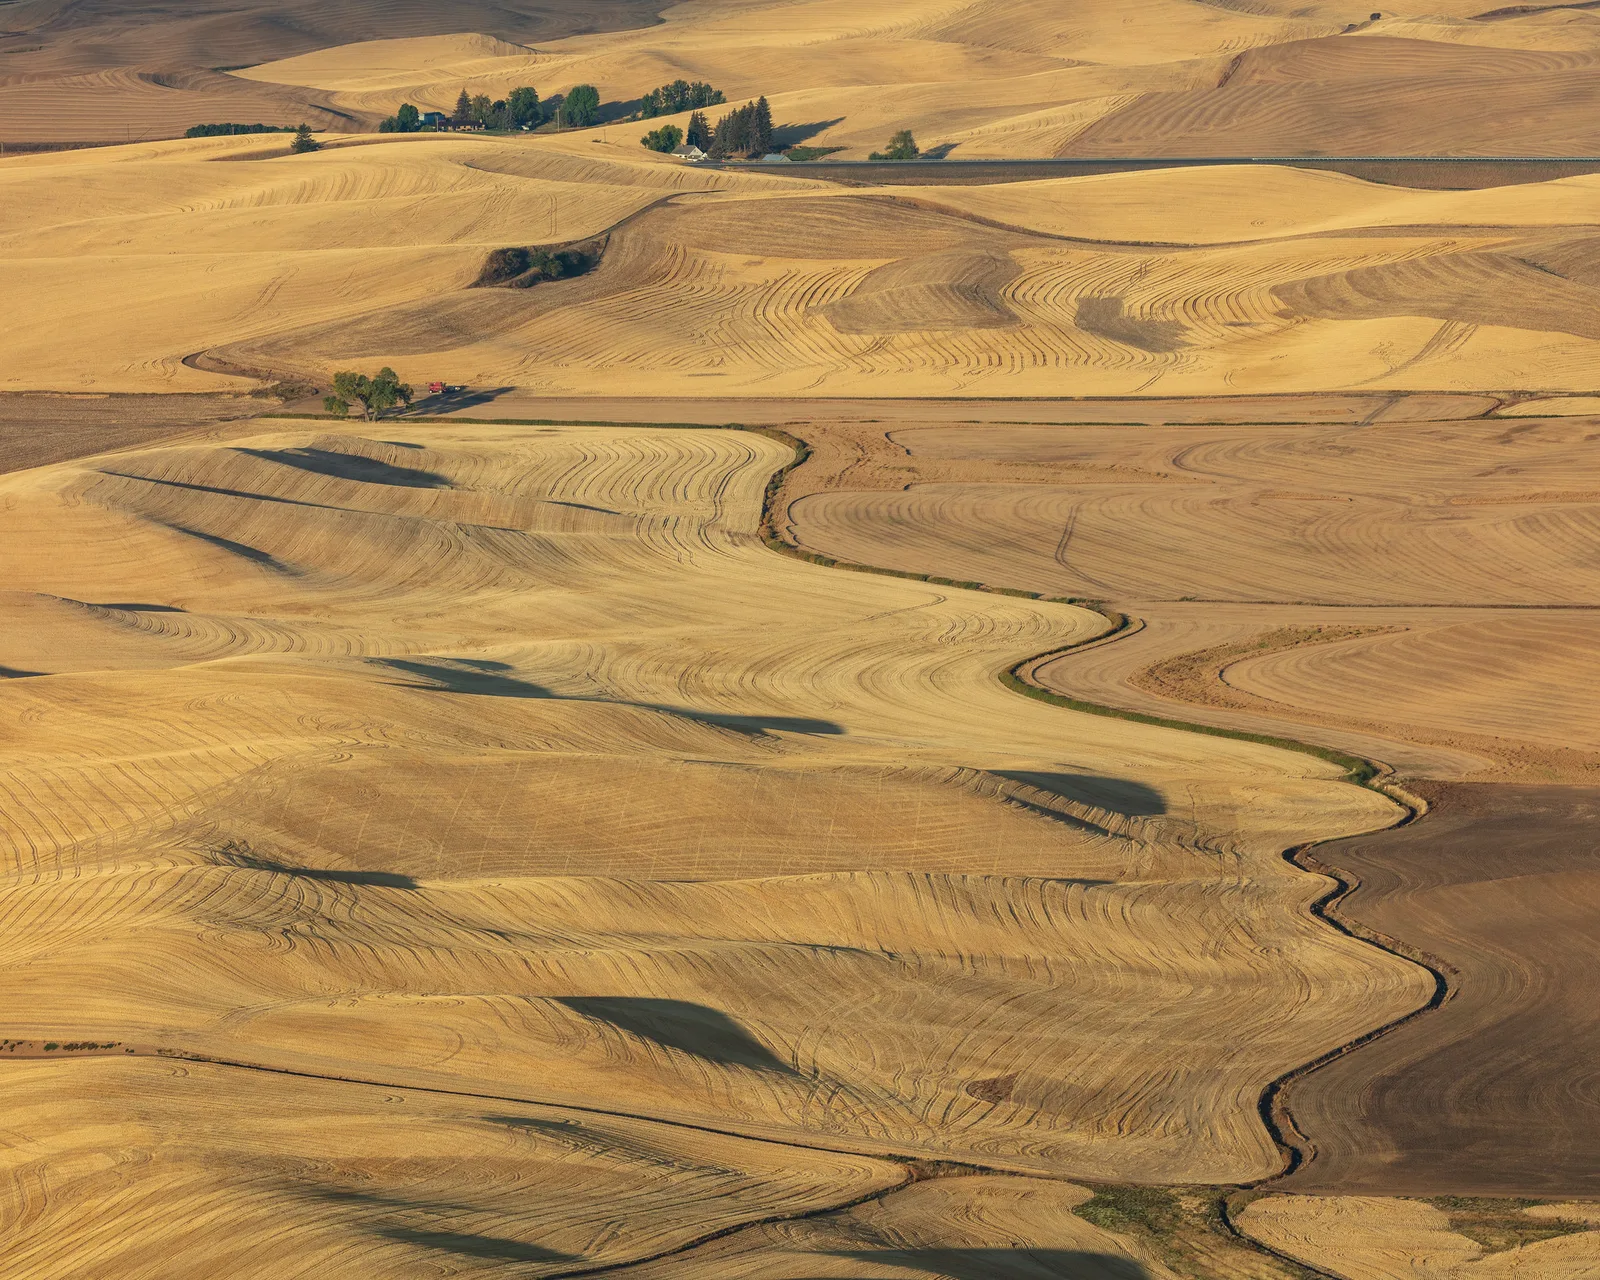
Rolling hills are among the gentlest and most beautiful landscapes to photograph. Smooth curves of grass, wheat and earth rise and fall in waves, catching light on one side and holding shadow on the other. In the right light, a field of hills looks like folded velvet or ocean swells frozen in place. Hilly farm country, green pastures, vineyards and downs all reward patient photographers with endless patterns of line, color and texture.
This beginner guide covers why hills are rewarding, where to find good views, side light and timing, using a long lens, curves and lines, patterns in farmland, adding a point of interest, seasons, mist and weather, sunsets and sun stars, aerial views, settings, phones, editing, common mistakes and a short practice exercise. It pairs well with the guides to landscape photography and rural photography.
Why rolling hills are rewarding
- Curves. Soft, flowing lines feel calm and graceful.
- Light and shadow. Every rise catches light and every hollow holds shade, creating depth.
- Patterns. Crops, harvest lines, fences and tracks repeat across the land.
- Color. Green spring growth, gold summer grain and brown autumn soil change the scene through the year.
- Calm. Hill country pictures feel peaceful and timeless.
Unlike dramatic mountains, hills reward subtle seeing. The difference between an ordinary snapshot and a beautiful picture is often just the angle of the light and the choice of a small section of the view.
Seeing shapes rather than places
When you first look out over hills, it is tempting to photograph everything at once. Instead, squint and look for shapes: a single curve, an S shaped line where two fields meet, a row of shadows, a lone tree on a crest. Treat the land as a set of shapes and lines rather than a view of a place. This way of seeing turns gentle countryside into strong, graphic pictures. The guide to abstract photography explores this approach further.
Kinds of hill country
- Grain country. Wheat and barley hills turn from green to gold and are carved by harvest lines.
- Pasture. Green grazing land with stone walls, hedges and animals.
- Vineyards. Rows of vines follow the slopes in neat lines.
- Downs and moors. Open grassy hills with few trees and wide skies.
- Foothills. Gentle hills at the base of mountains, often with peaks behind.
- Dry hills. Golden grass and oak trees in warm, dry regions.
Each kind has its own season of peak beauty. Grain hills often look best in early summer and at harvest, pastures in spring, vineyards in autumn and dry hills in the green weeks after winter rain.
Where to find good views
- High points. Lookouts, buttes and tall hills give views over layers of land below.
- Back roads. Quiet country roads wind through hills and reveal fresh views at every bend.
- Public trails. Footpaths and parks give access without crossing private land.
- Edges of valleys. Looking across a valley shows hills stacking toward the horizon.
Respect private farmland. Stay on roads and public paths, park safely off the road and never walk into crops. Many famous hilly farming regions have public viewpoints and maps for photographers. The guide to location scouting helps with planning.
Planning a hill country trip
Hill country rewards slow travel. Rather than racing between famous viewpoints, choose a small area and explore it thoroughly by car, bicycle or on foot. Drive the same loop at sunrise and sunset, noting which hills catch the light at each time. A topographic map shows where the land rises, and a sun app shows where the sun will rise and set. Keep a list of favorite spots with notes such as “best at sunrise” or “barn on ridge” so you can return when conditions are right. The guide to road trip photography has more ideas for photographing from the road.
Side light and timing
Light is everything in hill photography.
- Low sun. Early morning and late afternoon light skims across hills and fills hollows with shadow, revealing every curve.
- Side light. Light coming from one side creates the strongest sense of shape. See the guide to direction of light.
- Midday. High sun flattens hills, so use these hours for scouting.
- Golden hour. Warm light makes grain and grass glow. See the guide to golden hour photography.
- Passing clouds. Cloud shadows moving across hills create spotlights and patterns.
Arrive before the best light and watch shadows lengthen. The same view can change dramatically in just fifteen minutes as the sun drops.
Using a long lens
A telephoto lens is one of the best tools for rolling hills.
- Compression. A long lens stacks distant hills into layers. See the guide to lens compression.
- Isolation. Pick out a single curve or pattern from a wide view.
- Simplicity. Remove distracting roads, buildings and sky.
- Detail. Show harvest lines, lone trees and fence posts clearly.
Wide lenses can make hills look small and flat unless there is strong foreground interest. Try both, but expect the long lens to give more of your favorite pictures.
Working with layers
Layers are the secret to depth in hill photography. When hills stack one behind another, each layer appears a little lighter and softer because of the air between them. This effect, called atmospheric perspective, is strongest in haze, mist and backlight. Shoot toward the light in the early morning or evening and watch the hills fade into pale bands. A long lens strengthens the effect by stacking the layers close together. Keep the composition simple and let the gradual change in tone carry the picture. The guide to depth in photography explains more.
Curves and lines
- S curves. Field edges and roads that wind gently through the frame lead the eye.
- Diagonals. Hill slopes crossing the frame add energy.
- Ridgelines. The top edges of hills make clean lines against the sky or other hills.
- Tracks. Tractor tracks and harvest lines follow the contours.
- Fences and hedges. They divide hills into patchwork shapes.
The guide to leading lines explains how lines guide the viewer through a picture.
Patterns in farmland
Farmed hills create some of the most striking patterns in landscape photography.
- Crop rows. Rows follow the slope and curve with the land.
- Harvest lines. Combines leave swirling marks in stubble.
- Patchwork fields. Different crops create blocks of color.
- Hay bales. Round bales scattered across hills add rhythm.
- Plowed soil. Fresh furrows show strong texture in low light.
Fill the frame with pattern and leave out the sky for a graphic, abstract look. The guide to patterns and repetition has more ideas.
Wind and movement
Wind ripples through tall grass and grain like waves on water. To show this, try a slower shutter speed, around 1/4 to 1 second, on a tripod, so moving grain blurs while hills stay sharp. Alternatively, a fast shutter freezes ripples as patterns. Watch for gusts and shoot as the wave passes. On windy days, cloud shadows race across hills, creating a constantly changing pattern of light and shade. Patience pays off, so stay put and wait for the light to fall on the right spot.
Adding a point of interest
- Lone trees. A single tree on a crest gives the eye somewhere to rest.
- Barns and farmhouses. Buildings show scale and human presence. See the guide to barn photography.
- Roads. A winding road shows how people move through the land.
- Animals. Grazing sheep, cattle or horses add life.
- People. A small figure walking a ridge shows scale.
Place the point of interest where curves lead. Keeping it small often makes the hills feel even larger.
Foreground and framing
Wide views of hills need something close to the lens to anchor the picture. Look for rocks, wildflowers, a fence post, a gate, a clump of tall grass or the edge of a field. Get low and close to the foreground so it fills the bottom of the frame, then let the hills roll away behind. Overhanging branches or a gap in a hedge can frame a distant view. Keep the foreground simple so it supports the hills rather than competing with them. Focus about a third of the way into the scene, or use focus stacking for very close foregrounds, so everything looks sharp.
Horizon placement matters too. When the sky is plain, place the horizon high or leave it out entirely and fill the frame with land. When dramatic clouds fill the sky, lower the horizon to give them room. The guide to the horizon in photography explains these choices.
Seasons, mist and weather
- Spring. Fresh green growth and wildflowers. See the guide to spring photography.
- Summer. Gold grain and dry grass ripple in the wind.
- Harvest. Stubble, bales and machine lines create fresh patterns.
- Winter. Snow simplifies hills into pure curves and shadows.
- Mist. Morning fog fills valleys, leaving hilltops floating. See the guide to fog photography.
- Storms. Dark skies above sunlit hills create drama.
Returning to the same view in different seasons makes a lovely long term project.
Sunsets, sun stars and aerial views
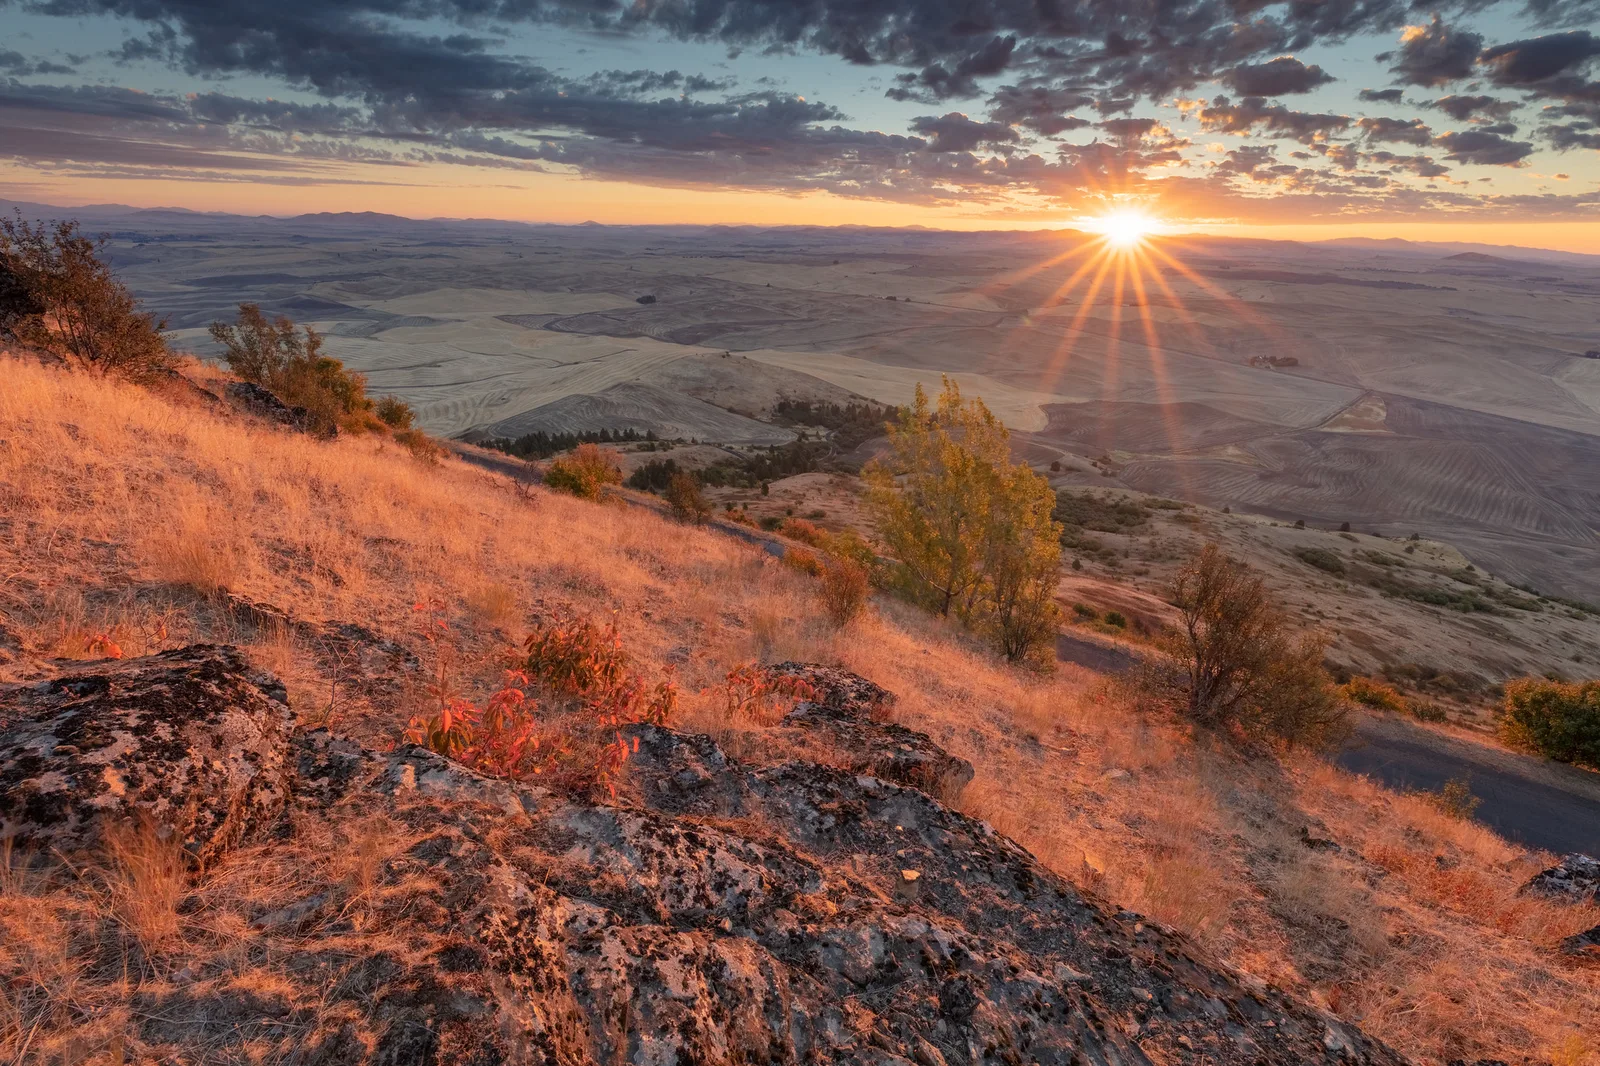
- Sun stars. A small aperture such as f/16 turns the sun into a star as it touches the horizon.
- Backlit grass. Grass and grain glow when the sun is behind them.
- Silhouettes. Hills in layers turn dark against a colorful sky.
- From above. Drones and small planes reveal patterns invisible from the ground. Check local rules first. See the guide to drone photography.
Love wide open farm country? The guide to prairie photography covers big skies, grasslands and storms.
Telling the story of hill country
Rolling hills are not only shapes and light. They are places where people live and work. A farmer on a tractor at harvest, a small church in a valley, a grain elevator on the edge of town or a winding fence built generations ago all tell part of the story. Including signs of life alongside pure landscapes gives a set of pictures more meaning. Combine wide views, close details such as wheat heads or fence posts, and pictures of daily life to show what makes the region special.
Consider making a small series of the same hills through a single day, from blue predawn light to sunrise, midday, golden hour and dusk. Displayed together, these pictures show how much light changes a landscape and make a beautiful sequence. The guide to sense of place photography has more ideas for showing the character of a region.
Settings and gear
- Aperture. f/8 to f/11 for front to back sharpness.
- ISO. Low for the cleanest detail.
- Tripod. Helps in low light and keeps compositions precise.
- Lenses. A telephoto for layers and patterns, a standard or wide lens for views with foreground.
- Polarizer. Deepens skies and reduces glare on green grass.
Using a phone
Use the telephoto lens on your phone to isolate curves and patterns. Tap on a bright area and lower exposure slightly to keep highlights. Panorama mode captures wide views of hills, though simple, cropped compositions often look stronger. Shoot at the edges of the day for side light.
Editing rolling hills
Add gentle contrast to strengthen light and shadow on the curves. Use a graduated adjustment to balance a bright sky. Warm white balance suits golden fields, while cooler tones suit misty mornings. Clarity can bring out texture in grain and soil, though too much looks harsh. Try black and white for strong shapes.
Making prints of rolling hills
Hill pictures often look their best large, where fine textures of grain and soft gradations of light can be seen clearly. Panoramic crops suit wide stretches of hills, while square or vertical crops suit single curves and patterns. When preparing a print, check that shadows in the hollows still hold detail and that greens and golds look natural rather than saturated. A matte paper suits soft, misty scenes, while a gloss or luster paper suits bright, colorful summer hills.
Black and white hills
Rolling hills make superb black and white pictures because their beauty lies in shape, line and tone. Without color, the eye follows curves and shadows more closely. Choose scenes with strong side light and clear separation between bright crests and dark hollows. In editing, adjust individual color channels to control tone: darkening blues deepens the sky, while brightening yellows lifts golden grain. Misty mornings in black and white can look like delicate charcoal drawings.
Common mistakes
- Flat midday light. Shoot early or late for shadows.
- Too wide. Use a long lens to pick out curves.
- No focal point. Add a tree, barn or road.
- Crooked horizons. Level the camera on distant horizons.
- Trespassing. Stay on roads and public land.
- Oversaturated greens. Keep colors natural.
Try this: a 10-minute hills study
At a viewpoint over hills in late afternoon, make five pictures in ten minutes.
- A wide view with foreground interest.
- A telephoto view of layered hills.
- A close crop of one curve or pattern, with no sky.
- A picture with a lone tree, barn or road as the focal point.
- A view toward the sun with a sun star or backlit grass.
Frequently asked questions
What time of day is best for photographing hills?
Early morning and late afternoon, when low side light fills hollows with shadow.
What lens is best for rolling hills?
A telephoto lens to compress layers and isolate curves and patterns.
How do I make hills look less flat?
Shoot in side light, use a long lens and include shadows.
Can I photograph farmland?
Yes, from roads and public paths. Ask permission before entering private fields.
Do I need a drone to photograph farmland patterns?
No. A high viewpoint and a long lens reveal most patterns from the ground.
How do I photograph hills in mist?
Arrive before sunrise on a calm, cool morning, find a high spot above a valley and expose for the bright mist.
Want to try other gentle landscapes? The guide to mountain photography covers peaks, ridges and alpine light.
For terms such as compression, side light and sun stars, see the photography glossary.