Forest photography is hard because a forest is visual chaos: hundreds of trunks, branches and leaves at every distance, all competing for attention, under light that is either too dim or broken into harsh patches. The fix is to shoot in soft or atmospheric light (overcast, fog, mist, the hour after rain) and to find order inside the chaos by isolating one subject, simplifying the frame and using the natural repetition of trunks. Get those two things right and the woods become one of the most rewarding places to photograph.
Why the woods defeat most first attempts
Stand in a forest and your brain edits constantly: it picks out the mossy log you care about and ignores the dead branches crossing it. The camera records every twig with equal weight, so a peaceful scene comes back as a tangle of lines with no place for the eye to rest.
Three problems cause almost every disappointing forest photo:
- No subject. “Trees” is not a subject. A single leaning trunk, a line of pale birches, a patch of ferns catching light: those are subjects.
- Clutter at the edges and in front. Branches poking into the frame, bright sky gaps at the top and random bright leaves pull the eye away from whatever you meant to show.
- Contrast the sensor cannot hold. On a sunny day the forest floor is a patchwork of deep shade and hot spots of direct sun. The difference can be many stops, more than a single exposure can record with detail at both ends, so you get blown white blotches next to black holes. See dynamic range for why this happens.
Everything below solves one of those three problems. The principles of landscape photography still apply, but the forest asks you to work tighter and in weather most people stay home for.
The best light for forests is often the worst weather
Bright sunshine is usually the least useful light in a forest. The canopy breaks it into a dappled mess, and each sunlit leaf becomes a tiny specular highlight. The conditions that work are the ones that reduce contrast or add atmosphere.
Overcast
A thick cloud layer turns the whole sky into a huge soft light source. Shadows fill in, the brightness range of the scene drops to something your camera can record easily, and colors look richer because they are not washed out by glare or hidden in black shade. Overcast is the default good day for forest work, and it lasts all day, not just for an hour at each end. The one rule: keep the white sky out of the frame, because it will be many times brighter than the forest floor and will pull your attention straight to the top of the picture.
Fog and mist
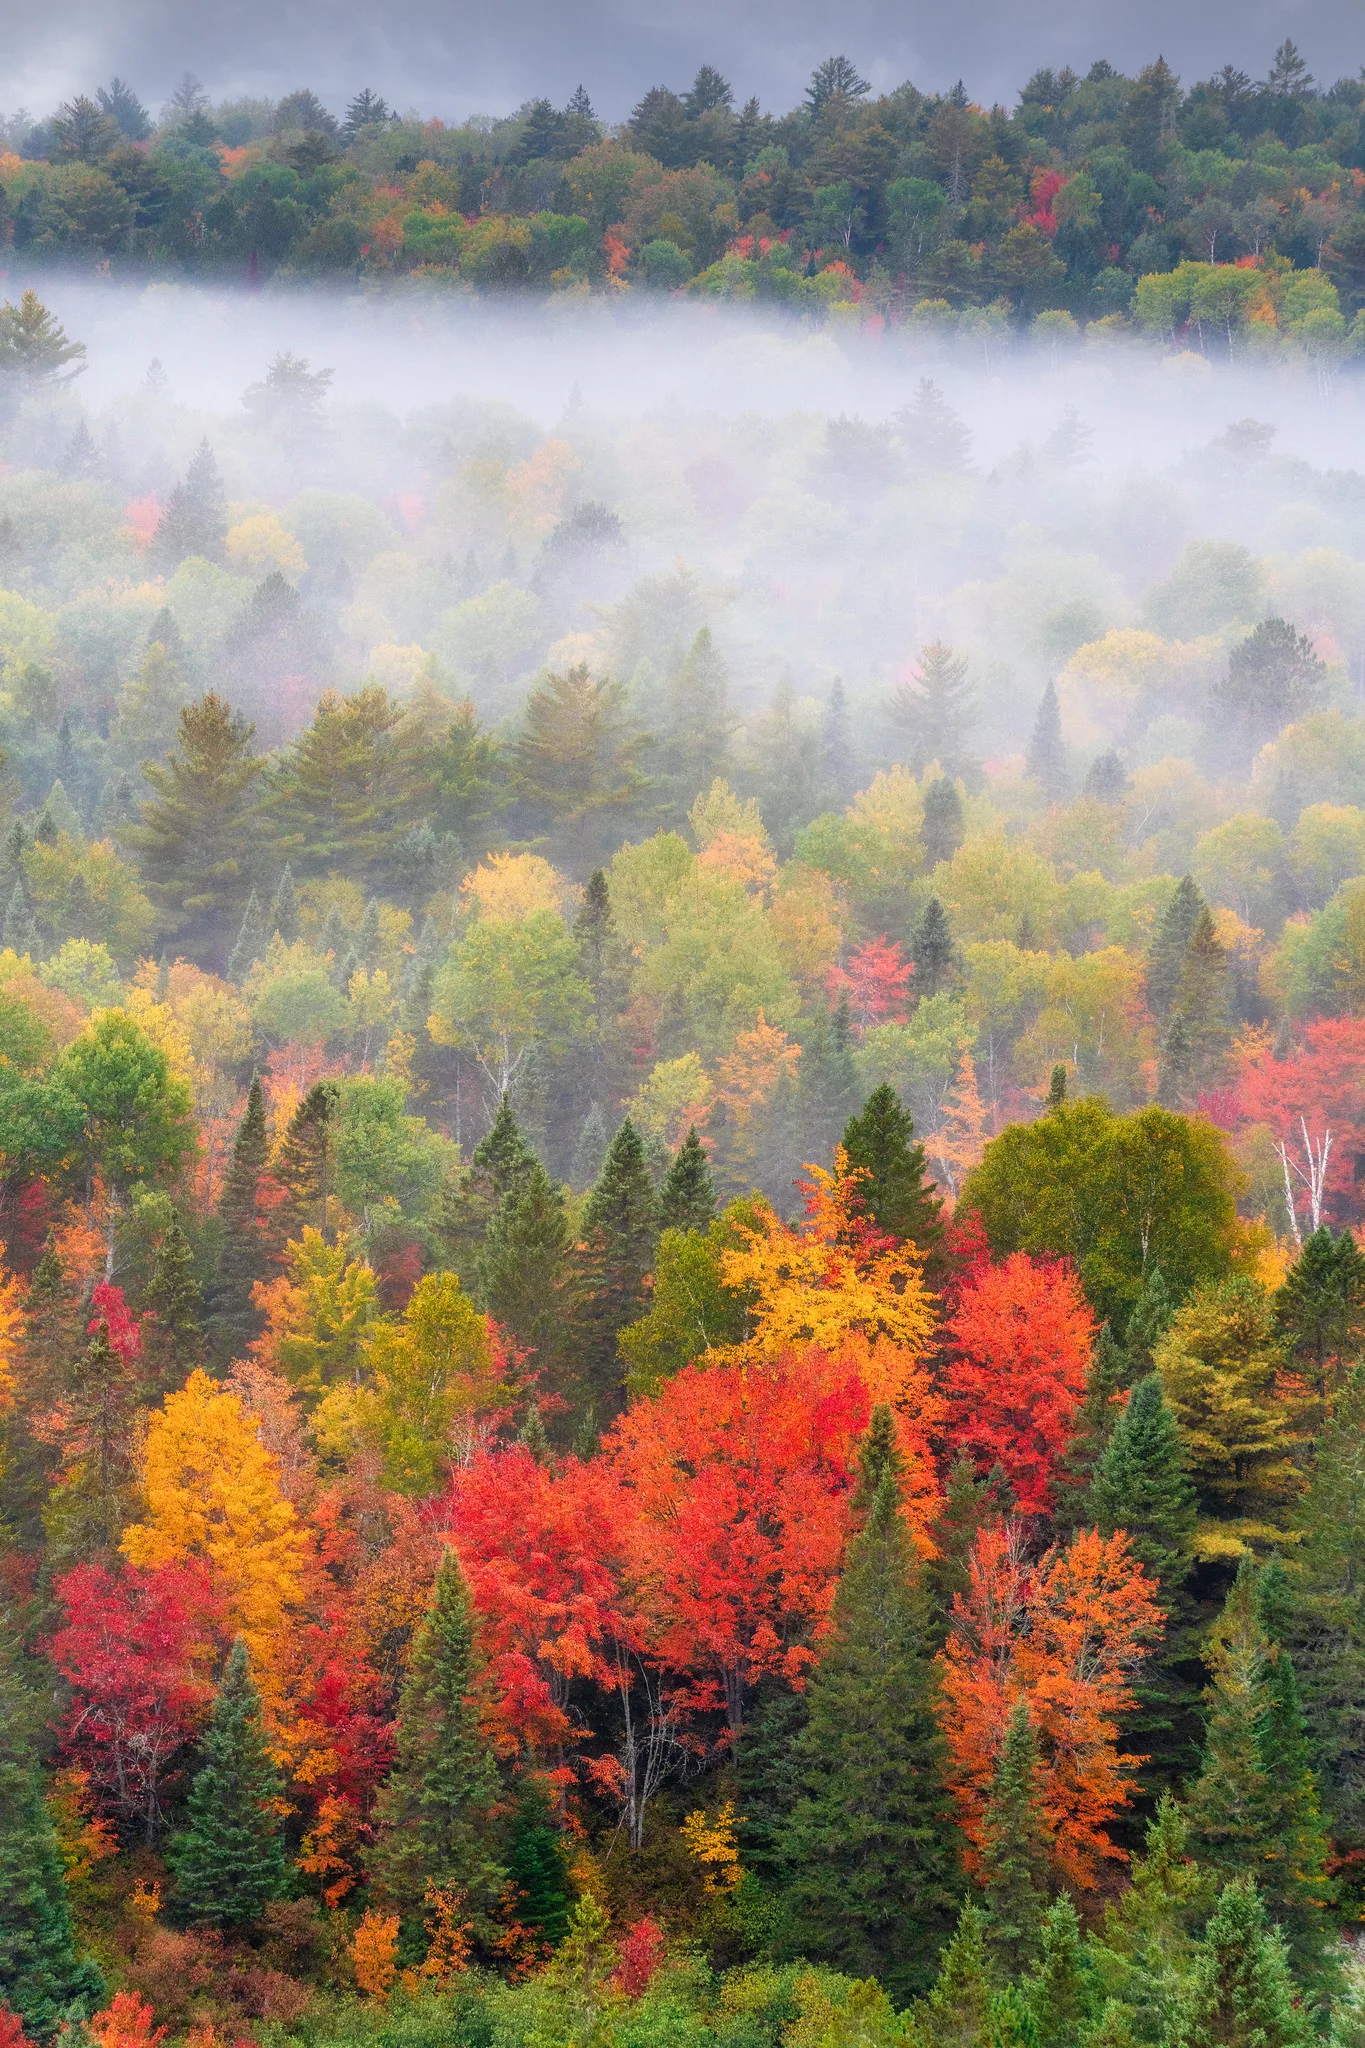
Fog does something no lens or editing tool can: it fades each tree according to its distance. The nearest trunk is dark and crisp, the next row is a little paler, the ones behind are ghosts. That gradient gives a flat tangle of trees real depth and hides the clutter in the background. Fog is most likely on still, clear nights that cool the ground, often near water or in valleys, and it often burns off within a few hours of sunrise, so be in position early.
During and after rain
Rain darkens bark, saturates moss and makes greens look deep and fresh. Light drizzle under a canopy is often perfectly workable with a rain cover on the camera, and the hour after rain stops is even better: the air is clean, leaves drip, and mist often rises from the warm ground. Weather photography covers protecting your gear in wet conditions.
Low sun, used carefully
Early and late in the day, low sun skims between trunks instead of dropping through the canopy in blotches. Backlit leaves glow, and a sun hidden behind a trunk rims it with light. Use sun when it is low and coming toward you through the trees; avoid midday sun falling straight down.
Finding order: isolate, simplify, repeat
The core skill in forest photography is subtraction. Before you raise the camera, ask one question: what exactly is this picture of? Then remove everything that does not help answer it.
Isolate one subject
Look for something that differs from its surroundings: a pale trunk among dark ones, a single red maple in a green stand, a fallen log lit by a gap in the canopy, a leaning tree breaking the vertical rhythm. Difference is what makes a subject stand out. Once you have found it, move until nothing crosses in front of it and the background behind it is darker, lighter or plainer than the subject itself.
Simplify with focal length and framing
A wide-angle lens in a forest pulls in everything: canopy, sky, floor, clutter. A telephoto lens does the opposite. Stand back and zoom in on a section of trunks and the frame fills with a few clean vertical lines, with no sky and no floor. Because you are farther away, the trunks at different distances also appear closer together in size, which flattens the scene into a pattern. This is why so many strong forest images are made at 70mm to 200mm rather than at the wide end. The same idea sits behind simplicity in photography generally: fewer elements, each one deliberate.
Use the repetition of trunks
A forest is full of pattern and repetition: parallel trunks, rows of ferns, layers of branches. Repetition is calming because the eye recognizes the rhythm quickly. Two ways to use it:
- Pure pattern. Fill the frame edge to edge with trunks so the picture becomes a rhythm of verticals. Keep the camera level so the trunks stay parallel instead of leaning inward.
- Pattern plus a break. Find one element that interrupts the rhythm, such as a bent trunk, a different species or a patch of light, and place it where it will be seen first.
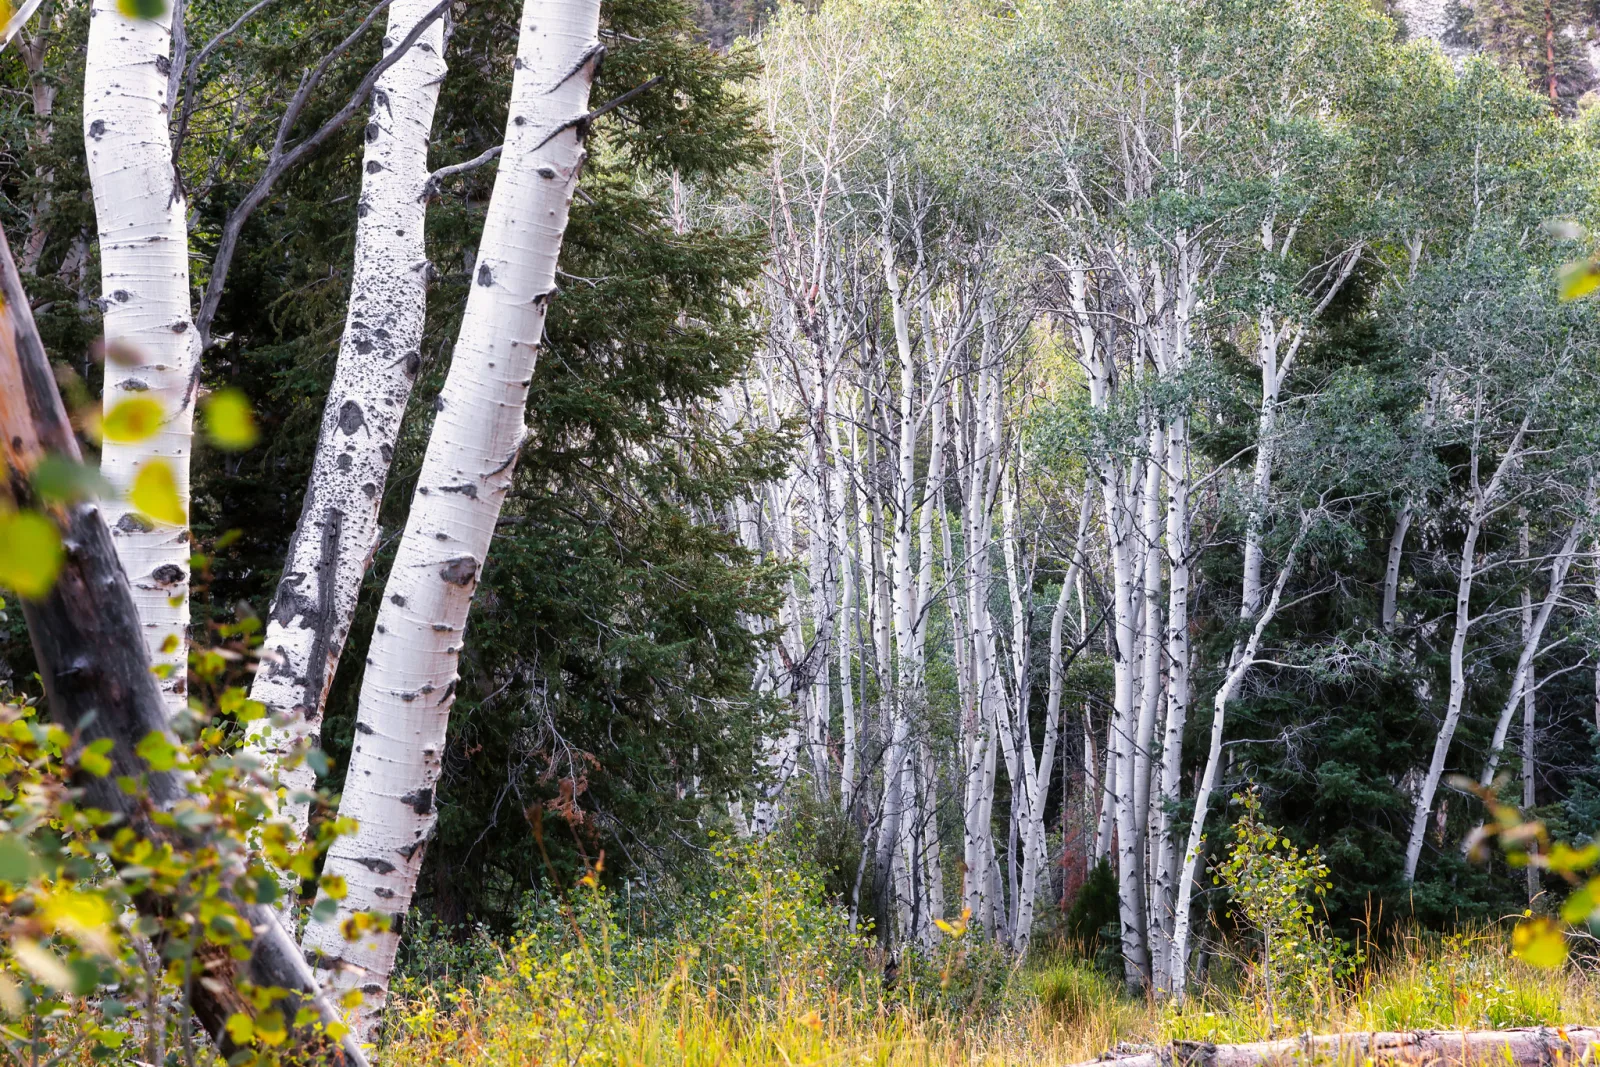
A practical check for all three: before you press the shutter, scan the four edges of the frame. Any bright leaf, half-cut branch or sliver of sky touching an edge drags the eye out. Move a step or change focal length until the edges are quiet.
Fog and light shafts: how to catch sunbeams
Visible sunbeams in a forest are sunlight scattering off something in the air: fog, mist, smoke, dust or rising moisture after rain. Without particles, the beam is invisible and you only see where it lands. That is why sunbeams tend to appear on cool, damp mornings as the sun first clears the trees and starts warming the mist.
- Face toward the light. The beams are brightest when you look roughly toward the sun, because the particles scatter most light forward. With the sun behind you they nearly vanish.
- Hide the sun itself. Put a trunk or dense branches between you and the sun. The beams then fan out from behind the tree instead of a blinding white ball dominating the frame.
- Expose for the beams, not the trees. Let the trunks fall toward silhouette. If you brighten the exposure to show bark detail, the beams wash out. Dial in negative exposure compensation until the rays are distinct against darker gaps.
- Work fast. As the sun climbs and the mist thins, the beams fade. Good beams often last only a short while, so know your composition before they appear.
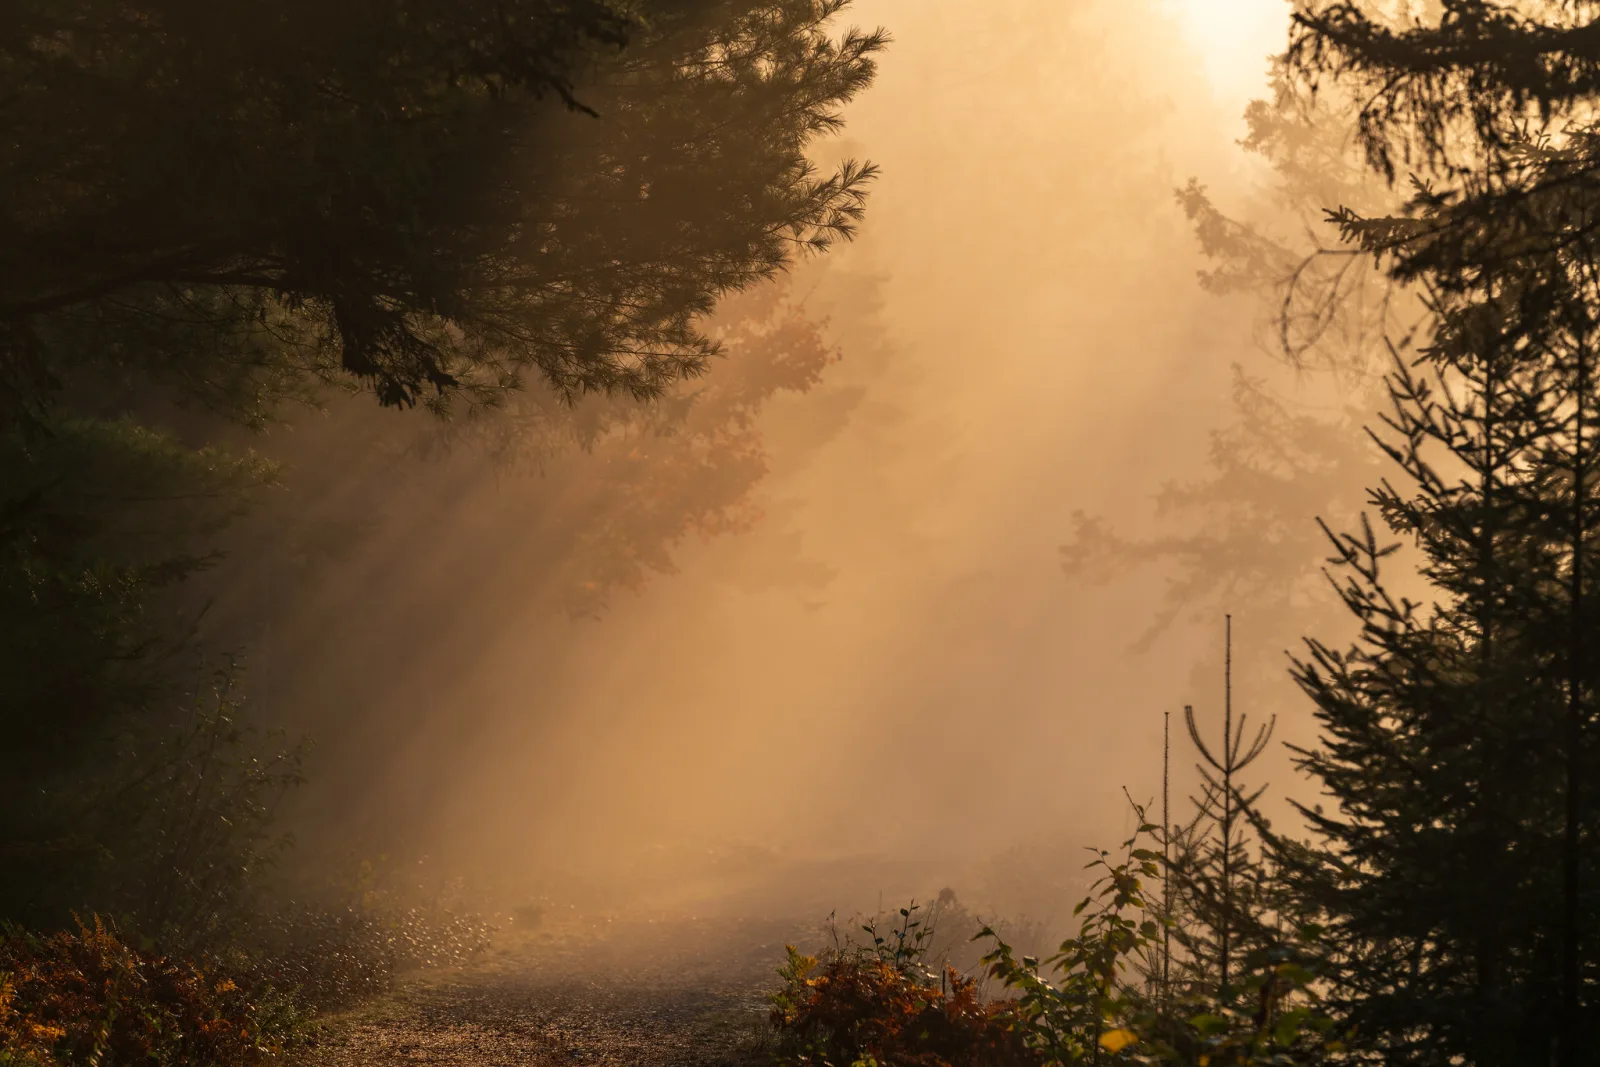
A long lens helps here too: zooming in on the brightest part of the fog concentrates the beams and cuts the clutter around them.
Intimate landscapes and forest details
An intimate landscape is a small section of nature photographed as a complete scene: a few square meters of forest floor, a tangle of roots, a patch of ferns, rather than a grand view. The idea is closely associated with the American photographer Eliot Porter, who spent much of his career showing that quiet, close scenes could carry as much weight as vistas. Forests are ideal for this because the grand view is usually hidden anyway.
Good subjects include wet or peeling bark in raking light (see texture in photography), moss and lichen on a stone, unfurling ferns, fallen leaves on dark wet ground, fungi shot from their own height, and a stream over rocks framed so no sky or bank edge appears.
The same rules apply at small scale: one subject, clean edges, soft light. Shooting straight down onto the forest floor gives flat, graphic compositions; getting low and shooting across it feels more immersive. Try both on the same subject.
Camera settings for dim woods, wind and depth
Forests are dark. Under a closed canopy on an overcast day, light levels can be several stops below open ground nearby, so the settings are a balancing act between depth of field, motion and noise.
- Tripod, still air: f/8 to f/11 at base ISO, and accept whatever shutter speed results. If nothing moves, time costs nothing.
- Tripod, leaves moving: raise ISO until the shutter reaches about 1/125 or faster. A slightly noisier sharp leaf beats a clean blurred one.
- Handheld, overcast: f/5.6 to f/8, a shutter speed of at least 1/focal length, and auto ISO with a sensible ceiling.
- Forest stream: tripod, f/11, roughly half a second to two seconds to smooth the water while rocks stay sharp.
Wind: freeze it, wait it out or use it
Wind is the forest photographer’s constant problem, because a long exposure that is fine for trunks will blur every leaf that moves. You have three choices. Freeze it by raising ISO for a faster shutter speed. Wait it out, because wind often drops for a few seconds between gusts, and it is often calmer around dawn. Or use it: a long exposure of several seconds turns moving foliage into soft, painterly smears around sharp, static trunks, which can look deliberate and beautiful. What looks wrong is slight blur, where leaves are neither sharp nor clearly moving.
Depth of field and focus stacking
Forest compositions often put a fern or mossy stone very close to the lens with trees receding behind it. Even at f/11 or f/16, a very close foreground and a distant background may not both fall inside the depth of field, and stopping down further softens the whole image through diffraction. The solution is focus stacking: on a tripod, take several frames with identical settings, moving the focus point from near to far in steps, then blend them in software that keeps the sharpest parts of each frame. The limitation in a forest is again wind. If leaves move between frames, the blend produces ghosting, so stack on still mornings or choose a subject that does not move, such as bark, stone and trunks.
White balance under a canopy
Light that has passed through or bounced off green leaves carries a green tint, and overcast light is cool. Auto white balance sometimes over-corrects and leaves everything gray. Shoot in raw so you can set the white balance afterward, and judge by neutral objects such as gray bark or stone. A slightly warm result usually feels more natural to viewers than a clinically neutral one.
A polarizer on wet leaves
Leaves, especially wet or waxy ones, reflect the sky as a thin white sheen that sits on top of their true color. A polarizing filter can remove much of that reflected glare, and the change is dramatic: pale, shiny foliage turns deep green, wet rocks lose their highlights and show their color, and the surface of a stream clears so you can see the stones underneath.
- Rotate while you look. Turn the filter slowly and watch the leaves in the viewfinder. The effect changes with the angle of each surface, so stop at the point where the glare on your main subject is least.
- Expect to lose light. A polarizer typically costs one to two stops, which in a dark forest pushes you toward a tripod or higher ISO.
- Do not over-apply it on water. Removing every reflection from a stream can make it look lifeless. Leave a little shine to show that it is wet.
- It works in overcast light. Glare on leaves and rocks is there on cloudy days too, which is exactly when you will be in the forest.
This is one of the few filter effects that cannot be convincingly added later, because an editor cannot recover the color that glare covered in the first place.
The forest through the seasons
The same patch of woods gives you four different subjects in a year, which makes a local forest a perfect place to revisit.
- Spring. Fresh leaves are a light, almost luminous green, and in deciduous forests many wildflowers bloom on the floor before the canopy leafs out and shades them. Backlit new leaves are one of the best subjects of the whole year.
- Summer. The canopy is fully closed, the forest is at its darkest and greens become uniform. Look for contrast: a clearing, a stream, a single lit patch. Fog and rain matter most in summer because they break the monotony.
- Autumn. Color does much of the work for you, and overcast light makes it glow rather than glare. Mix a few green trees into a colorful frame; a scene that is entirely orange can look flat. Fall photography covers timing the peak and handling saturated color.
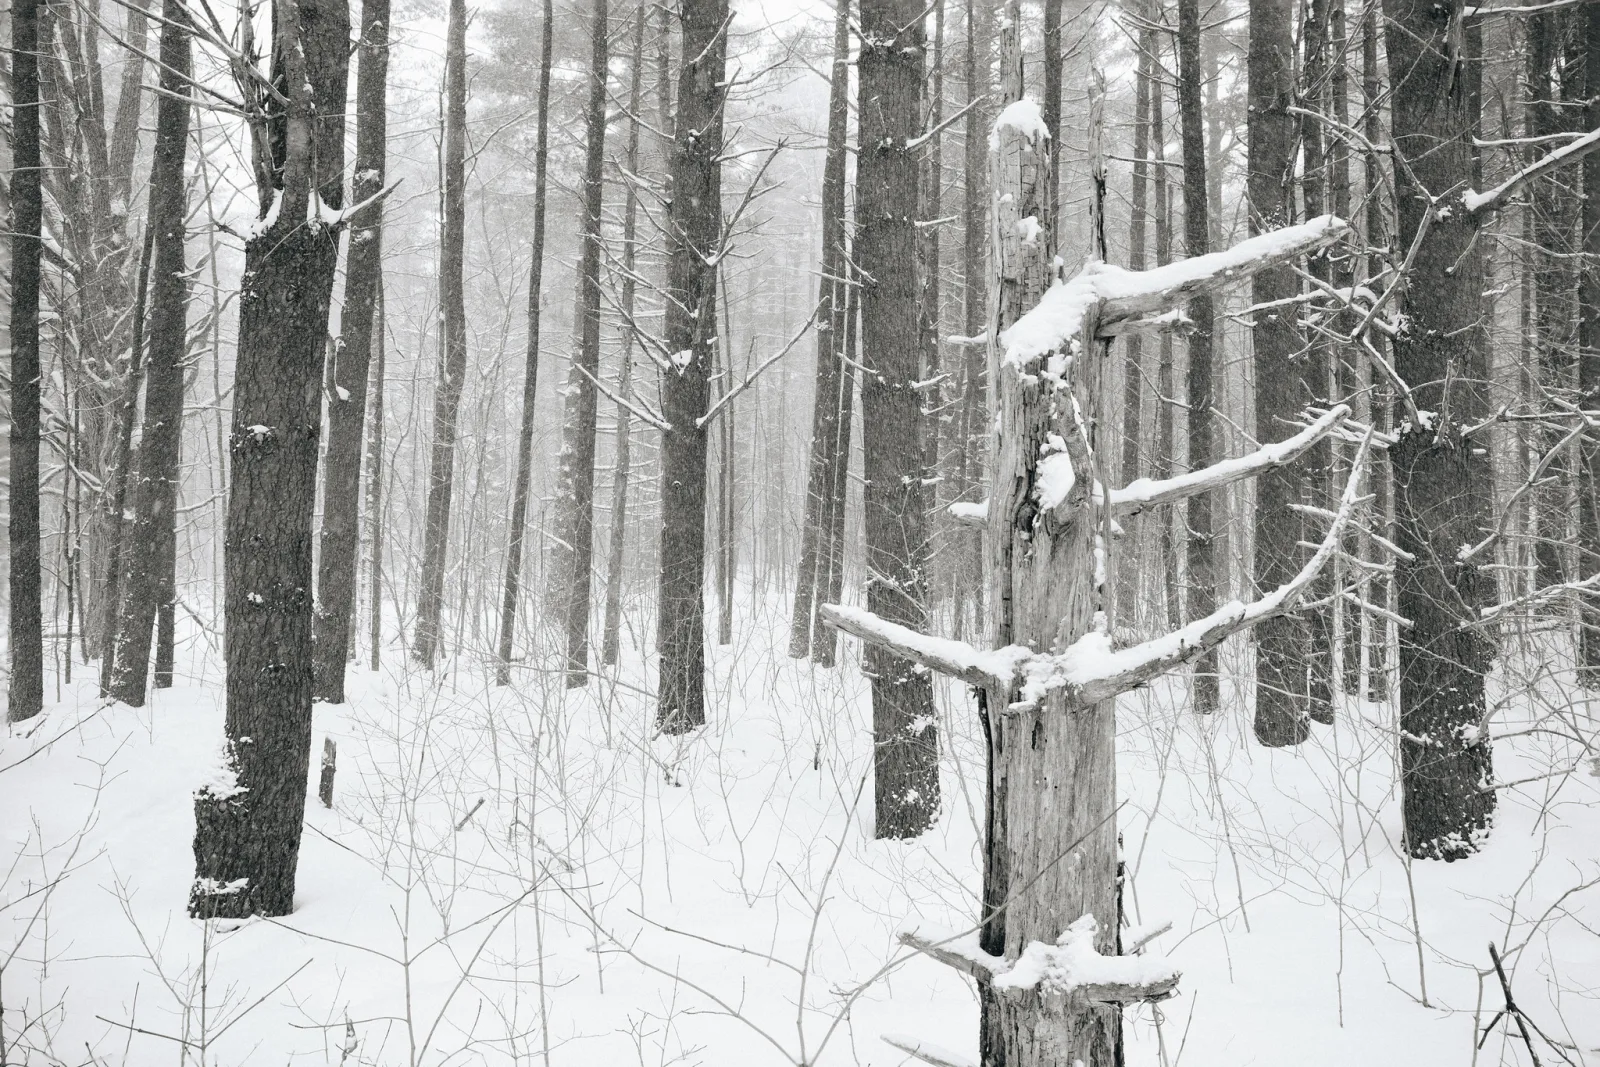
- Winter. Snow erases the clutter of the forest floor and bare branches reveal the structure of each tree. Your camera will tend to underexpose snowy scenes because its meter expects an average scene, so add positive exposure compensation and check the histogram. The winter photography guide covers cold-weather gear and batteries.
Autumn fog combines two of the best conditions at once. If you can reach a viewpoint above a wooded valley on a still autumn morning, fog lying in the low ground separates the canopy into bands of color.
Common mistakes
- Shooting in dappled midday sun. The contrast is beyond what one exposure can hold. Fix: come back on an overcast day or at the edges of the day, or shoot tight on a patch that is all in shade.
- Including bright sky through the canopy. White gaps at the top of the frame draw the eye and blow out. Fix: tilt down, zoom in or move until the canopy closes the frame.
- Going wide to “get it all in”. A wide lens in the woods records every piece of clutter. Fix: step back and use a longer focal length to isolate a section.
- Tilting the camera up at tall trees by accident. Trunks converge and lean inward, which looks like a mistake. Fix: keep the camera level for parallel trunks, or tilt steeply and deliberately so the convergence reads as a choice.
- Half-blurred leaves. A shutter speed that is slightly too slow for the wind. Fix: go faster to freeze, or much slower to make the motion obviously intentional.
- Brightening sunbeam scenes. Lifting the exposure washes the beams into the fog. Fix: expose darker and let the trees go to silhouette.
- Leaving glare on wet foliage. Shiny leaves look pale and gray. Fix: use a polarizer and rotate it until the sheen disappears from your main subject.
Try this
Go to the nearest patch of trees, even a park with a small stand of woods, on an overcast day. Give yourself 20 minutes and make three pictures, each with one rule:
- One subject. Find the single tree, log or plant that differs most from its surroundings. Move until nothing crosses it and nothing bright touches the frame edges.
- Pure pattern. Zoom to your longest focal length and fill the frame with trunks only: no sky, no ground. Keep the camera level.
- Small world. Frame an area no bigger than a doormat on the forest floor or on a trunk, and make it a complete picture.
At home, compare them with any wide “whole forest” shots you have taken before. Seeing the tighter frames side by side with the wide ones trains your eye faster than any rule.
Frequently asked questions
What is the best lens for forest photography?
A medium telephoto zoom, roughly 70mm to 200mm, is the most useful lens in most forests because it isolates sections of trees and removes clutter. A standard zoom covers intimate scenes and streams. A wide angle is useful for dramatic close foregrounds and looking straight up at the canopy, but it is the hardest to use well.
Do I need a tripod in the woods?
Not always, but it helps more here than almost anywhere. Forests are dark, and a tripod lets you keep ISO low, stop down for depth of field, smooth running water and focus stack. On breezy days or in fast-changing fog, handheld with a higher ISO can be the better choice.
Why do my forest photos look so busy?
Because the camera records every branch equally, while your eye edited them out on the spot. Pick one subject, use a longer focal length, keep bright sky out of the frame and check all four edges before you shoot.
Related guides
- Nature photography: the wider craft of photographing plants, animals and natural detail.
- Landscape photography: settings, light and composition for open scenes.
- Fall photography: timing and color for the forest’s most popular season.
- Fog: when fog forms and how to expose for it.
- Polarizing filter: how polarizers cut glare and when they help.
- Focus stacking: sharp from the nearest fern to the farthest trunk.
- Weather photography: shooting and staying dry in rain, mist and storms.
- Planning around sun, moon, tides and weather: predicting fog and low sun before you go.